This year was an exceptional year and you kept supporting me during the past months no matter what. So when Black Friday arrived, I thought it would be nice to thank you all with a sale on my store that would be just as exceptional. I never had the time to make an official post here on my website, as soon as I made a first announcement on Twitter, I was flooded with orders! lol
I will probably need more than a week to sign all the prints you ordered during the weekend, so you’ll have to be patient, guys! lol But most importantly, I want to thank you again. :) Thanks to you, I can make a living, I can afford to pay for a workshop and eventually, I’ll be able to retire from modeling and move on to a career entirely dedicated to the worlds of costumes and fashion. But until then, I’ll still need your support and I promise I’ll do my best to entertain you on Twitter for a few more years. ;)
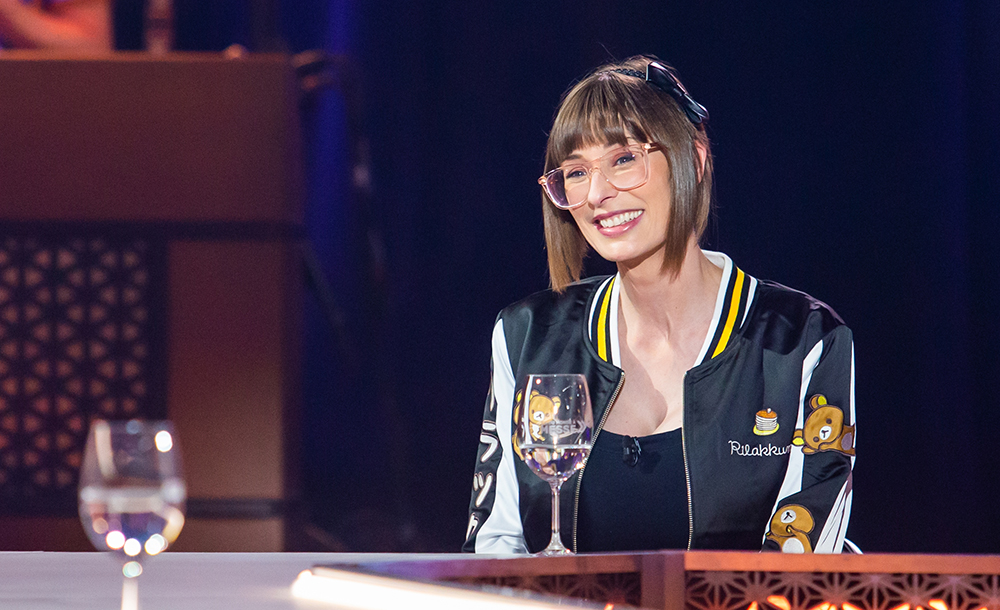
Eh oui, j’ai été interviewée par Christian Bégin à son émission Y’a du Monde à messe! La diffusion aura lieu ce soir, à Télé-Québec, à 20h00. :D
Rediffusions :
Lundi 12h00, Mercredi 20h30, Vendredi 12h00 et Dimanche 19h00
For my international friends: yes, the show is in French, but hopefully, someone, somewhere, will make it available on Youtube with English subtitles. In the meantime, you can practice your French by watching the show on the website. I guess it will be online shortly after it will be broadcast on TV tonight. Notice my amazing Rilakkuma jacket. ;)
Une petite entrevue sympathique dans laquelle je livre mes pensées sur l’Halloween d’hier et d’aujourd’hui… Et quelques trucs et astuces de base pour fabriquer un costume selon ses ressources. :)
I absolutely LOVE my latest Ray of Light photoset! My natural hair color, my real glasses, real sunlight coming through the window… and an outstanding blue and pink outfit. What more could you ask for? ;)
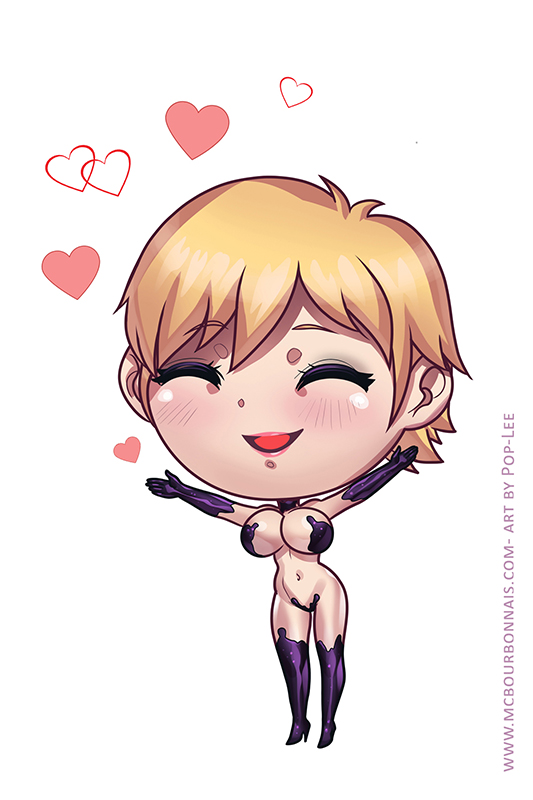
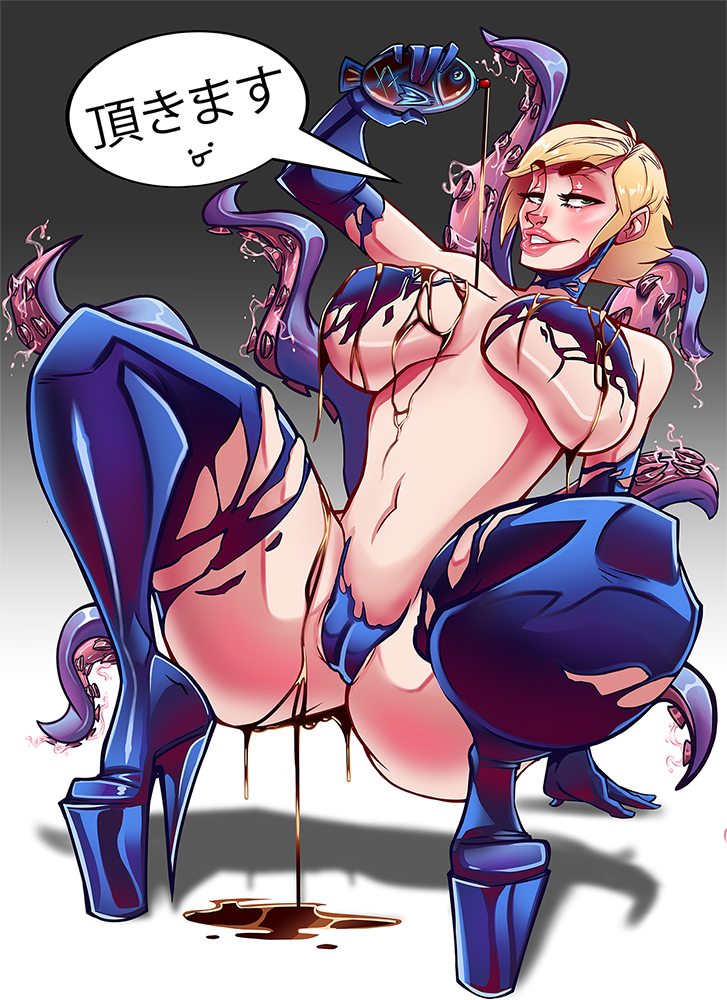
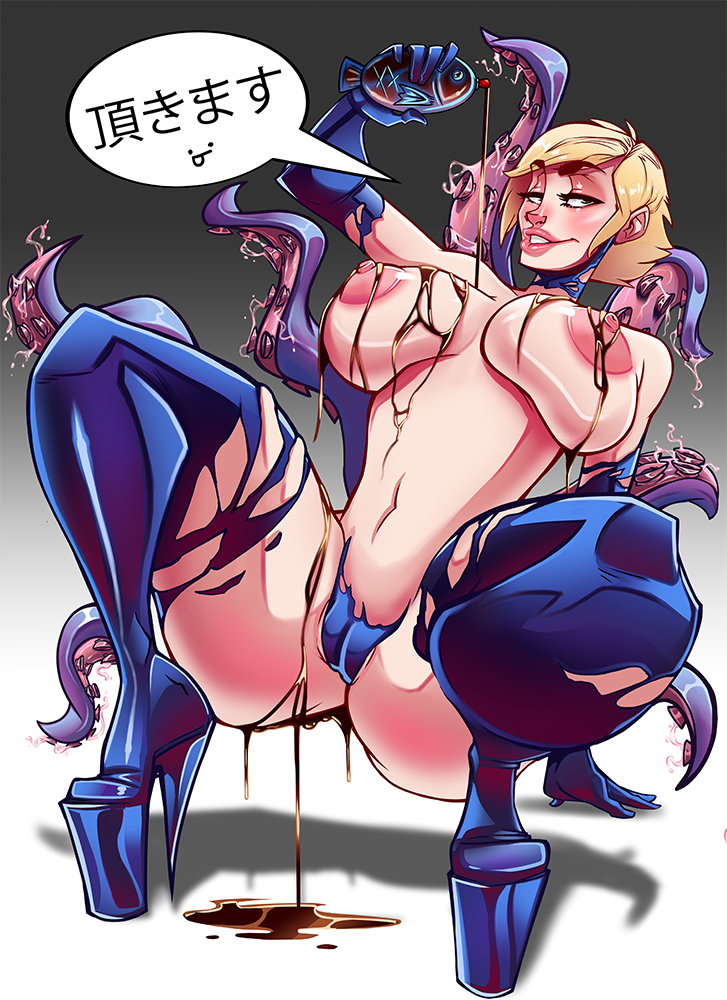
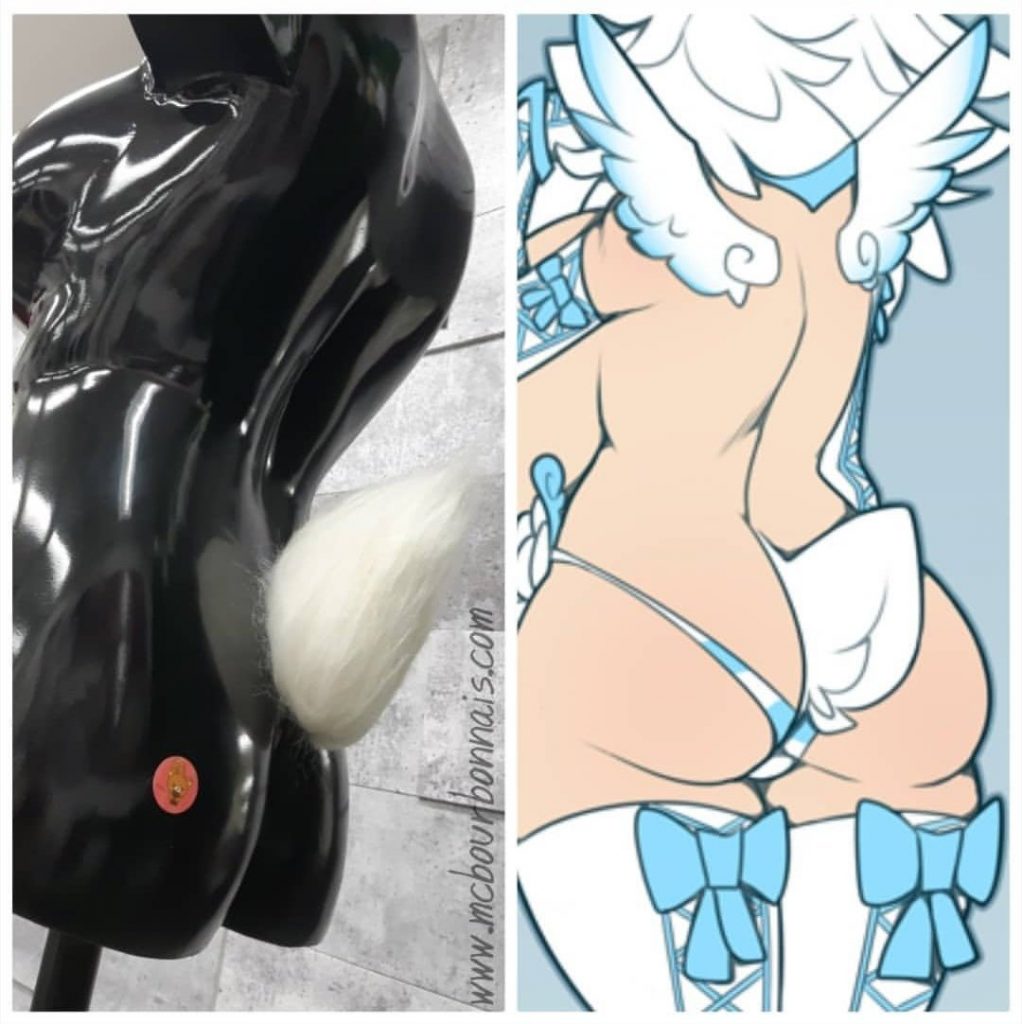
Sponty is an original character I discovered on Hentai Foundry. Just like my original characters Aimsee and Keira, someone created Sponty and commissioned many artworks of her. I liked the design and I thought it would certainly be the type of character you, guys, would like to see me cosplay. ;)
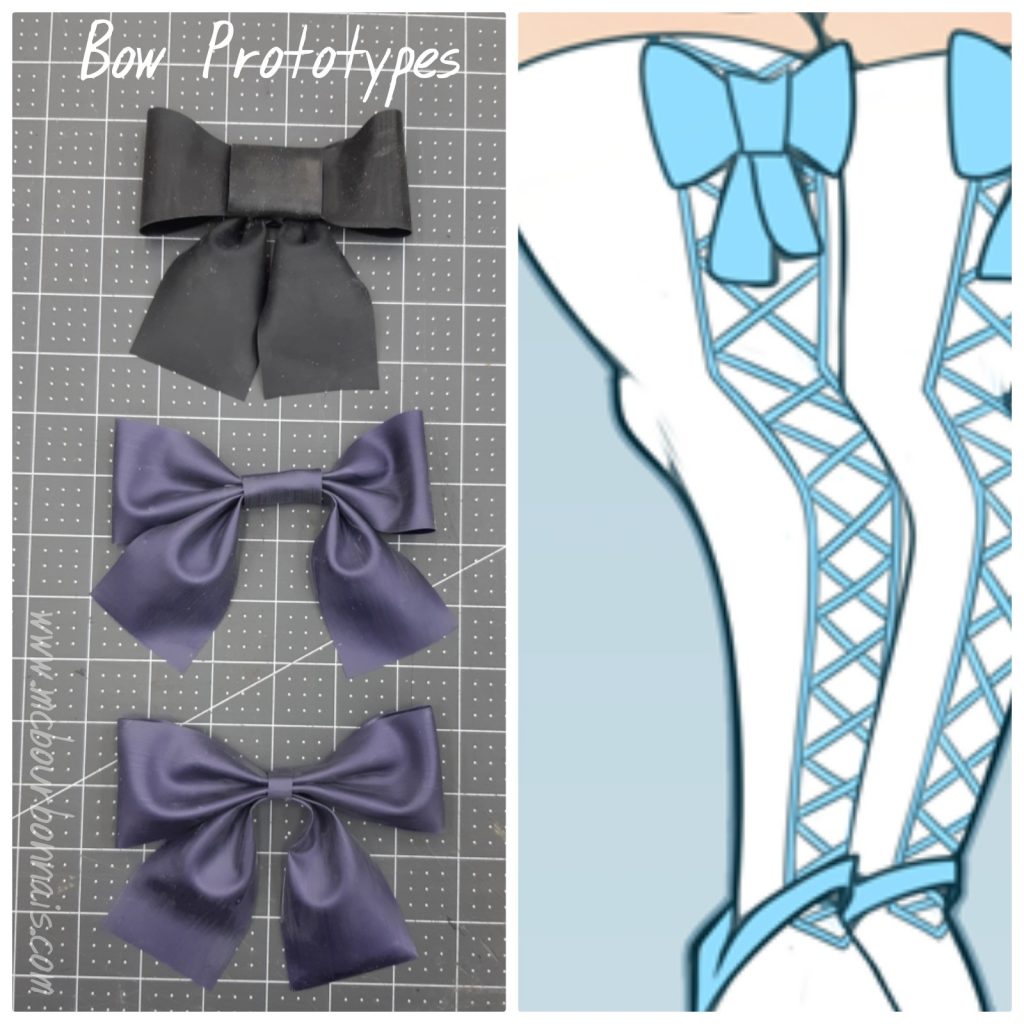
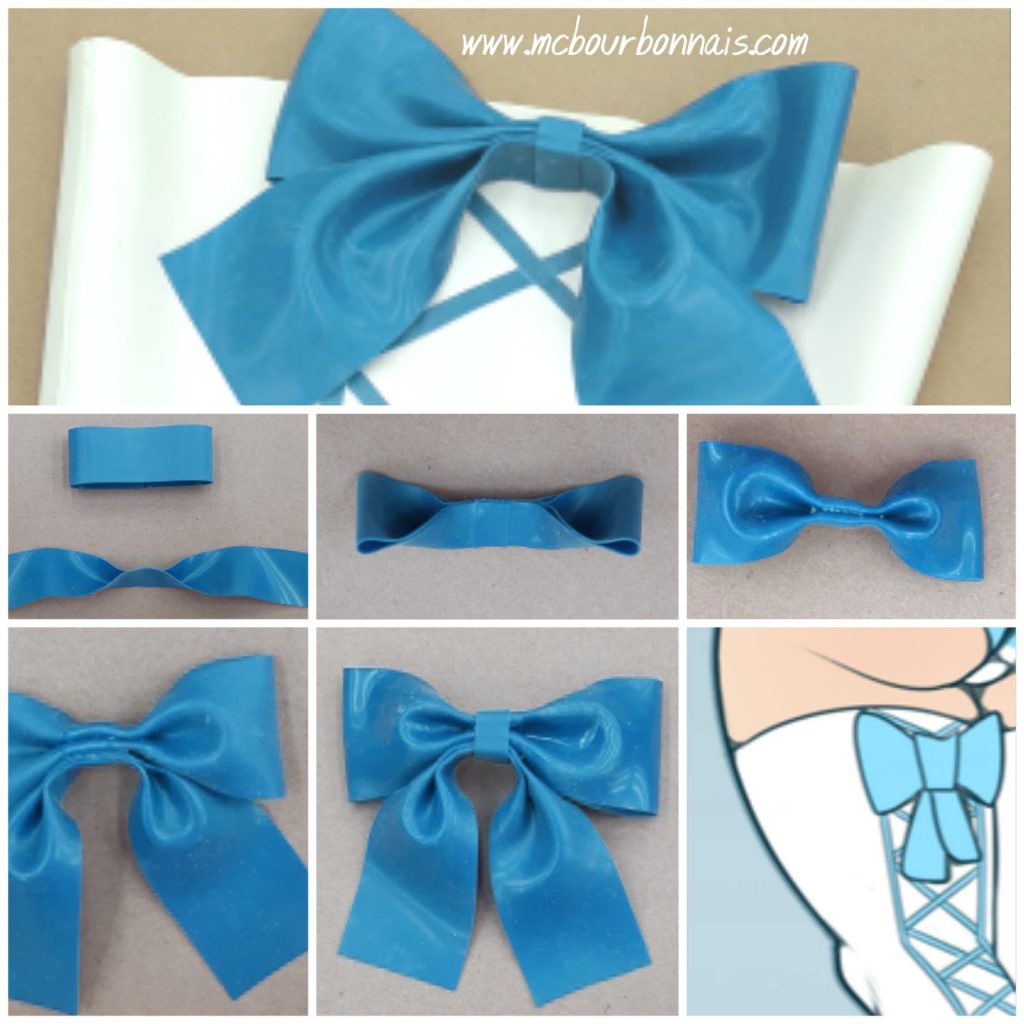
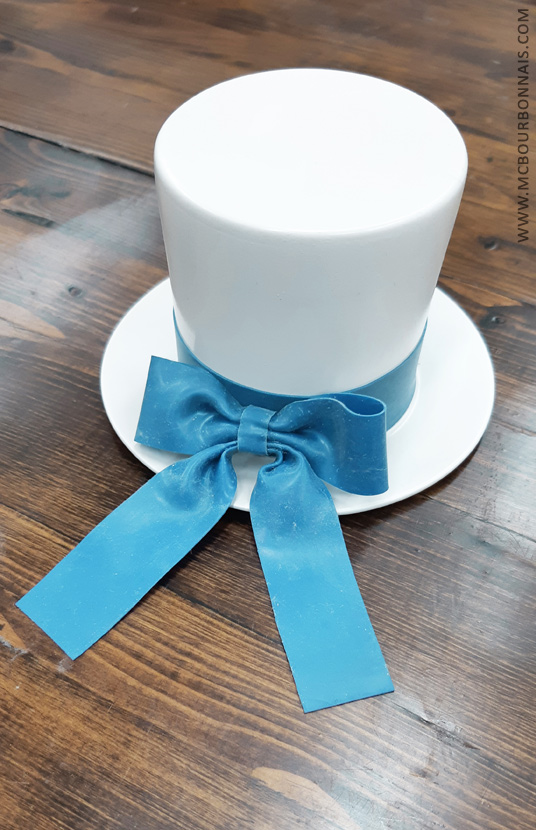
I thought it would be a perfect (tiny) costume to be made in latex and I started working on it last year, thinking I could complete it on time for Easter. First I made latex bow prototypes.
And I finally chose this one.
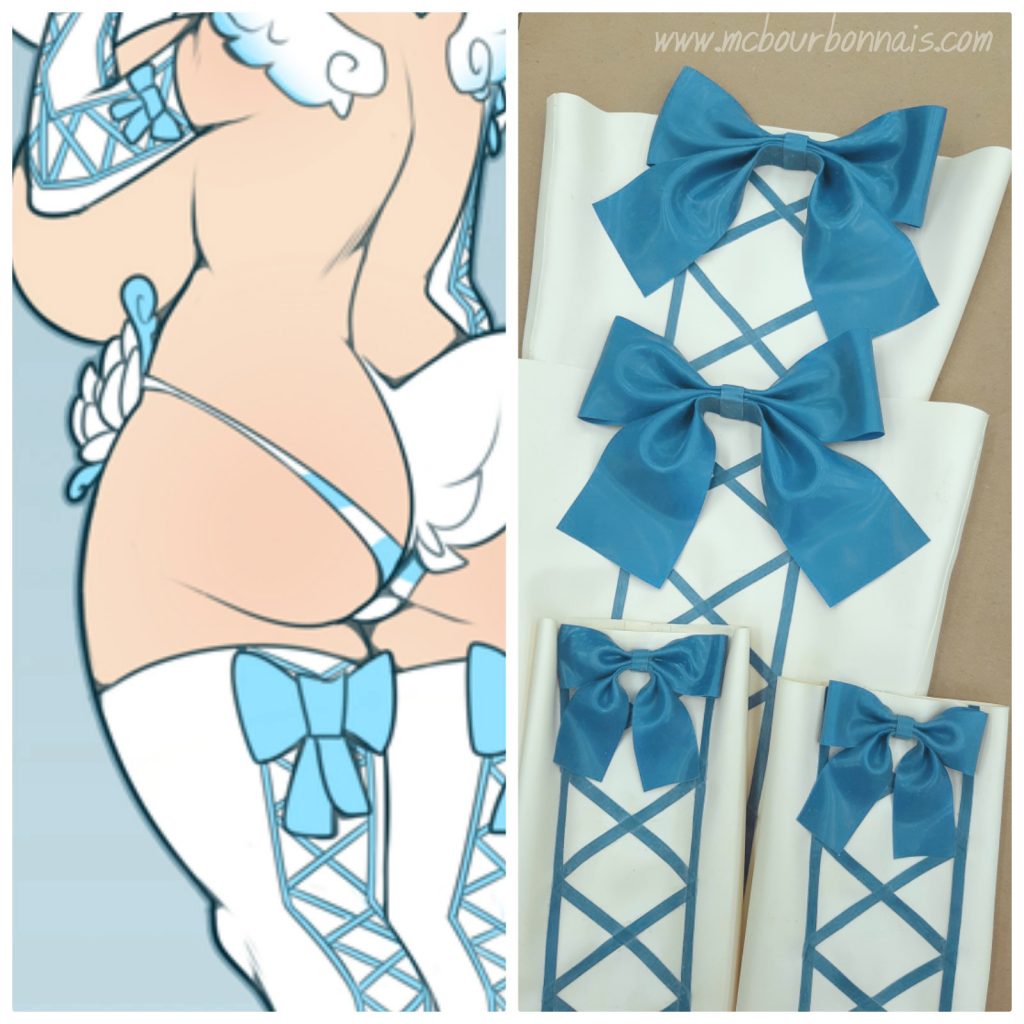
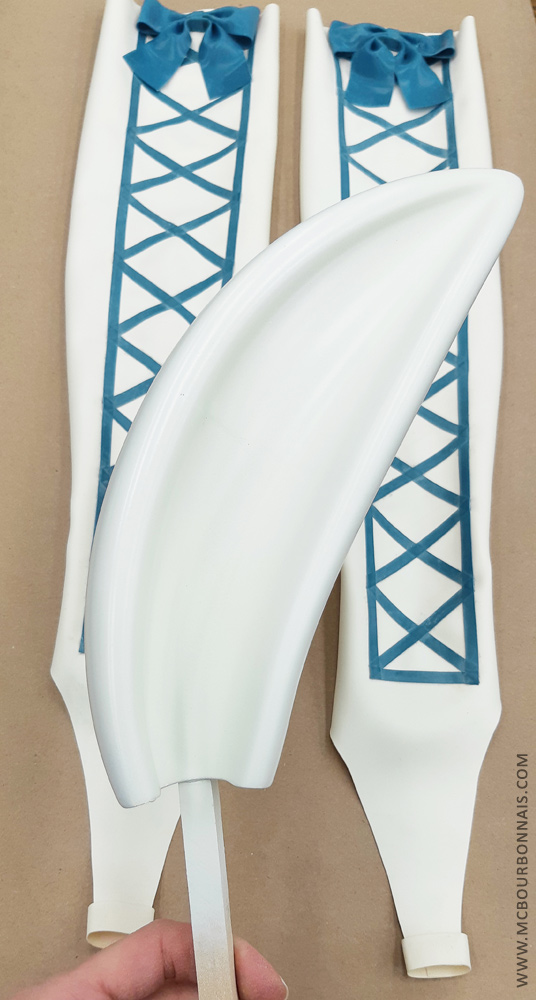
Making the latex sleeves and stockings wasn’t too complicated. It was a good exercise to remember the techniques since I had not worked with latex in a little while. The challenge was to glue the blue latex trim evenly to make the ‘laced’ pattern. I used masking tape that I very lightly applied on the latex sheets to make stripes and I glued the trim following those tape stripes. Then I carefully removed the masking tape. As I said, it wasn’t very complicated, but it took some time. All I needed was patience.
I needed one extra little bow for Sponty’s hat. The hat, bunny ears and wings were 3D modeled and 3D printed.
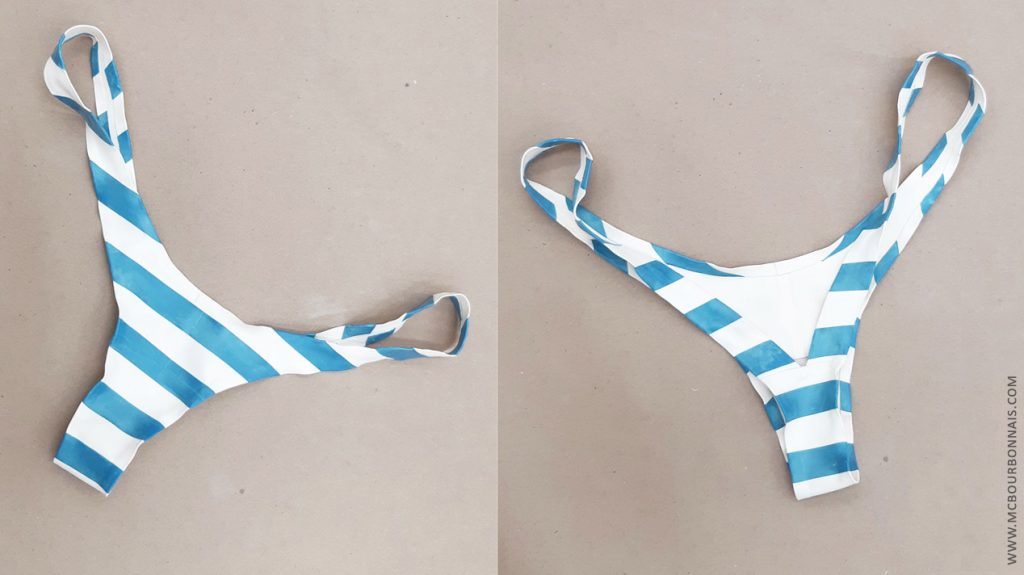
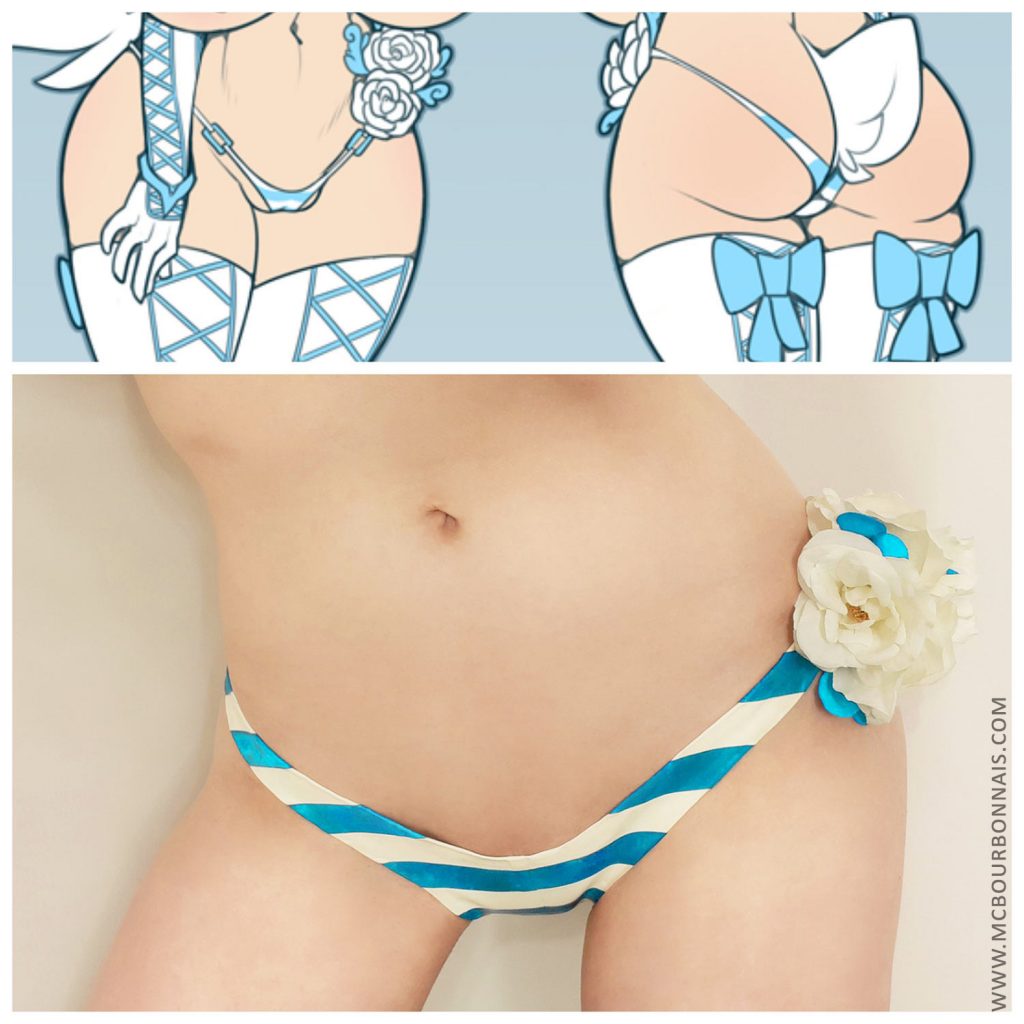
Sponty has a custom thong that goes very low in the middle back to make some room for her bunny tail. I glued the blue latex trim on the latex thong using the same masking tape technique.
Sponty’s fake fur bunny tail seemed to be of considerable interestfor you, guys. Before any of you has bad thoughs, let me show your how it will simply hold with double sided tape. On my lower back. Yes, that’s all. Sorry. ;D
Then I needed to add a few white flowers to the thong. Final touch. :)
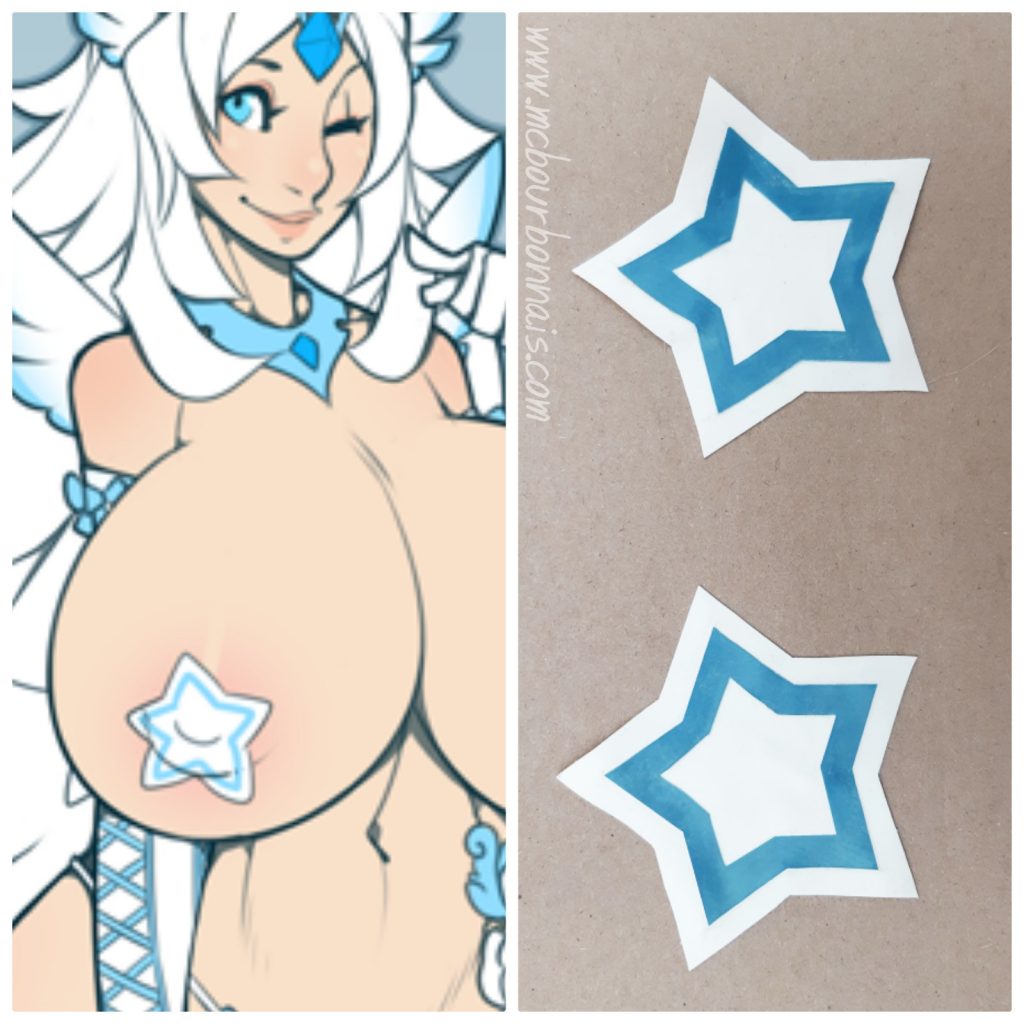
Last latex part, but not least: Sponty’s star-shaped pasties.
When I stopped working on the costume last year, I had just 3D printed the bunny ears… and I realized I couldn’t complete the costume on time for Easter 2019. Then I put the costume aside and, you know, time goes by and you realize your have one more project that you started, but didn’t finish.
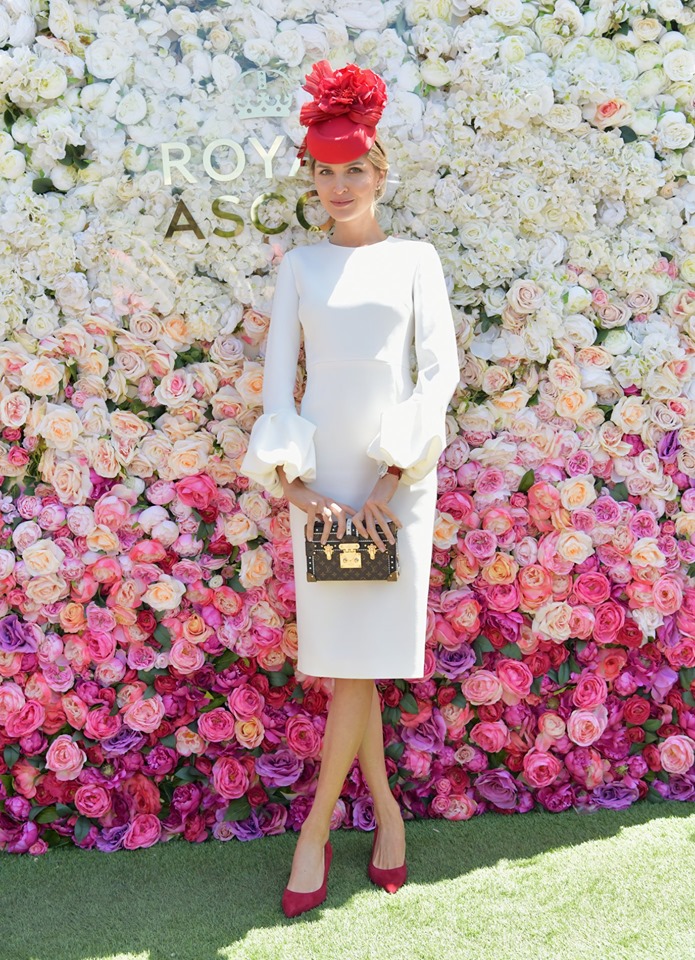
At the beginning of 2020, I decided to start building a photo set for Sponty. I originally wanted to make a wall of flowers, something that would have looked like this.
Or something like this…
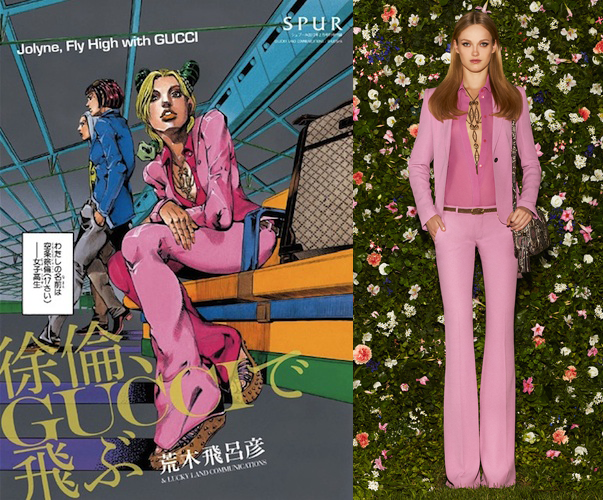
For the Japanese anime fans: this project known as GUCCI × HIROHIKO ARAKI × SPUR was a collaboration between Gucci, the Italian luxury fashion brand, Hirohiko Araki, the manga artist who created Jojo’s Bizarre Adventure, and the women’s fashion magazine Spur. In 2011, the Gucci store in Shinjuku hosted the “Rohan Kishibe Goes to Gucci” Exhibition. The exhibit celebrated the 90th anniversary of Gucci and the 30th anniversary of Hirohiko Araki and featured a life-size figure of Rohan Kishibe, as well as many illustrations by Araki. Gucci clothing drawn Jojo’s style. The irrefutable proof that the Japanese anime and high fashion universes are totally compatible. :D You have no idea how much I love all this! And I wanted to build a wall of flowers like the one on the picture for Sponty’s photoset.
I had that discussion with myself a long time ago: never ask for my Grumpy friend’s opinion. Last time I listened to him, I ended up building a 10 feet tall fiberglass robot. Why did I have to tell him ‘Hey, I’ll build a wall of flowers for my Sponty photoshoot.’ ‘Nobody gives a shit about flowers. What are you talking about?’ he said. Me: ‘I like flowers!’ My friend: ‘Sure. You’re a girl. Men want to see big stuff. Why don’t you build another fiberglass statue? I’d help you.’ I didn’t like the idea, but it sounded like a challenge. So I said yes.
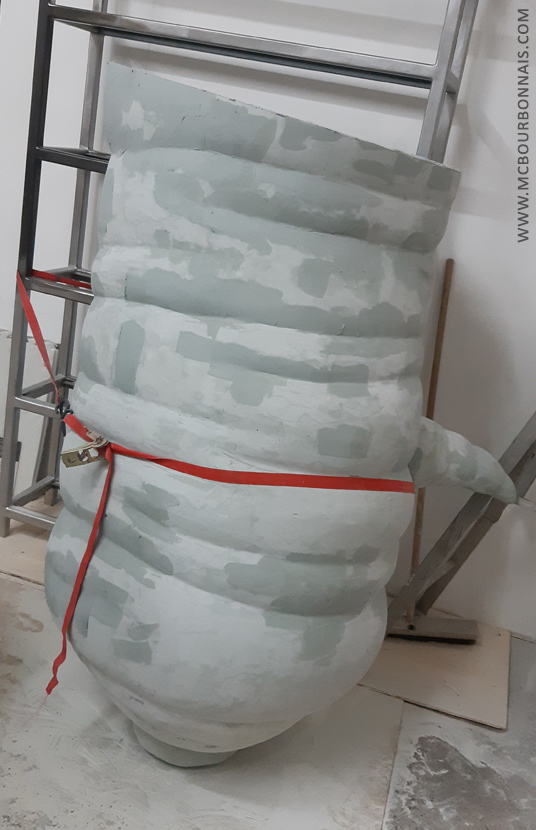
And that’s how my friend and I started building a giant fiberglass carrot for Sponty. We used the same technique we had used for the robot and the spider: styrene sheets. This time, we only glued styrene sheets together to make a styrene block in which we would sculpt a carrot and its ‘tail.’ The goal was to make it look like the carrot was alive and was trying to get off the ground.
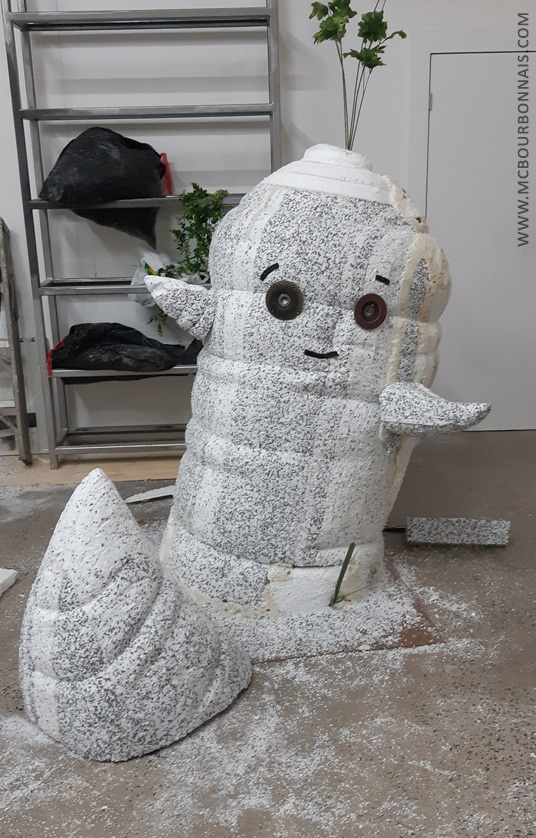
Carrot WIP with sanding disks to give us an idea of how it would look like if it had a face. It took about 1 week to complete the sculpture.
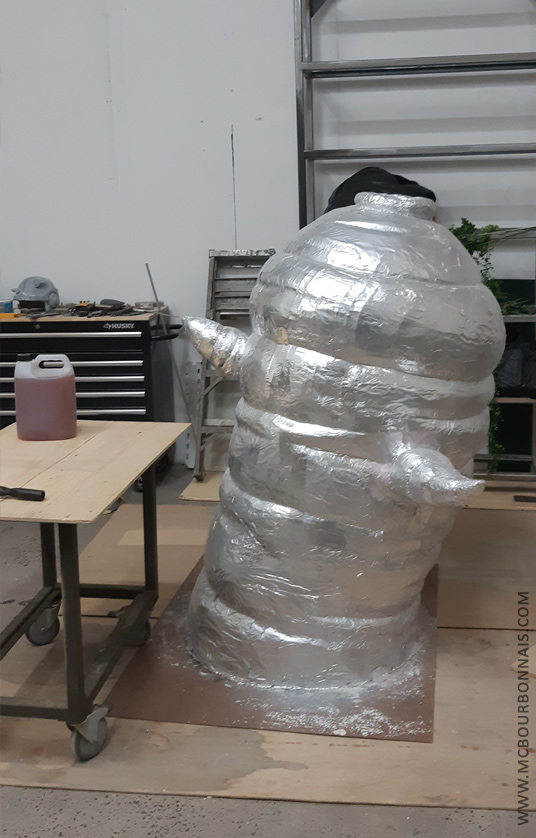
Next step is to cover the styrene with aluminum foil and aluminum tape. It will keep styrene from melting when we’ll apply polyester resin.
Covering the whole sculpture with aluminum foil and aluminum tape required 1 full day of work. Then, we covered the sculpture with fiberglass cloth soaked in polyester resin. My friend and I needed 3 days to do it.
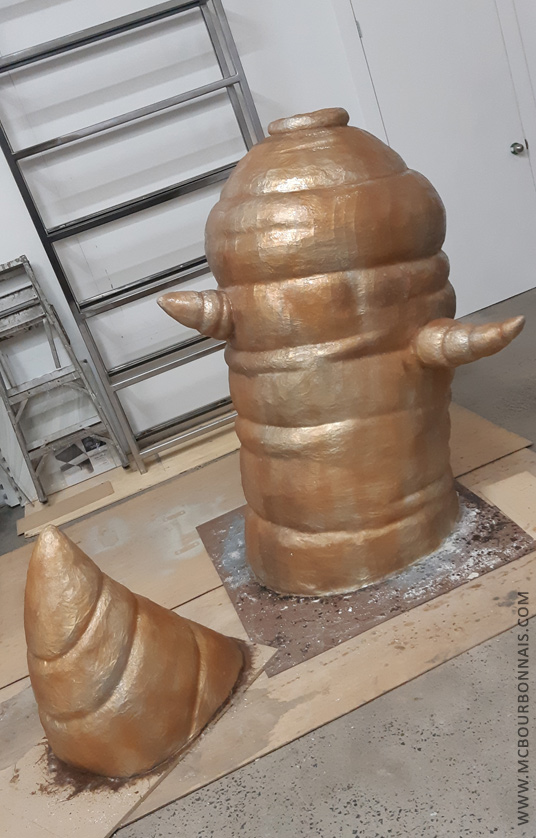
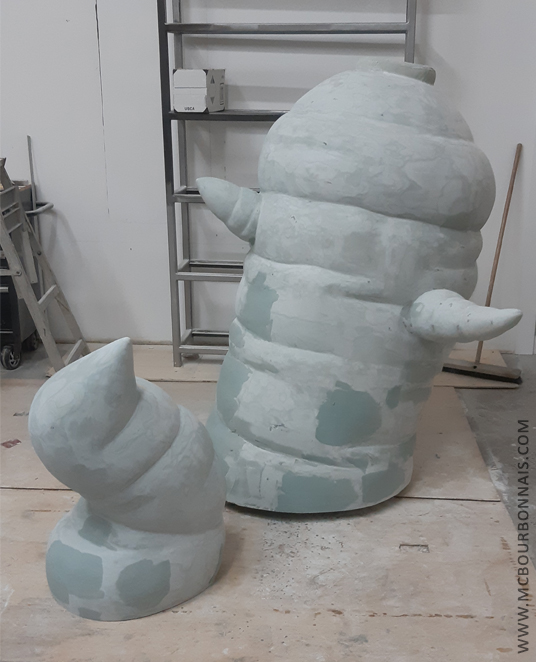
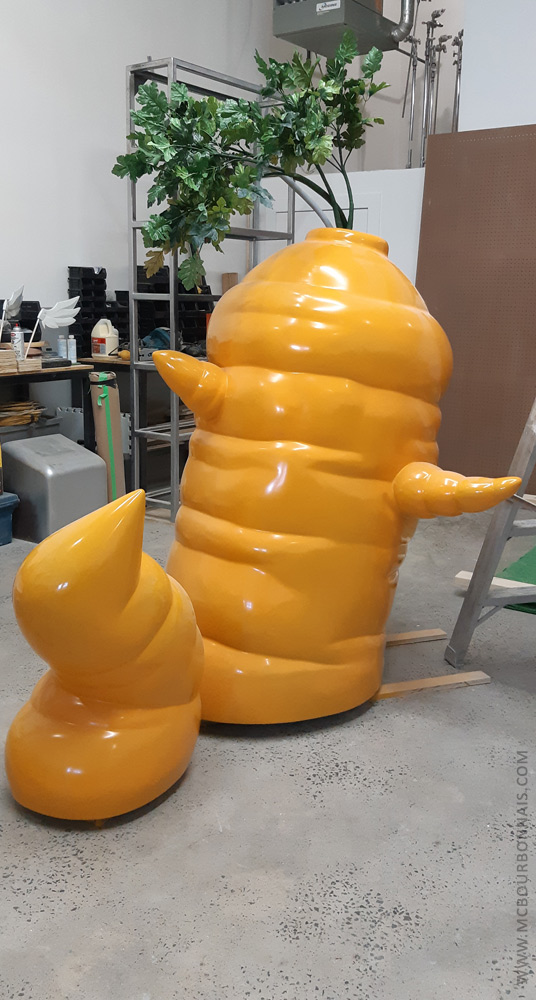
In the meantime, my grumpy friend thought that the carrot ‘tail’ I had sculpted didn’t look ‘dynamic’ enough. ‘Then sculpt another one by yourself!’ I told my friend.
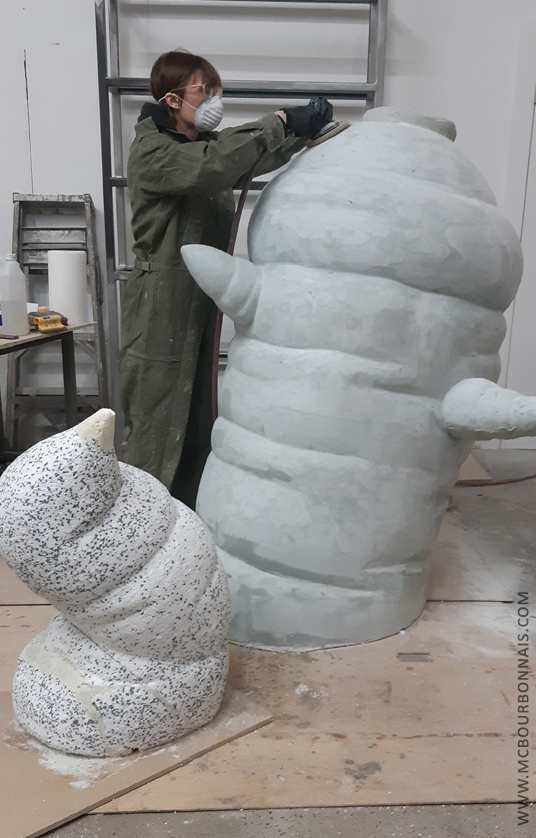
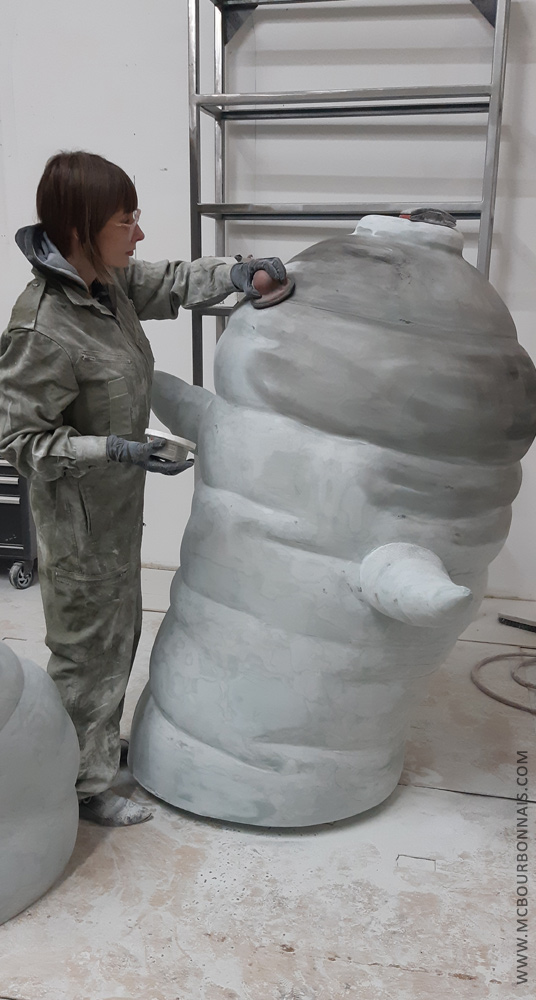
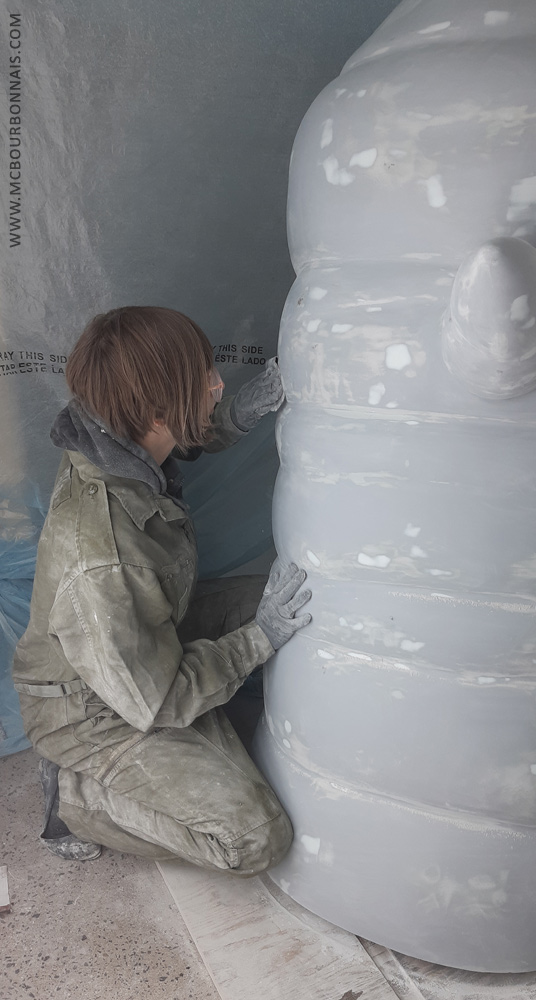
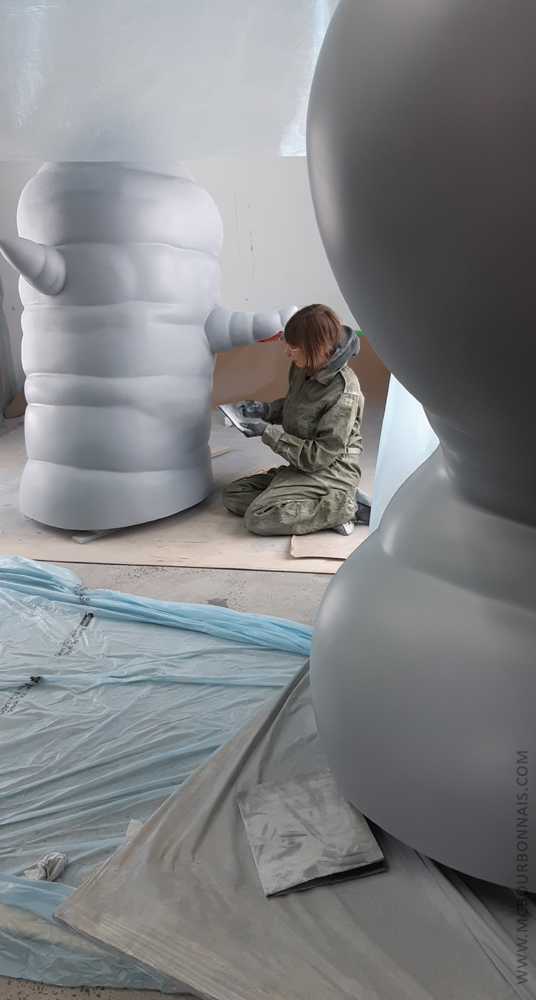
Ah, bodyfiller. My dear bodyfiller. First time I worked with fiberglass, I thought that I had to add bodyfiller only to fill up the holes and creases in the fiberglass shapes. When I built the robot, my friend and I learned that you actually have to cover ALL the fiberglass surface with bodyfiller. Even if it’s a thin layer. You never want to sand fiberglass, you want to sand bodyfiller. The sandpaper should not touch fiberglass. Bodyfiller all over. Everywhere. Mix up bodyfiller, apply bodyfiller. It took about 2 days to cover the whole sculpture with a first layer of bodyfiller. Then, very important step, sanding the bodyfiller. From every angle.
Sanding, more sanding. Mix more bodyfiller, apply the bodyfiller to correct the shapes, wait and sand. Repeat. Again and again.
Bodyfiller patches, ready to be sanded.
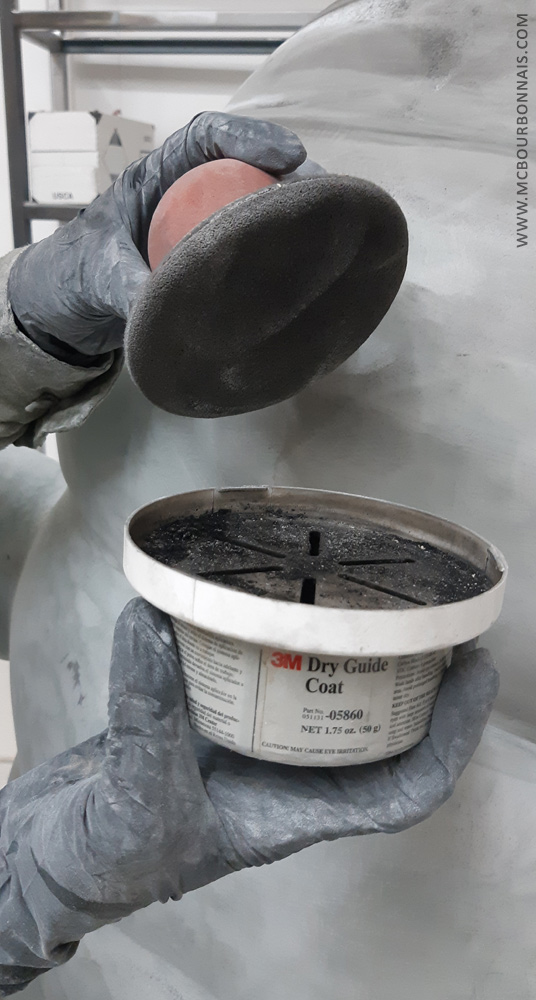
During the process, I use dry coat powder. Apply it all over your sculpture before sanding. The powder will remain in the holes, where you need to add more bodyfiller.
And eventually, you’ll reach a point where your sculpture shape is acceptable… And you can start using finer sandpaper grit… and finer bodyfiller for the small retouches. My friend and I needed more than a week to complete that step, then the carrot was finally ready for a 1st coat of automotive primer.
Using fine sandpaper grit to lightly sand the primer coat. Time to make the very last corrections using a fine bodyfiller.
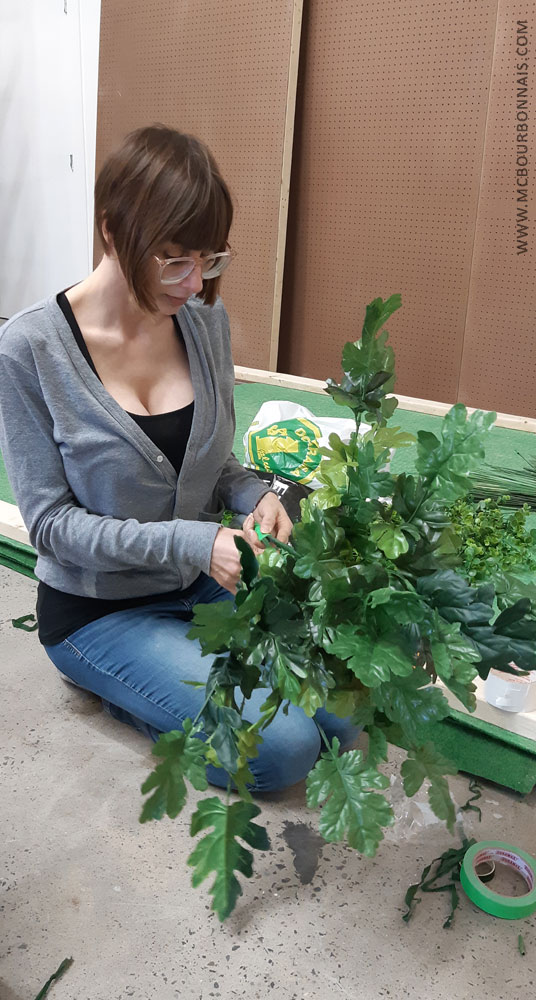
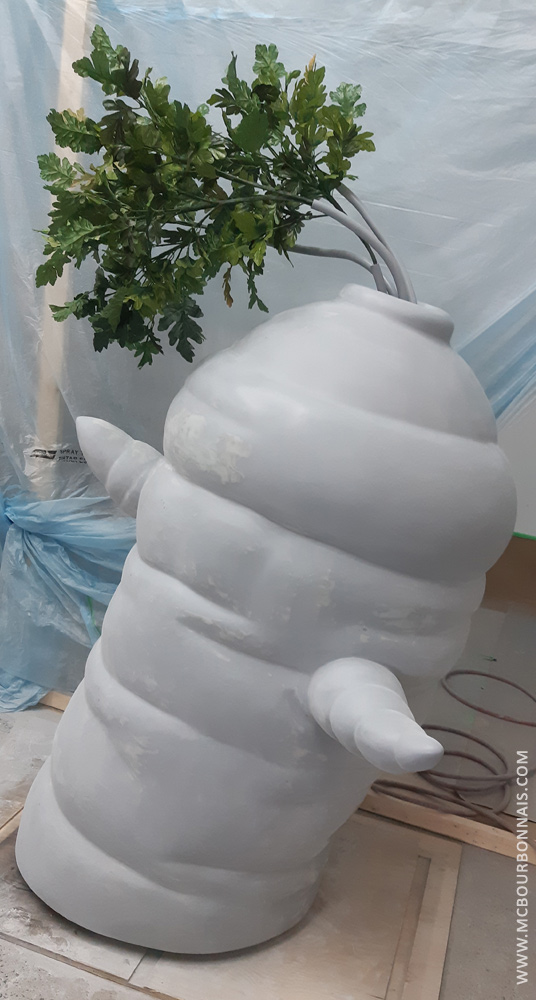
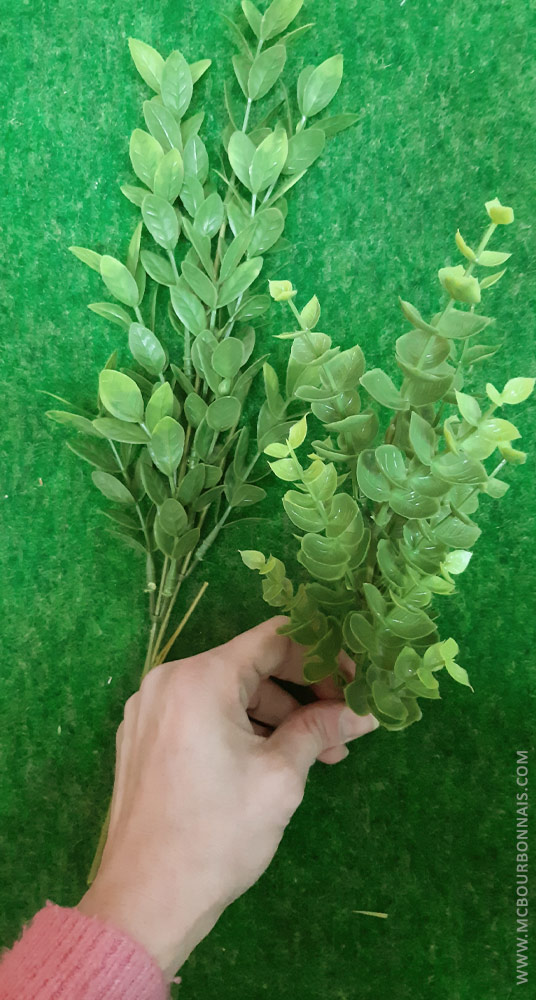
In the meantime, I had started working on the carrot stalk. I had bought tons of fake flowers. I kept the flowers aside and used only the leaves and green florist tape to build a giant carrot stalk.
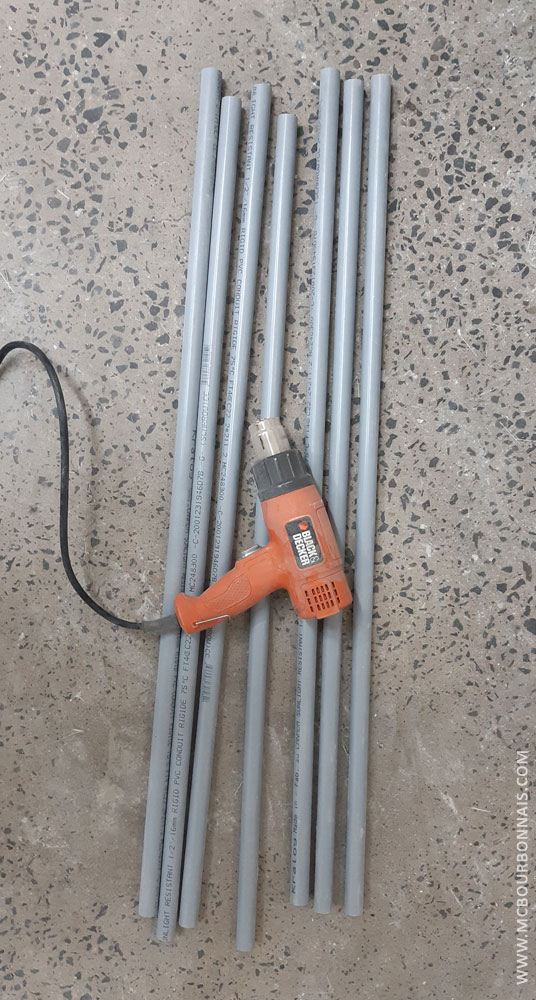
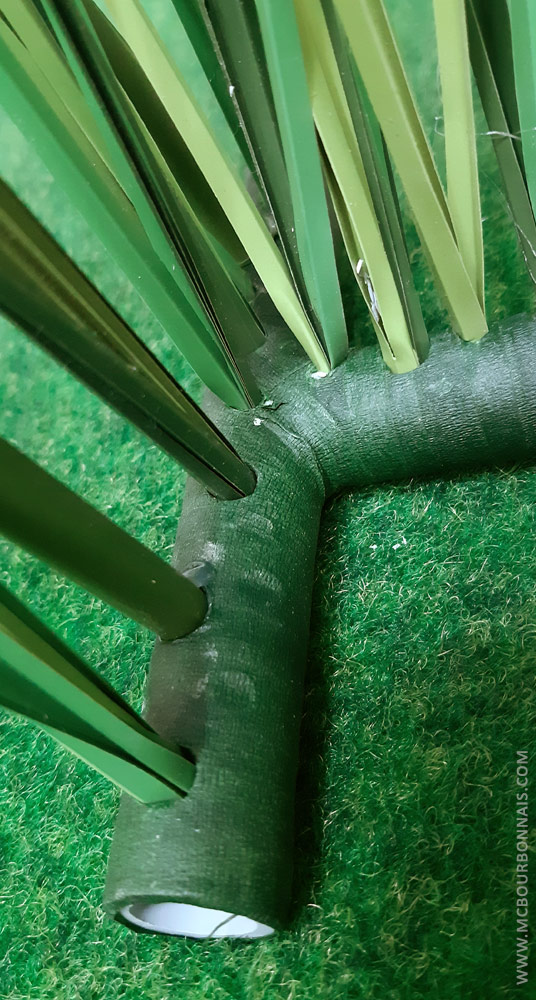
And that’s what I used to make longer stalks that would hold all these leaves. Each PVC pipe was heated with the heat gun and curved to form a specific shape.
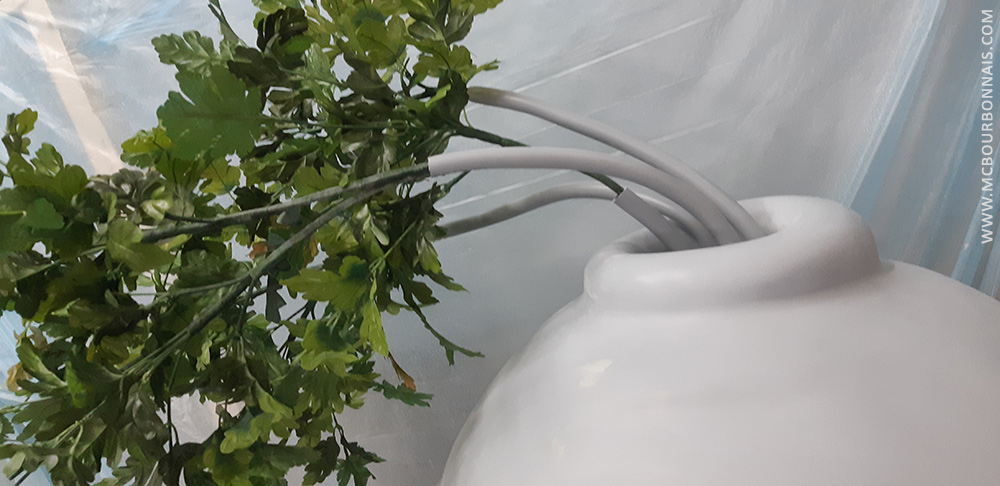
Closeup of the carrot stalk. You can clearly see the PVC pipes. I like that my carrot stalk looks like a bonsai. :D
I would later cover the pipes with green florist tape. Now it starts looking like a carrot! :D
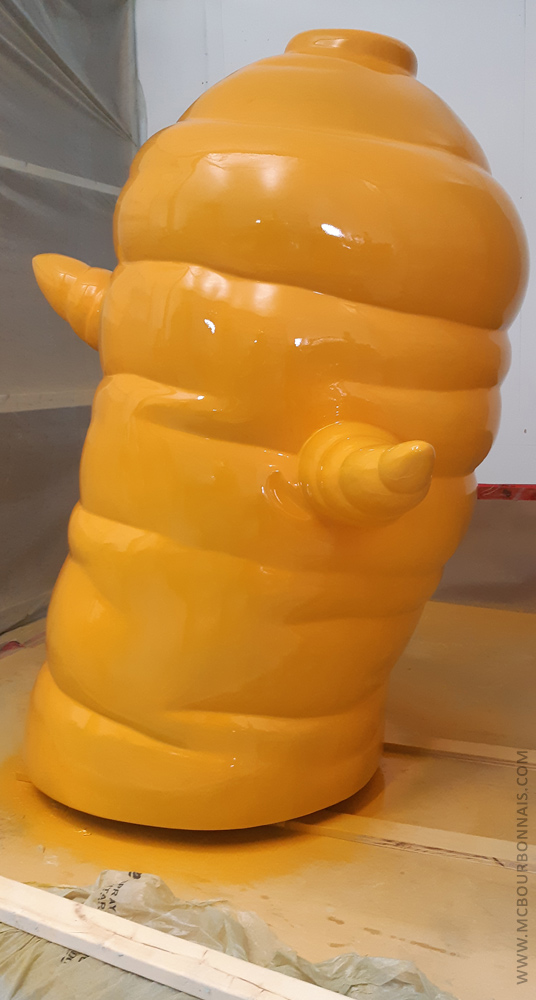
2nd and last coat of primer. And final sanding, with some very fine sandpaper grit.
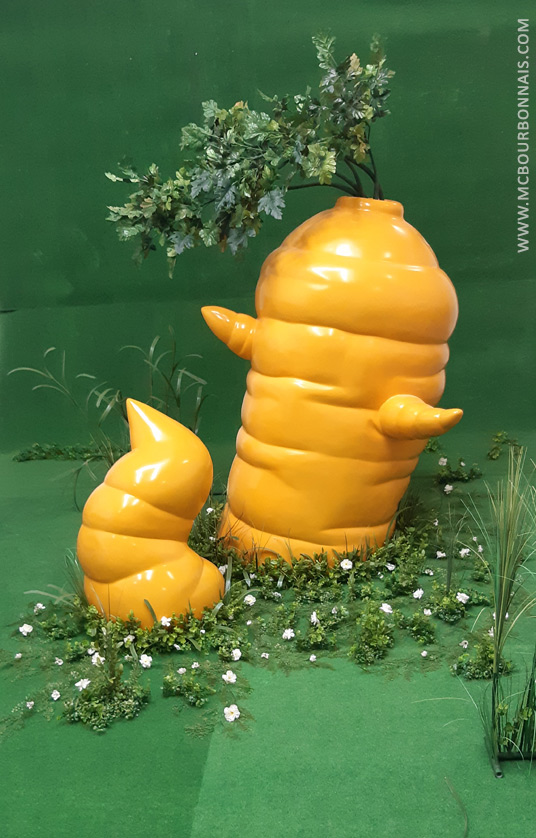
And finally… THE PAINT! :D
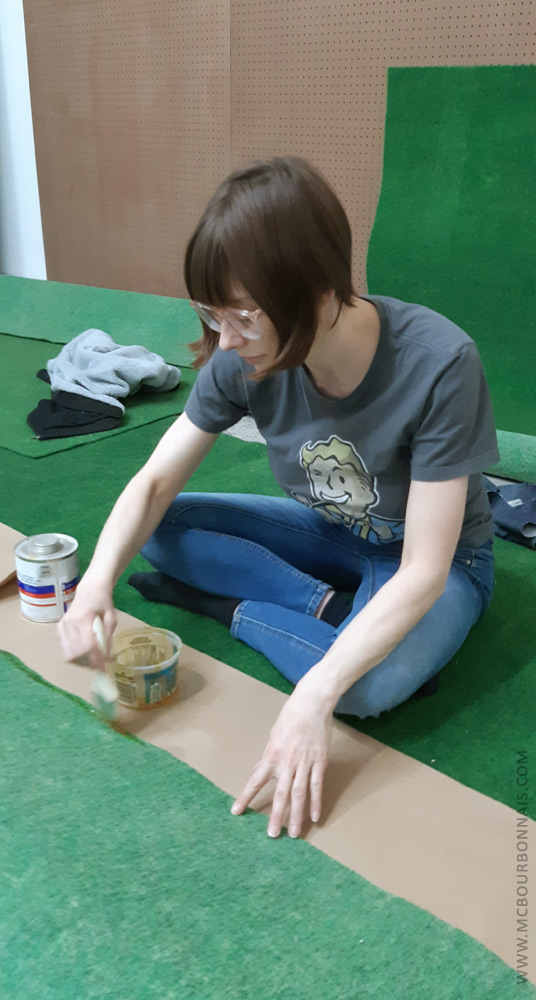
Hi, giant carrot! It was now time to create a garden where my carrot would grow. I had a prop. I needed a photo set. Here I am gluing grass rugs together.
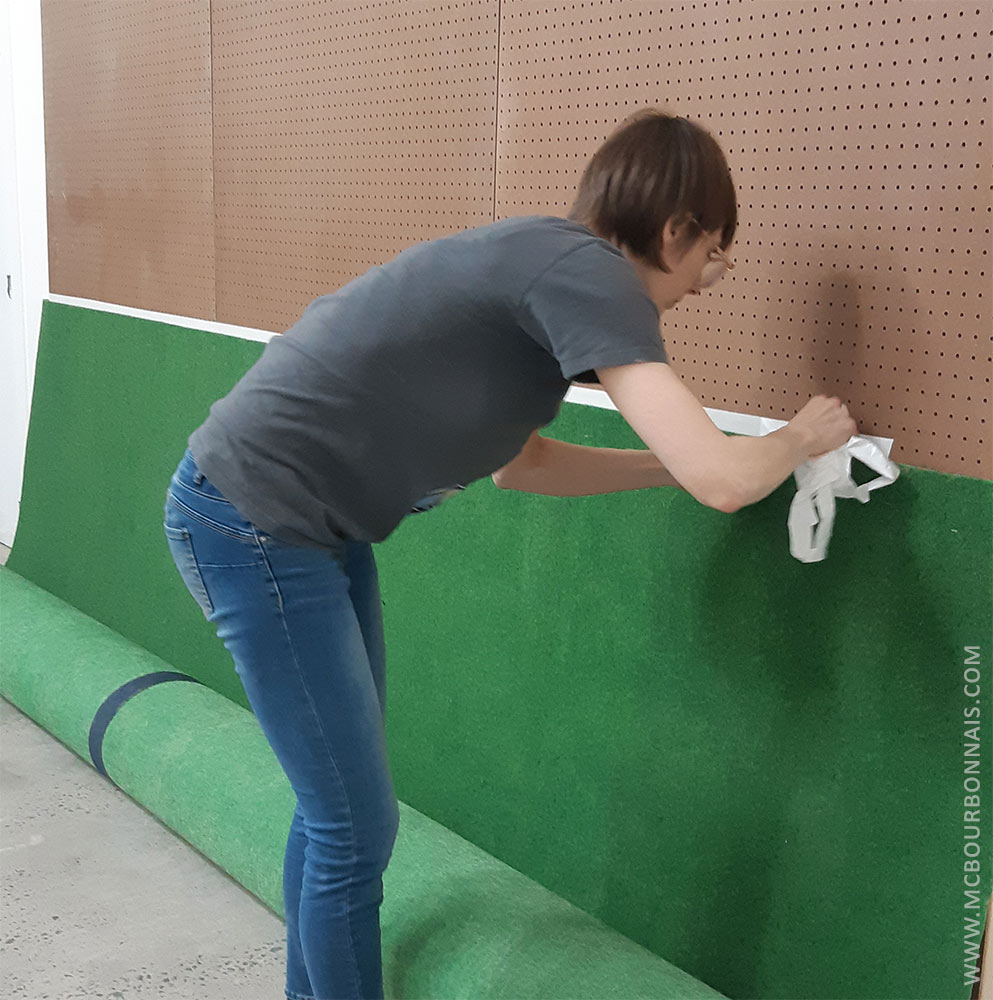
This wall was built in my 2nd workshop unit especially to make photo sets. Installing the grass rugs on the background wall.
I had a garden background, I had a main prop. Now, I needed to decorate that garden. I didn’t know if I would add flowers, leaves, plants or a mix of all this.
At that point, the COVID crisis had started and I couldn’t work with my friend at the workshop anymore. I spent the following weeks ‘planting’ fake flowers all over my ‘garden.’
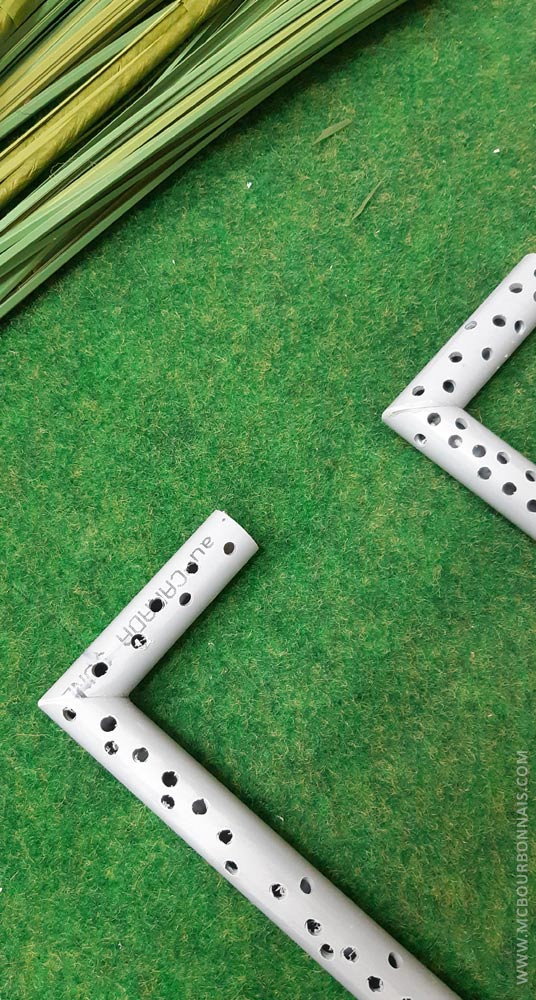
I used the same PVC pipes that I had used for the carrot stalk to build ‘supports’ to ‘plant’ fake plants. I cut the pipes with a miter saw, glued the angles with hot glue and made little holes with a drill.
Then I covered the pipes with green florist tape and I inserted fake plants in each little hole.
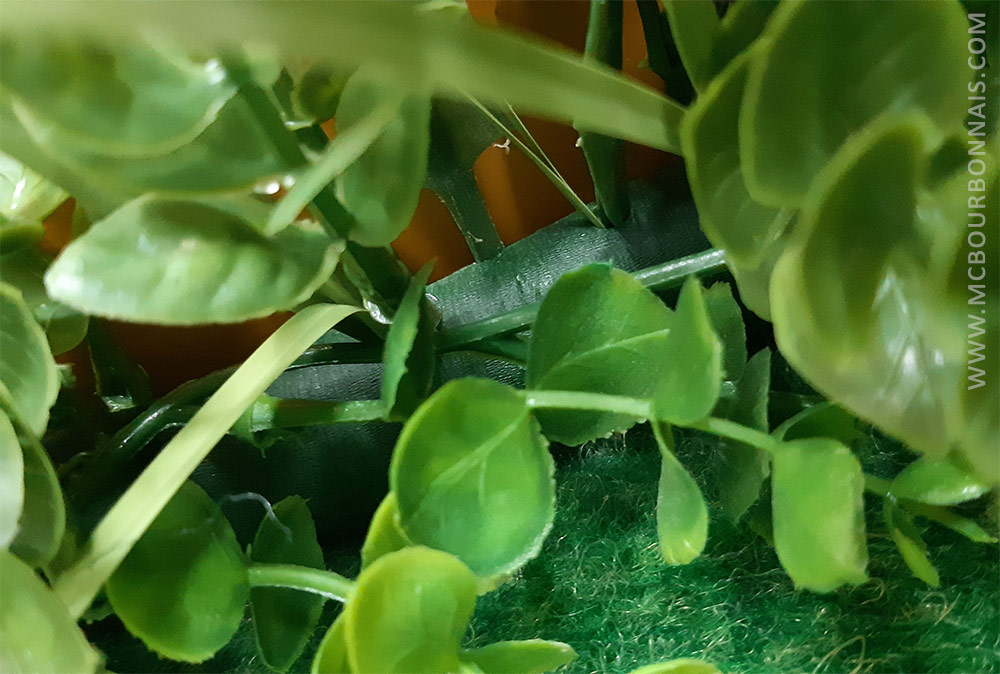
I used an infinite amount of fake plants and leaves that I combined together.
When you look through the plants and leaves, you can see the PVC pipes.
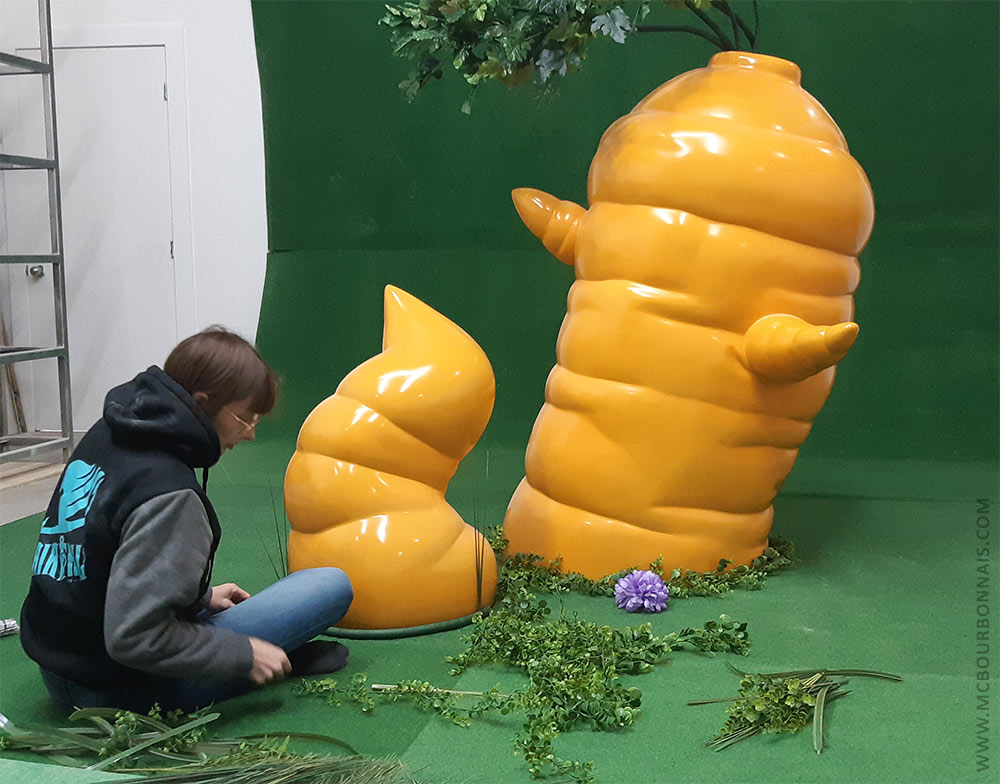
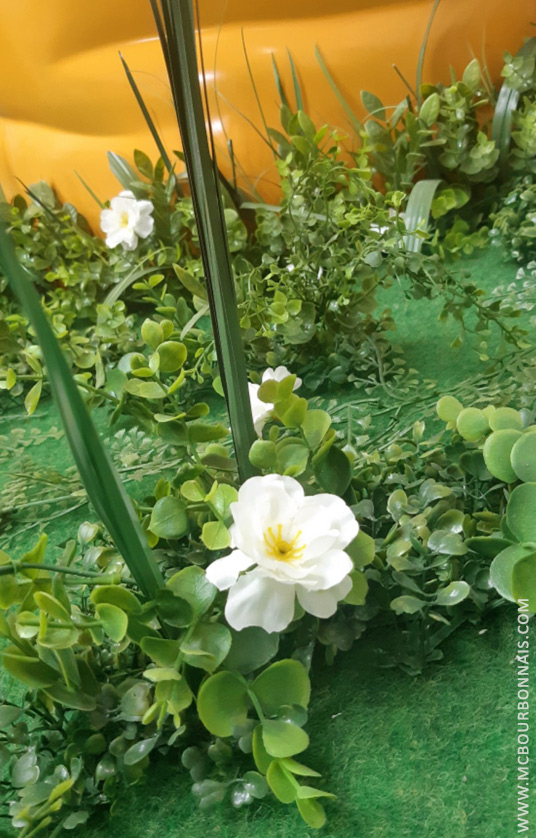
I spent many nights at the workshop assembling fake plants and making flower arrangments to decorate my garden.
Until my garden looked like this. :D
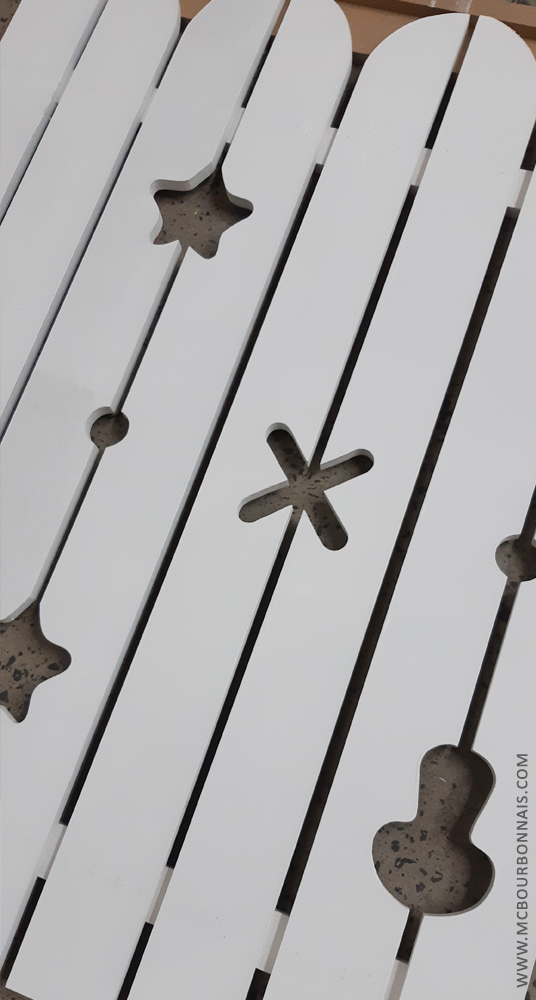
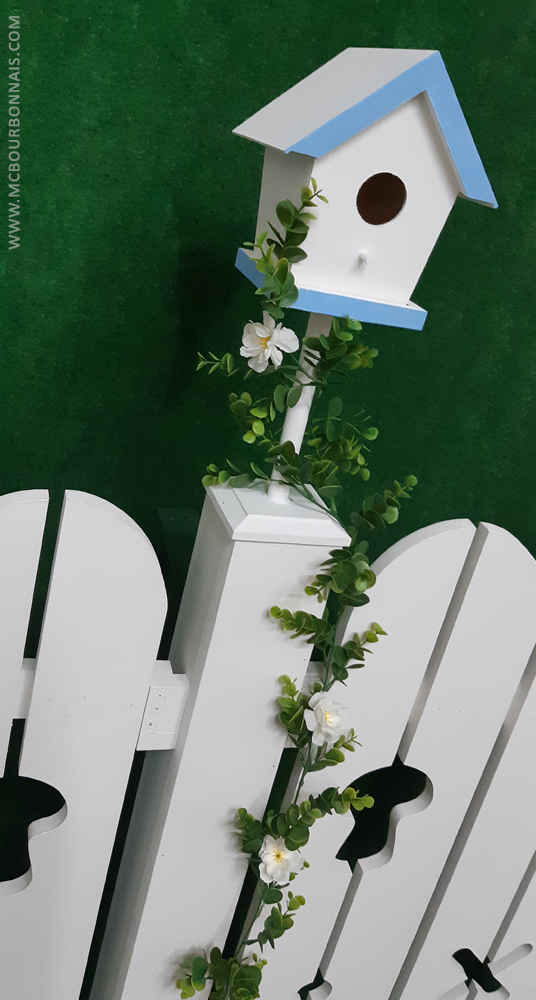
In the meantime, my friend made at his place another part of the photo set: the fence. I still don’t have a band saw at the workshop, so I couldn’t have done it. It’s one of those equipment piece I’ve been wanting to buy forever…
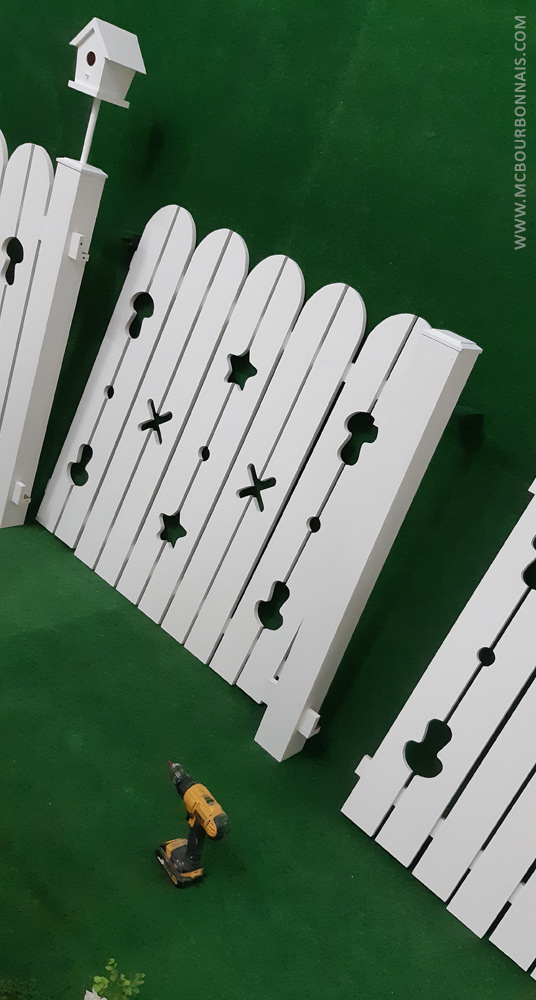
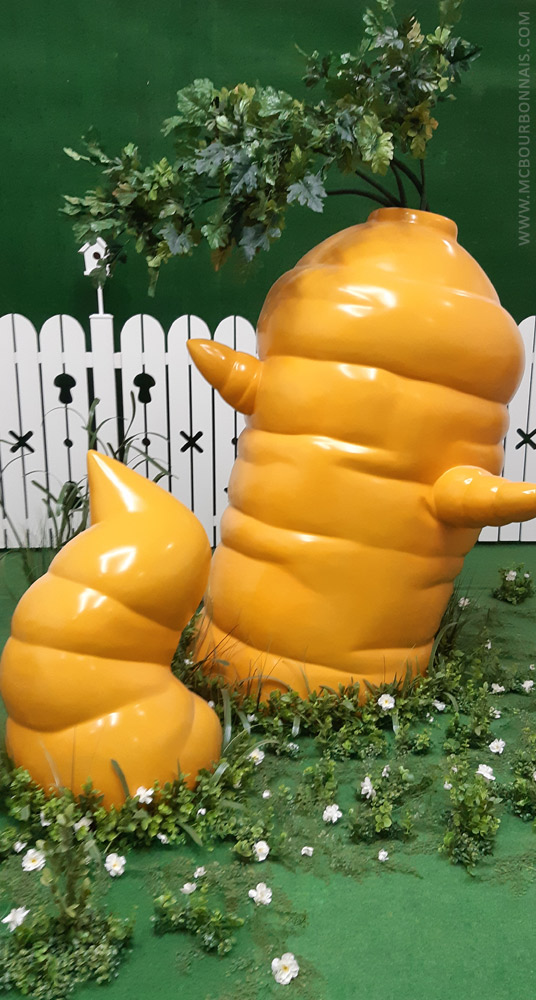
Then I could paint, assemble and install the fence in my photo set. :D
I think it really added something to the set. It looks way better with the fence!
One last touch…
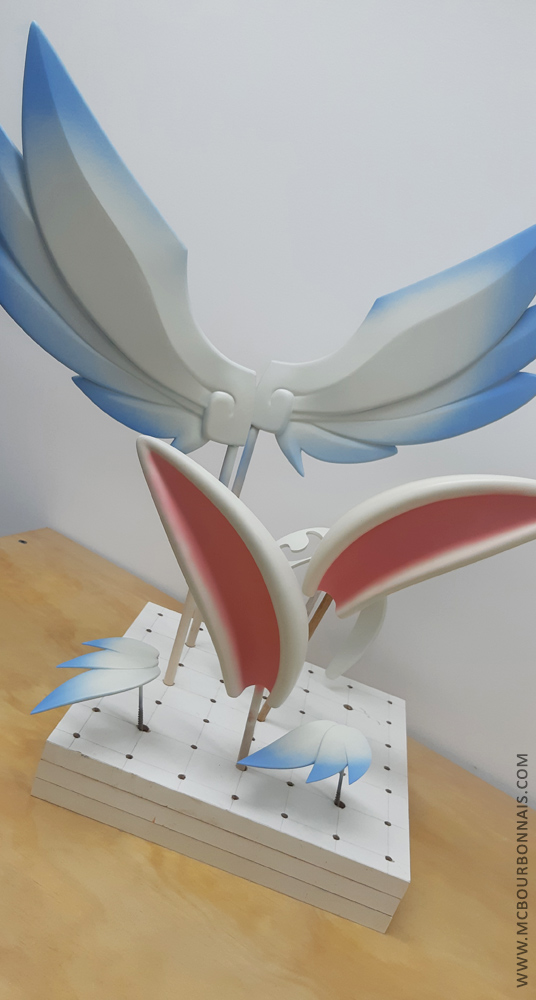
Meanwhile, my friend airbrushed Sponty’s 3D printed ears and wings. I had 3D printed these pieces in 2019… and they were never finished. I do have a airbrush, but I’m not good at using it. I’m happy that someone did that step for me. :D Notice the tiny wings. On the original drawing, they are on Sponty’s head, next to her ears.
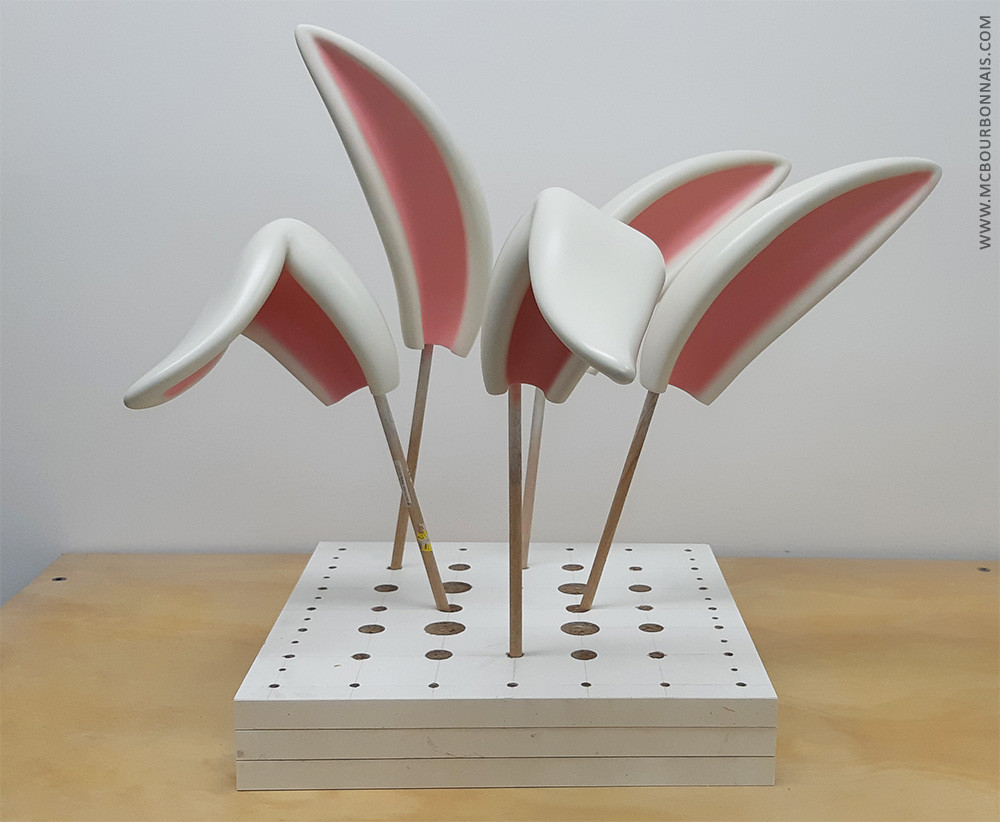
I wanted to be able to change the ears during the photoshoot, so I had different sets of ears done.
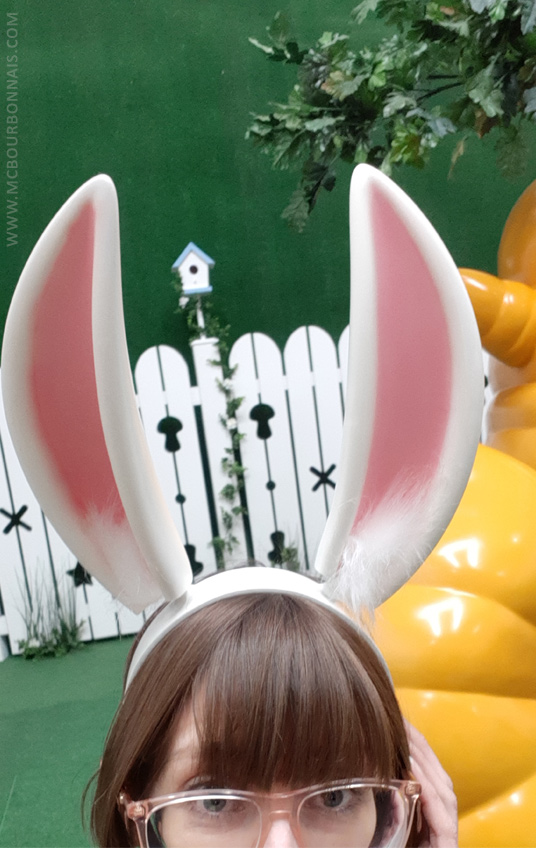
I will wear a headband under the wig. The ears can be screwed to the headband, over the wig. During the photoshoot, I’ll be able to change the ears without taking off the wig.
As you can see, there’s some space between the headband and ears. It will be filled up by the wig. The wig was styled by a professional wig stylist last year. But I still haven’t share any pic of it. :D It’s incredibly well done, you’ll see later.
Now, the only things missing on Sponty’s costume are her bracelets and necklace, the jewel on her head, as well as the system to make the wings hold (and that’s a complicated part.) As for the photoset, it’s finished now. I wanted my giant carrot to have kawaii faces. I made removable eyes and mouth sets that I will be able to change during the photoshoot to give my carrot different facial expressions. :D I shared only a tiny preview of my carrot’s face yet. You’ll see the rest later. :) Patience, guys, I’m working hard and this project will soon be finished!
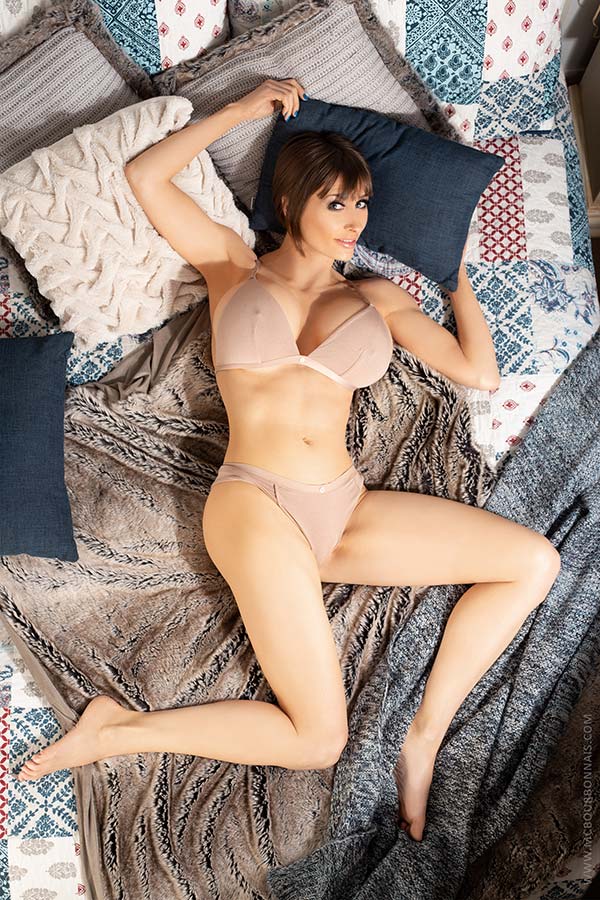
It doesn’t matter if you’re going to bed or if you just wake up… Furry blanket for a comfy nap and some sexy pics… That’s the perfect setup to have sweet dreams. ;)
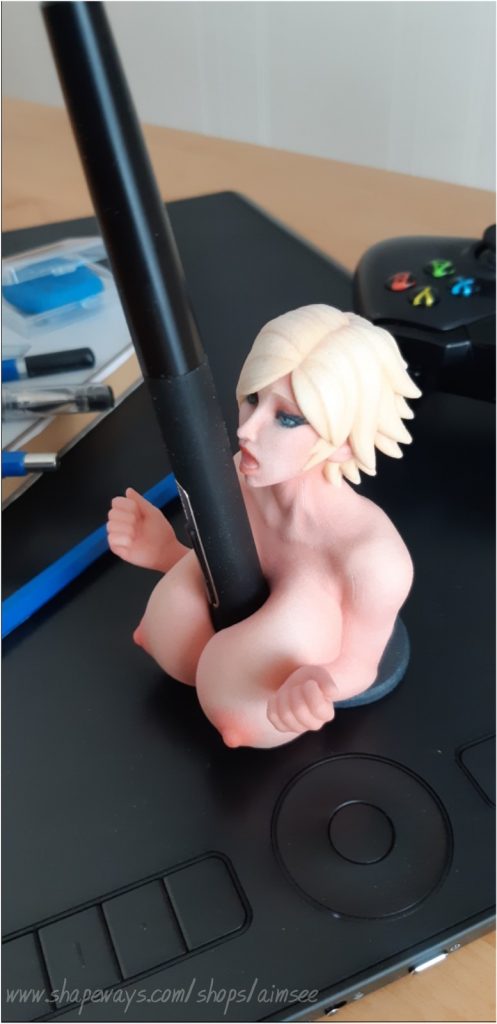
New Aimsee collectible available! You have a Wacom tablet? You definitely need this. :D You don’t have a retouching tablet? You still need this. ;)- Tablet pen holder 3D printed on demand: