

Giant Cat Tower Making Of Blog
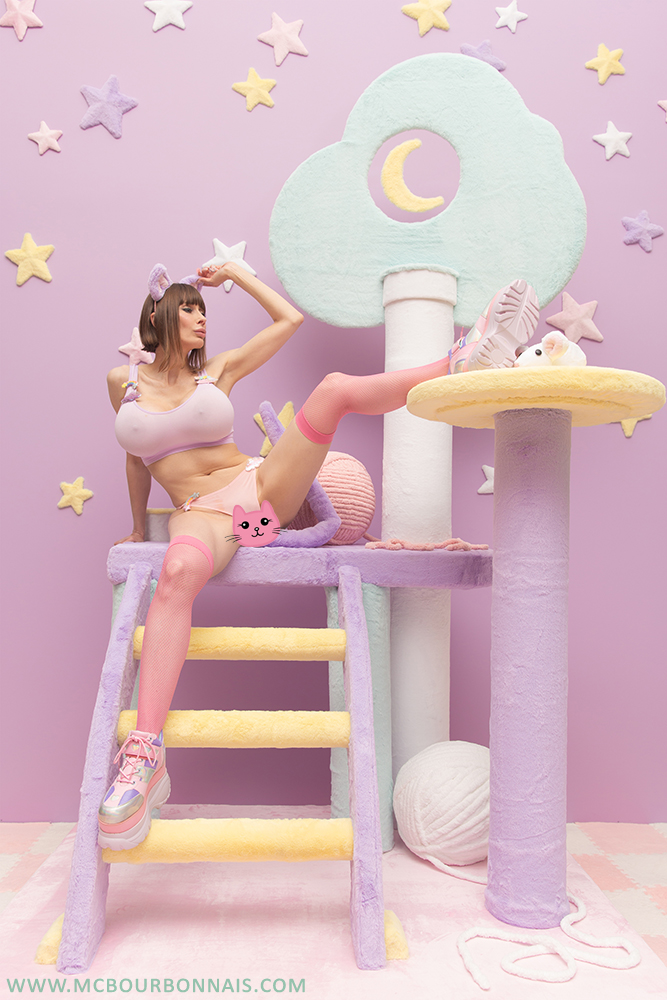
Sexy cat girls are nothing new but I’ve been wanting to do my own version of this concept for a long time. I wanted to do something different so I thought about building my own giant cat tower. :D I looked at a lot of real cat towers online and ended up seeing one that was all made with pastel colors. It was so cute, definitely ‘kawaii’ and since neko girls are very popular in the Japanese pop culture, I decided that this would be the artistic inspiration for my giant cat tower. It would be pastel, kawaii and girly, but very sexy.
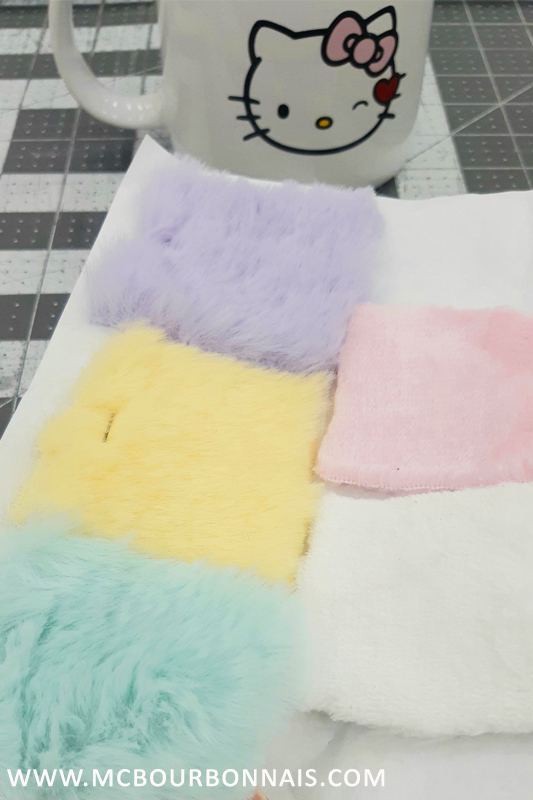
It started with a plan and measurements. I knew that I wanted to cover my cat tower with fake fur so I needed to know in advance how big my structure would be and how much fake fur I’d need. Because I would need a lot. We never know what will be available at the fabric store when we arrive there, we always have to improvise depending on what’s available. So at least, I needed precise measurements for each part of my cat tower. And finally, these are the fabrics I’ve got. That became the color palette I would work with for the rest of the project.
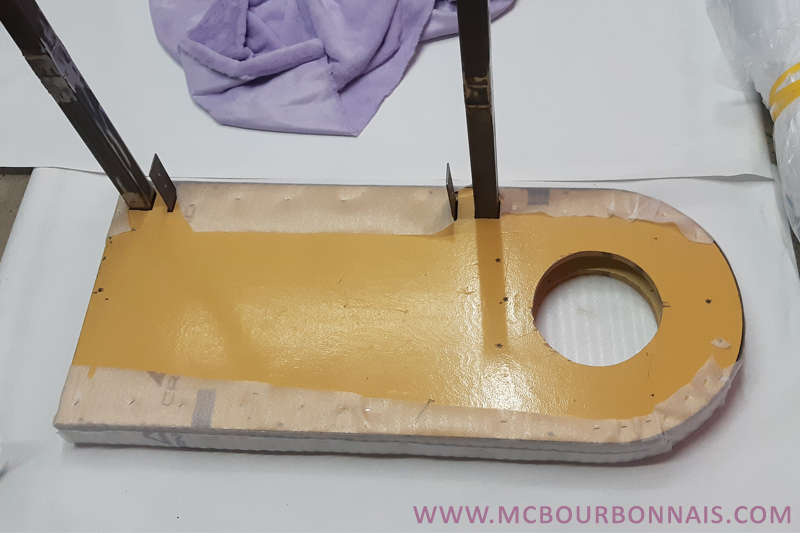
When I build a set, the goal is always that I can sit and stand on this set to pose. So the first step was to build a strong structure that would be stable and that would safely support my weight. This was the main part of my structure. You can see the circular hole into which one of the ‘towers’ would be inserted. Yes, I use a lot of recycled material that was already used for other sets.
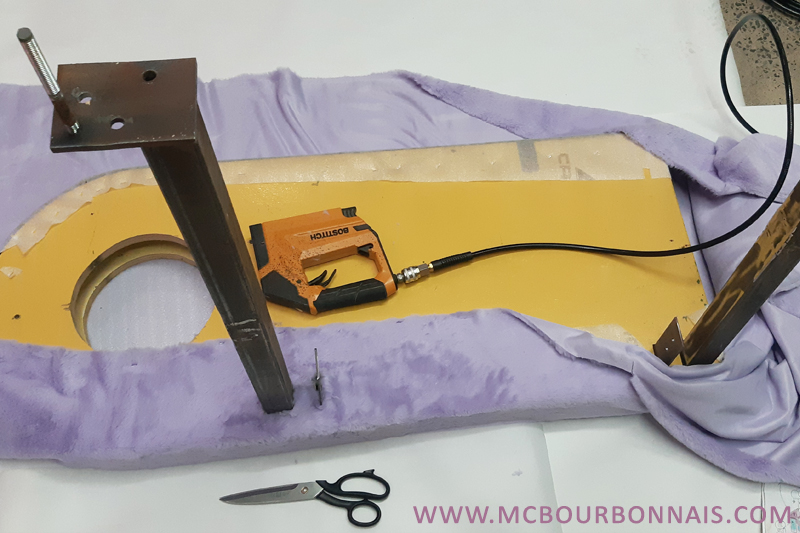
I covered that platform with fake fur using a staple gun. Notice that I put paper on the floor to keep the fake fur clean. If I had put the fake fur directly on my dusty workshop floor, that lovely fake fur wouldn’t be lilac anymore.
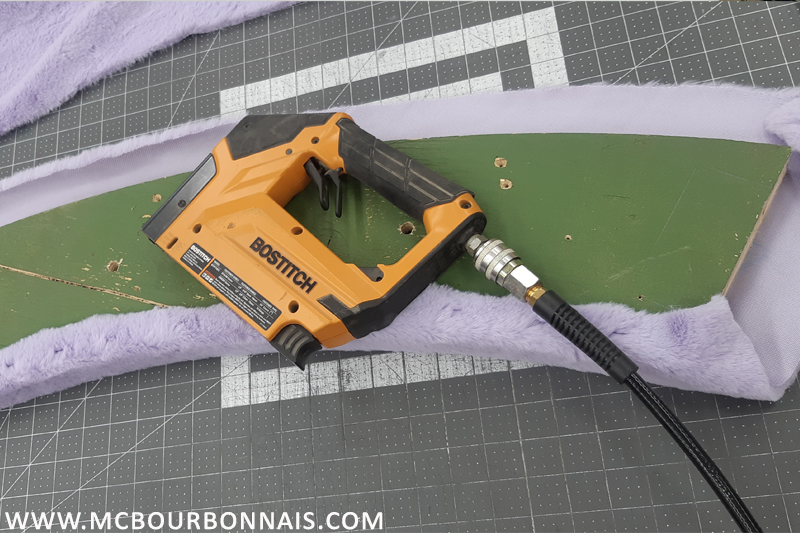
Using the same technique, I covered many other parts of the cat tower with fake fur using the stapple gun. This piece was one of the sides of the ladder in front of the cat tower.
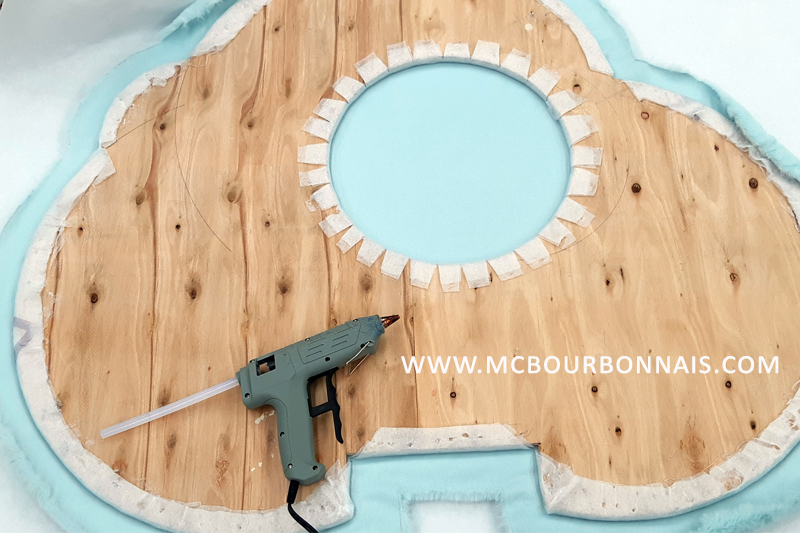
On this picture, everybody will recognize the giant cloud. :D I just used hot glue for this one because my plywood was thinner and all the stapples I had were too long. That’s what happens when you work in the middle of the night : you can’t go to the hardware store to buy what you need, so you improvise.
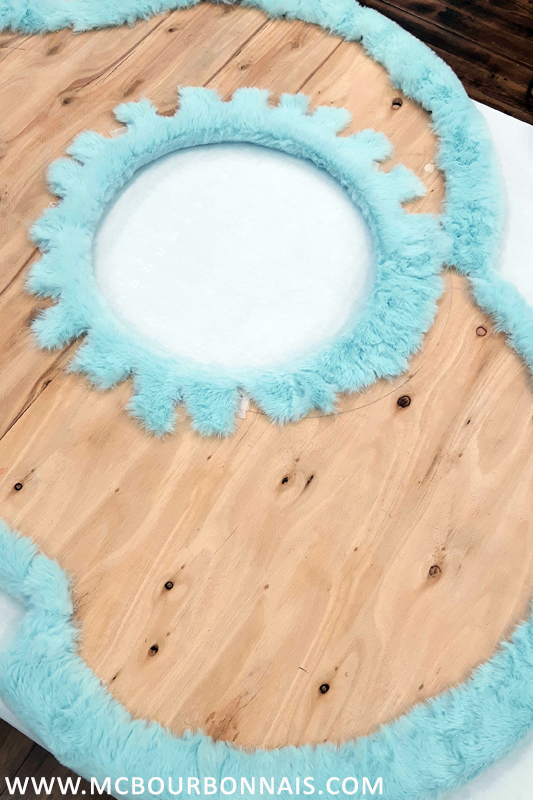
Hot glue turned out to work just as well for this piece. Notice that I had to make notches in the fabric around the circular hole to make the fur follow the round shape. Also, no need to make the back look good since it won’t show on the pictures. So the back of the cloud would stay as it is.
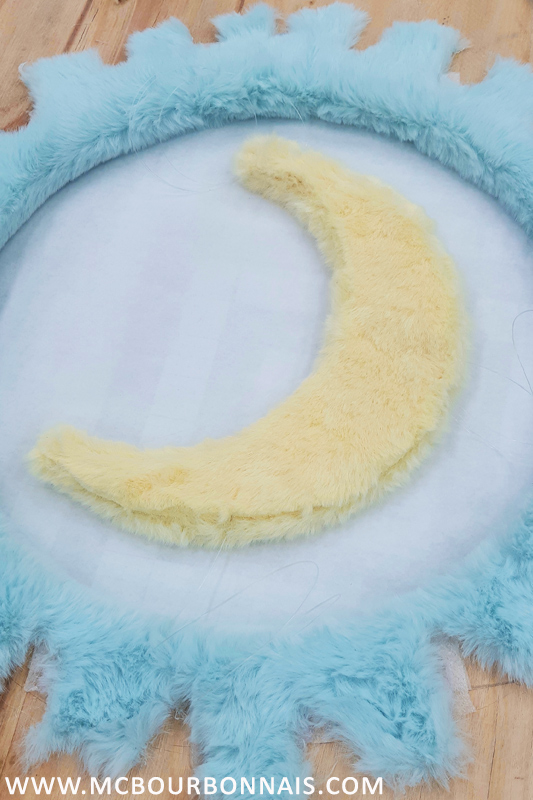
I cut a moon shaped cardboard that I covered with fake fur and I installed it inside the round opening of the cloud with 3 see-through fisning threads. Yes, that’s how it was simply holding by itself in the middle of the opening. :) We see it better on another picture later in the blog.
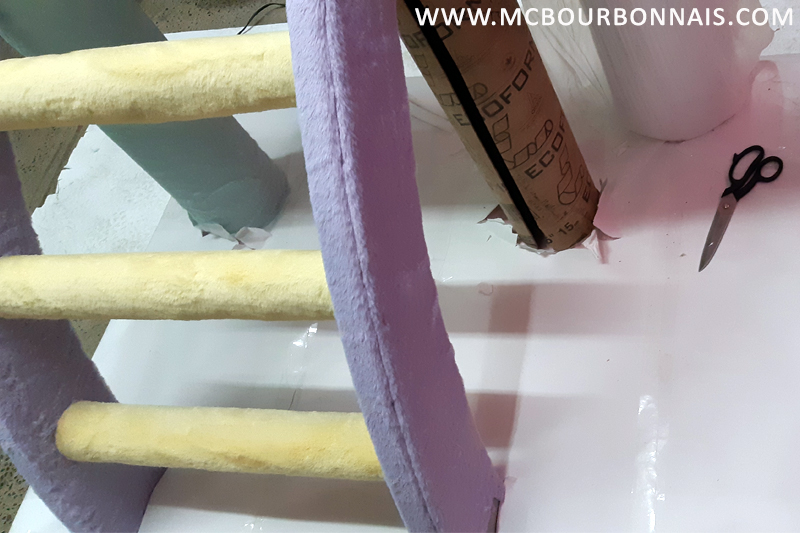
On this picture, you recognize the ladder and the lilac side pieces that I was covering with fake fur earlier. Starting to put the different cat tower pieces together was very satisfying. The metallic legs of the platform you saw earlier were hidden by 2 cardboard tubes that have a completely different use in the construction industry, but I often use these giant cardboard tubes in my photosets. I had used them to build my ‘Damn Beaver’ photoset too. I had covered the cardboard tubes with real tree bark to create a ‘couch’ made of fake logs. :) If you’re curious, you can read this Making of blog here :
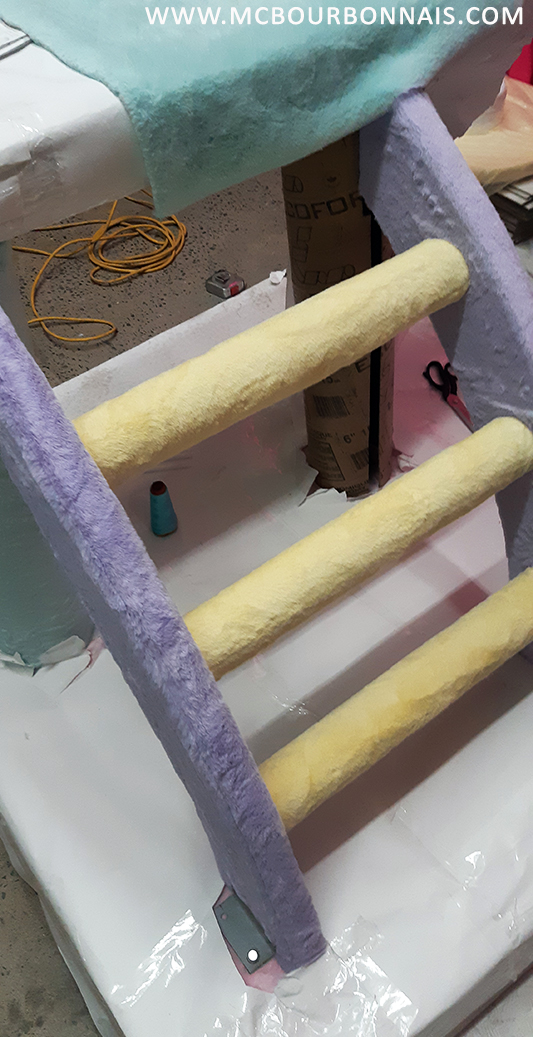
Here’s another angle.
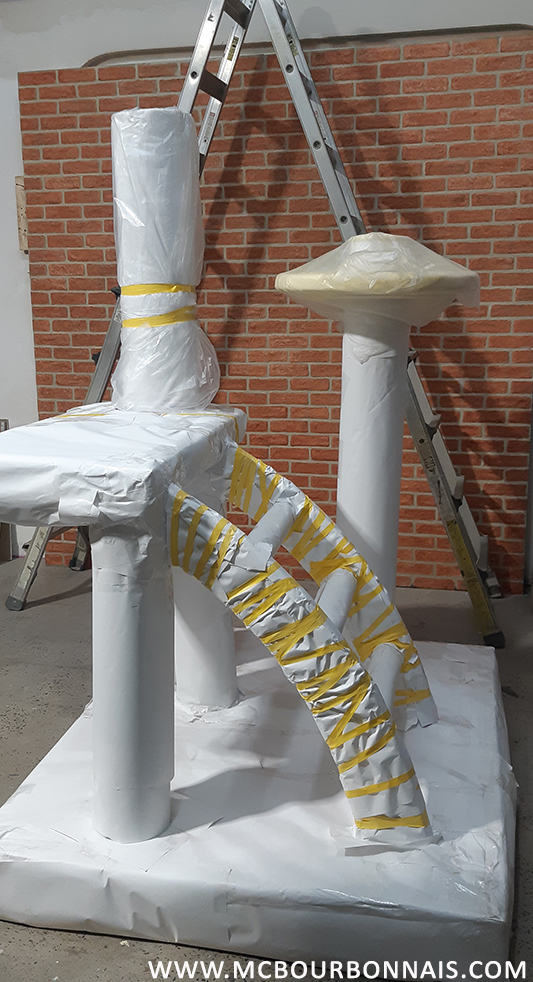
Since I was working with pastel colors, the challenge was to protect these pale colors and to keep the fake fur clean until the photoshoot day. My workshop is a dusty place, after all, it’s a workshop. As I would cover a piece of my cat tower with fake fur, I would wrap it with paper to protect it. Eventually, the whole cat tower was wrapped in paper.

In every structure, there’s always a bit of engineering. Even if it’s not always complicated, we still have to figure out a few details. This is how the cloud (my piece of plywood covered with fake fur) was attached to another piece of plywood inserted into the tallest tower. This would later be hidden with a lid (a piece of cardboard also covered with fake fur.)
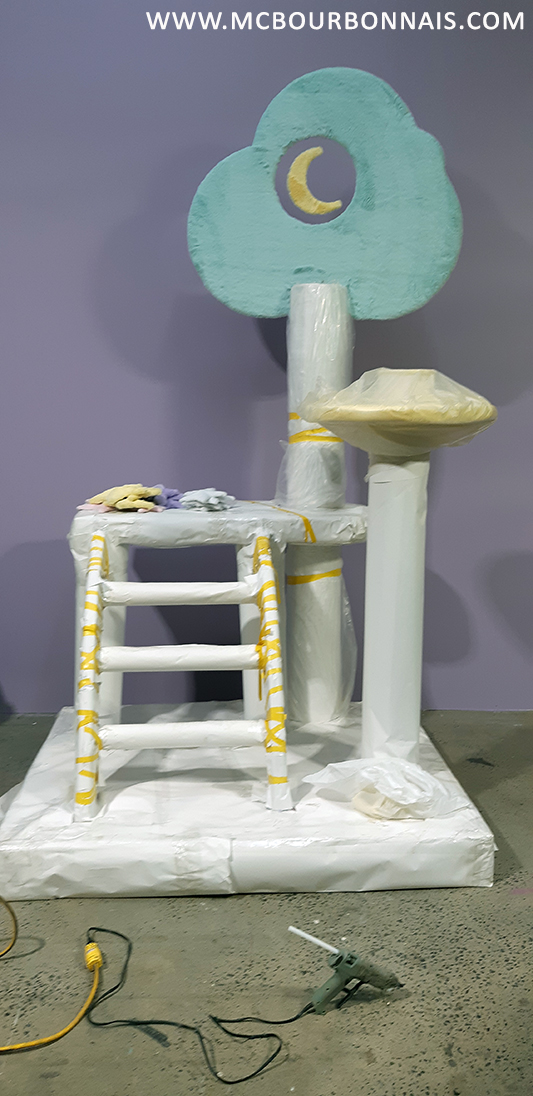
Seeing the cat tower almost fully assembled was extremely satisfying. :D At this point, only a few details were missing. I’m talking of the cat tower itself, not the other ornaments. Because my concept needed other ornaments.
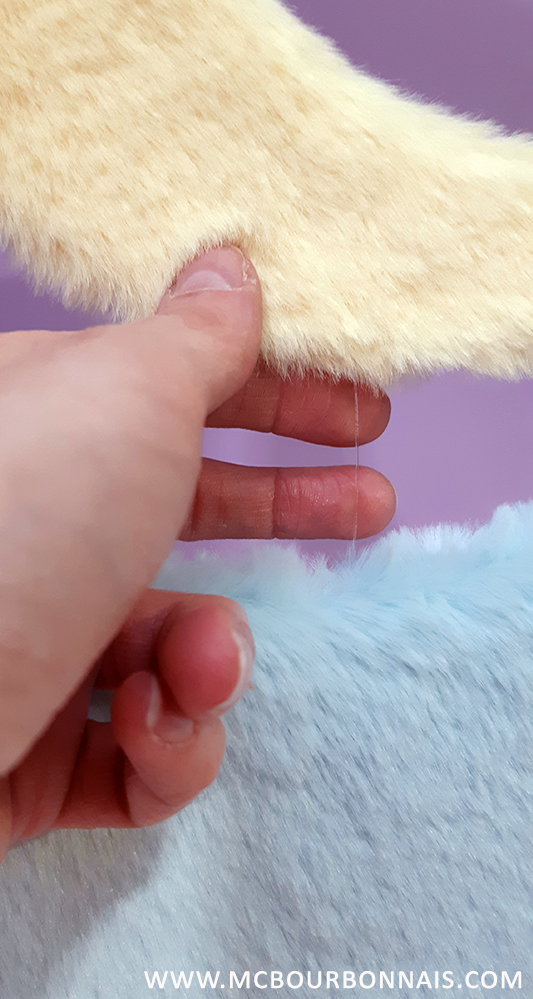
Here’s a closeup of the moon where you can see how it was holding in the middle of the cloud thanks to the fishing threads.
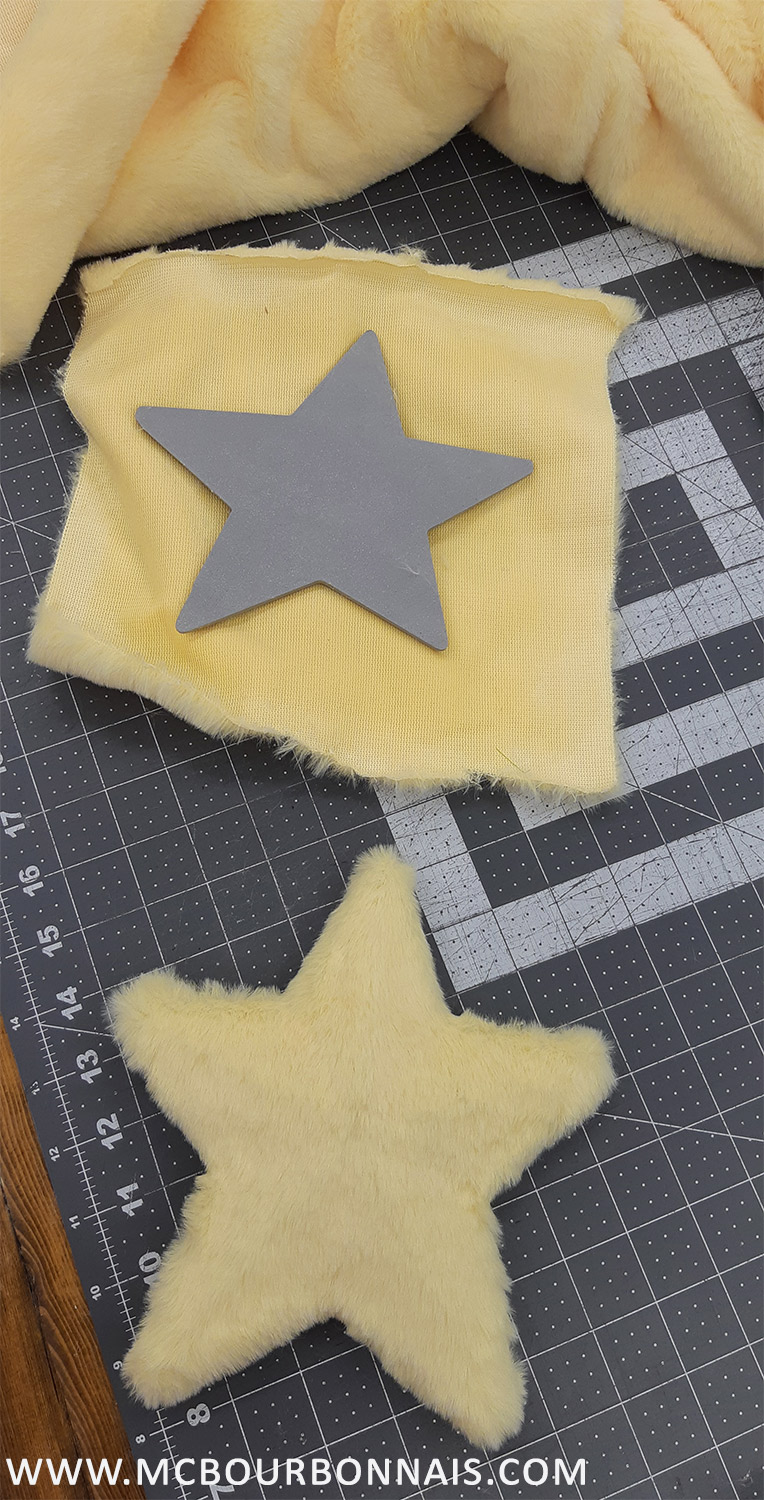
As I said, I wanted my cat tower theme to be very kawaii. The pastel color fake fur was a part of it and to go with the moon and cloud, I wanted to add stars on the background wall. :) I could have cut many cardboard stars but I found a 3D model star online so I could easily 3D print many stars of various sizes.
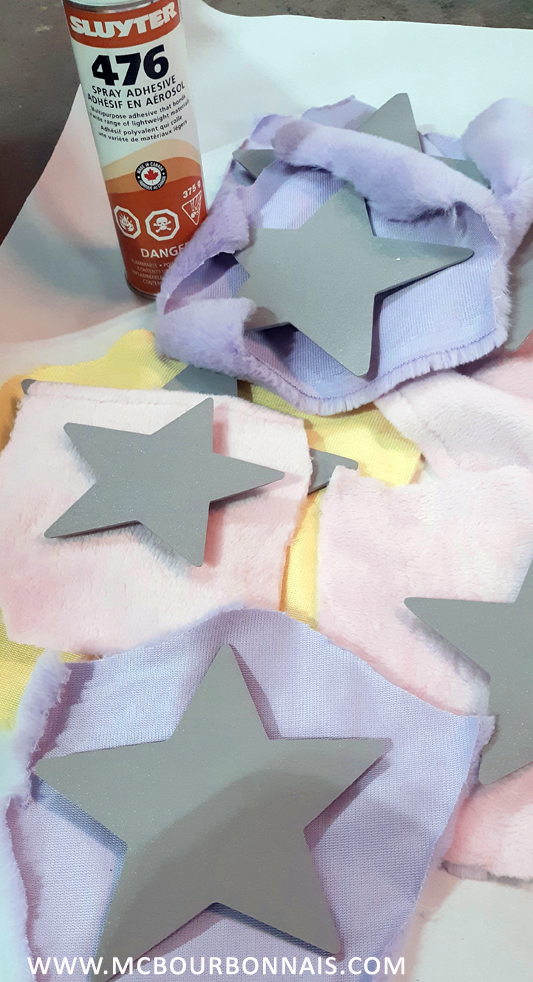
I covered the stars with fake fur using spray glue. And I made many, many stars.
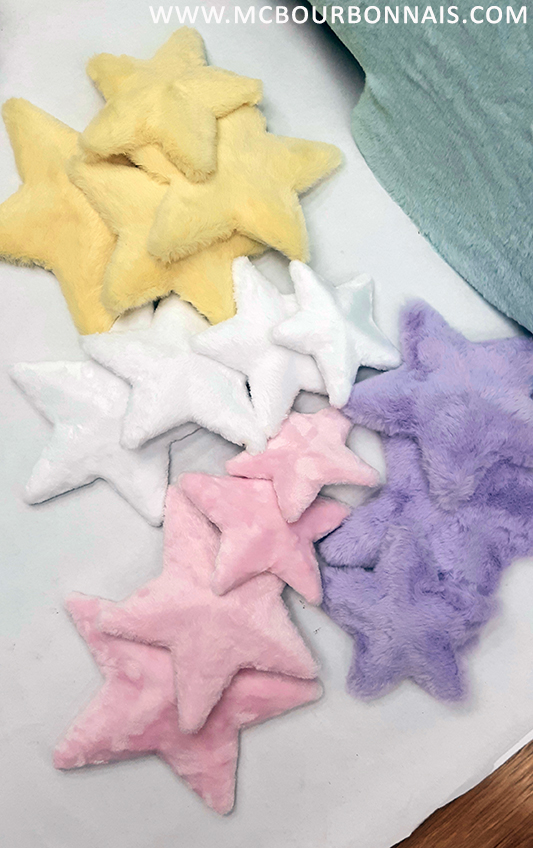
They look so cool! I love my fluffy stars! :)

Building a structure means that the parts will be assembled together in some way and some attachments don’t always look good. So I had to build various lids and pieces to hide some of those attachment details. Like these little pieces that were also covered with fake fur.

You see how the sides of the cat tower ladder were bolted to the base. These tiny yellow pieces were designed to hide this.
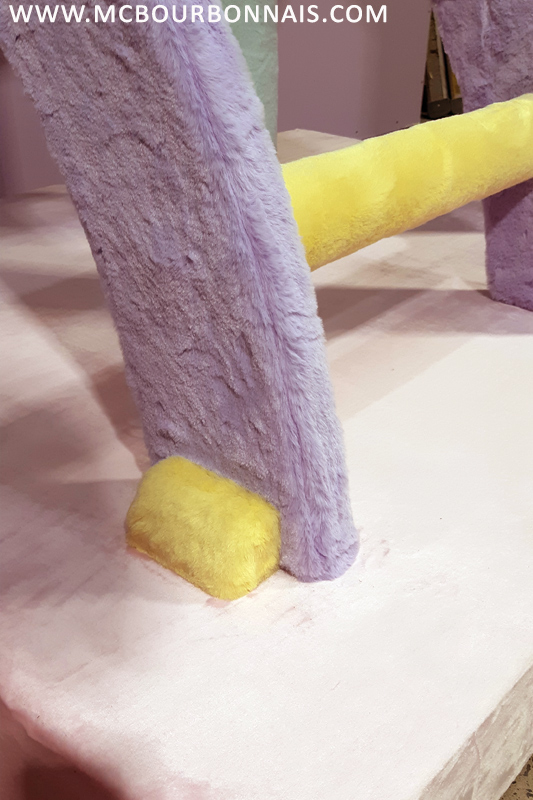
So simple but so efficient. :D
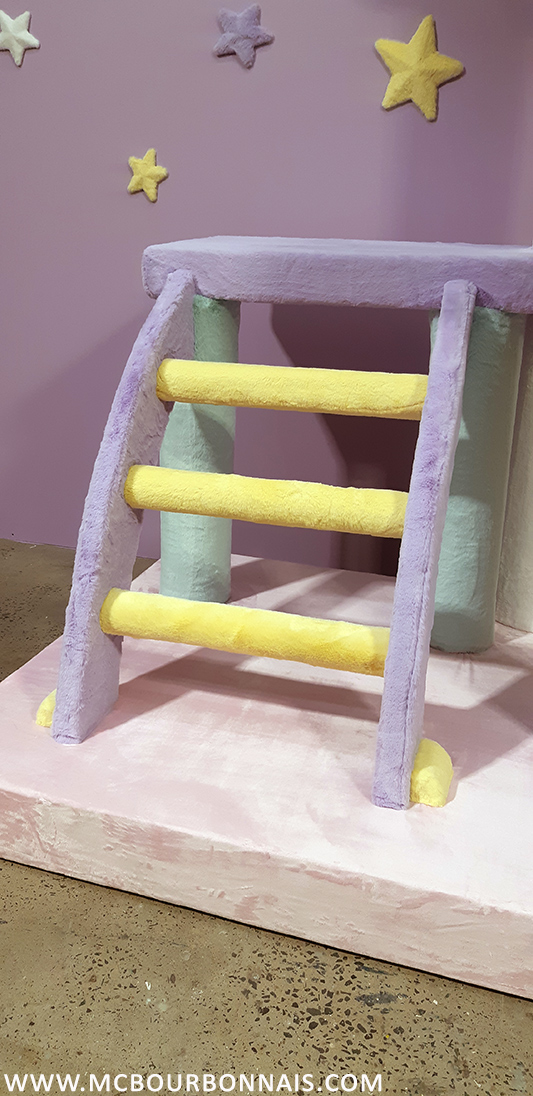
You can see this from another angle.

This is how the yellow platform was attached to one of the towers. This had to be covered too, especially since I was planning to sit and pose on that platform.
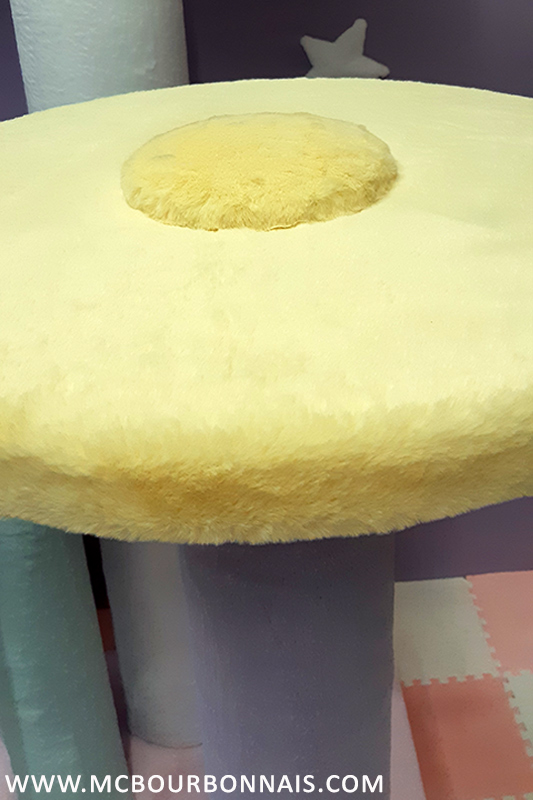
So I 3D printed another lid that I also covered with fake fur.
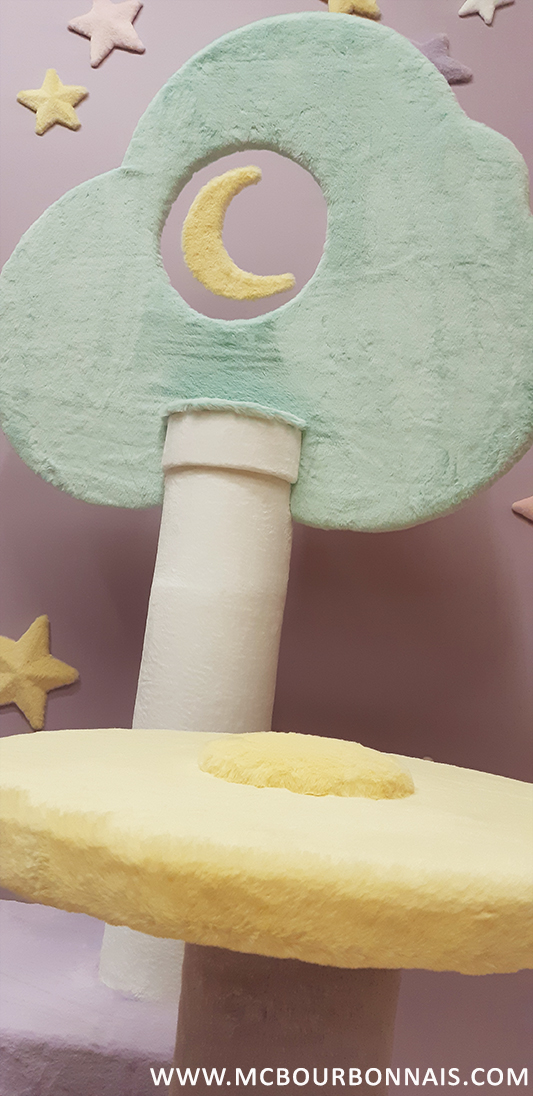
Nothing shows. It looks like it’s part of the design. :)
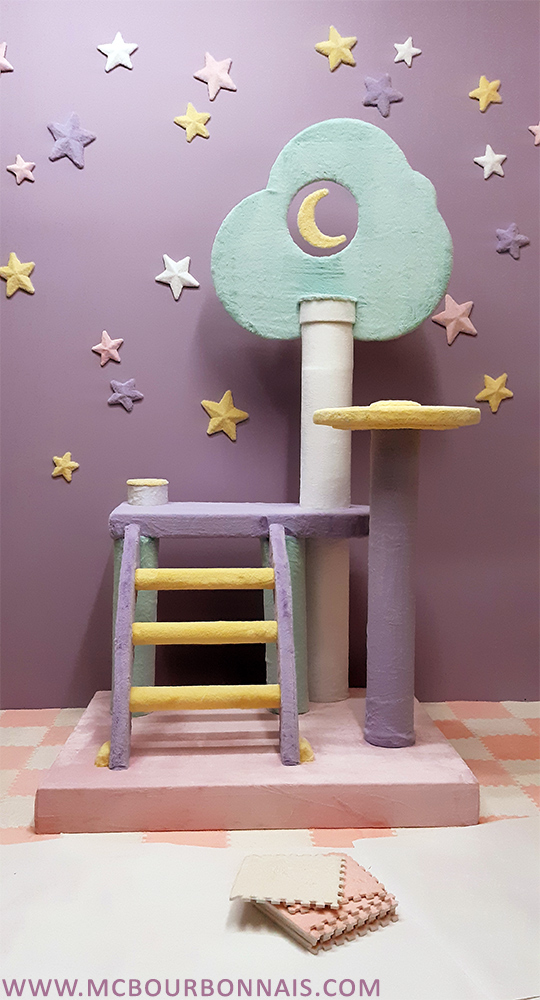
On that picture, you can see the finished set with the stars on the wall and the floor tiles. :D We would think that installing the floor of a photoset would be one of the first steps, but that’s not always the case. In this specific case, since my floor was made of white and pink fluffy floor tiles, it would have been complicated to install them in advance and to walk on this floor, even covered, without messing it up. White and pale colors are very hard to work with. There’s always a stain somewhere. Working with white is a nightmare. Think of sewing shops specialized in wedding dresses. Cutting, manipulating and sewing white fabric is complicated. You always have to make sure that the tables and the sewing machine surfaces are clean, no dust, no oil. Because sewing machines have a motor and therefore, they need oil and oil stains on fabric happen more often than you would imagine. Very long dresses with a train that touches the floor while you’re manipulating them and sewing them are hard to deal with, especially if they are white. So walking on a white floor while you’re installing the rest of the set isn’t ideal and I installed the floor tiles at the very end. I covered it with paper to make sure that it would stay clean until the photoshoot day.
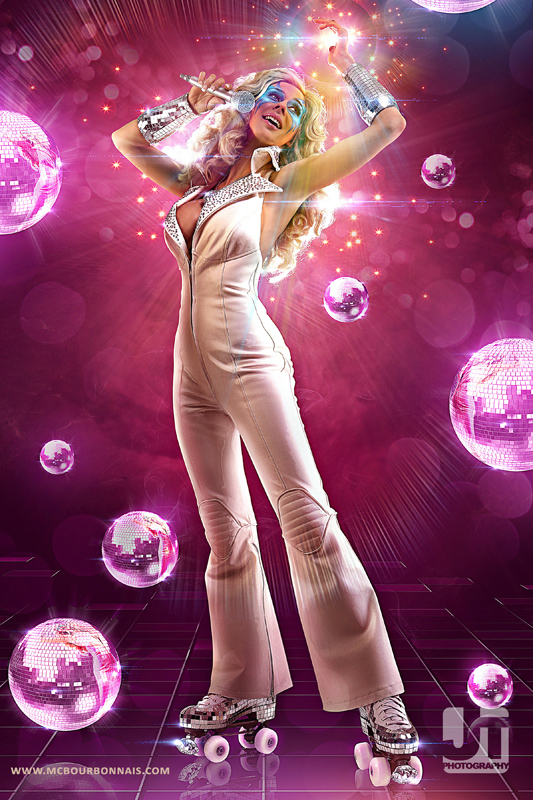
To make my neko girl concept even more perfect, I wanted giant yarn balls that would match my size. If I’m the cat, I need big yarn balls! :D I still had these plastic spheres that were actually disco balls. Many years ago, I removed each mirror piece of 2 disco balls to glue them on roller skates for my Disco Dazzler cosplay.
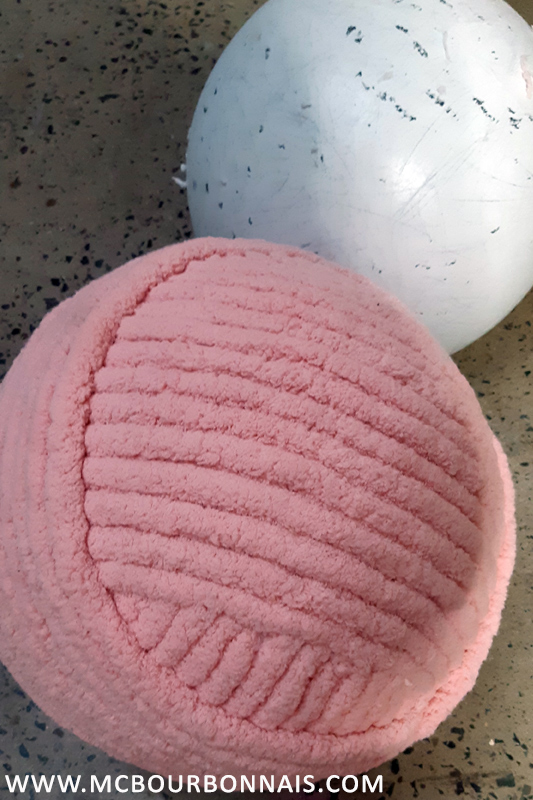
I used these disco balls, that are not disco balls anymore since they lost their mirror pieces, and I covered these spheres with big yarn, trying to reproduce the pattern of a yarn ball. Each strand of yarn was glued with hot glue and it worked very well. I made 2 giant yarn balls, a white one and a pink one, that happened to match the colors of my set perfectly.
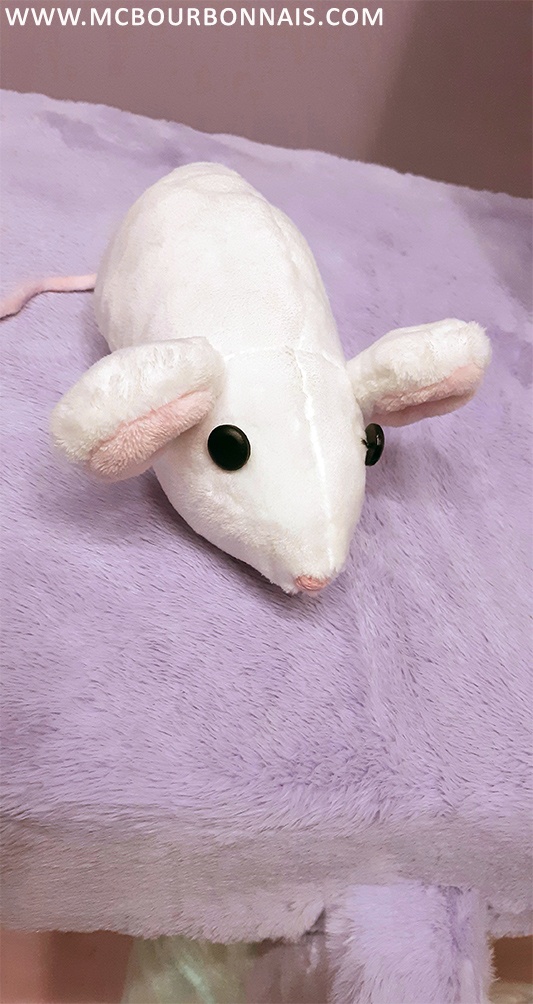
And finally, I wanted my cat to have a mouse to play with. :) On top of sewing my own cat ears and tail using the exact same fake fur I used for the set, I also sewed a mouse plush. So cute! :D And with this, my concept was complete!

My mouse was my friend all along the photoshoot. :)
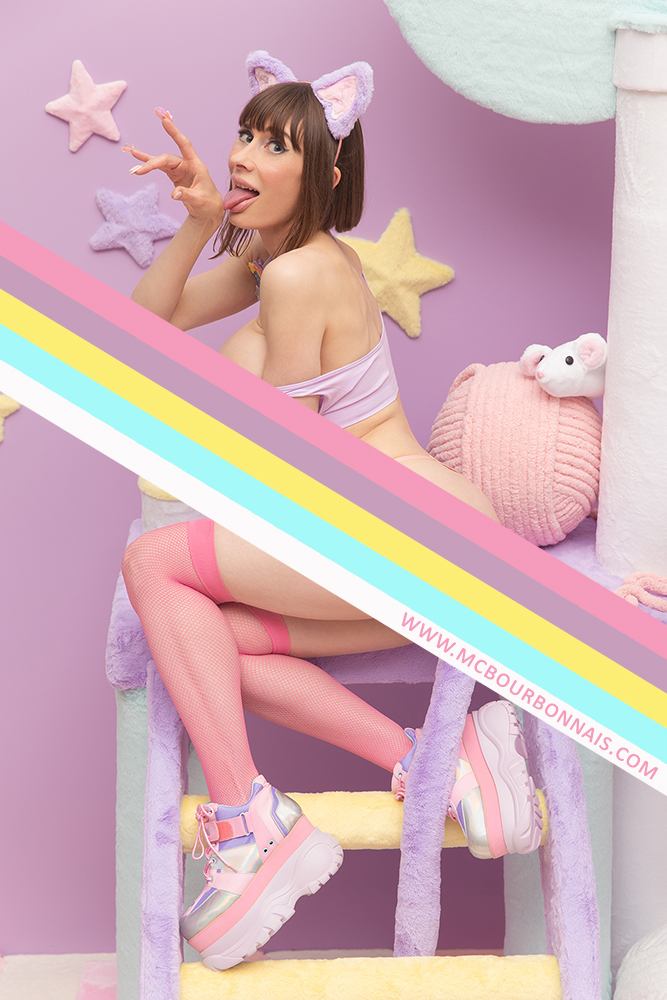
It’s cool to have props to play with during a photoshoot. For this concept, I used my giant yarn balls and mouse plush to create a different visual context for each pose.
Thanks for reading my making of blog! :) Make sure to check out my ‘Pussy Playground’ photoset :
That was a fantastic read, Marie-Claude! I was curious as to what your giant yarn ball was made out of. This was a fun art project. :)
Thank you, Jon! :) I’m glad you had a good time reading my blog. It was definitely a fun project to work on.