
Making of MKX Scorpion Cosplay – PART 2
Making of MKX Scorpion costume – PART 2
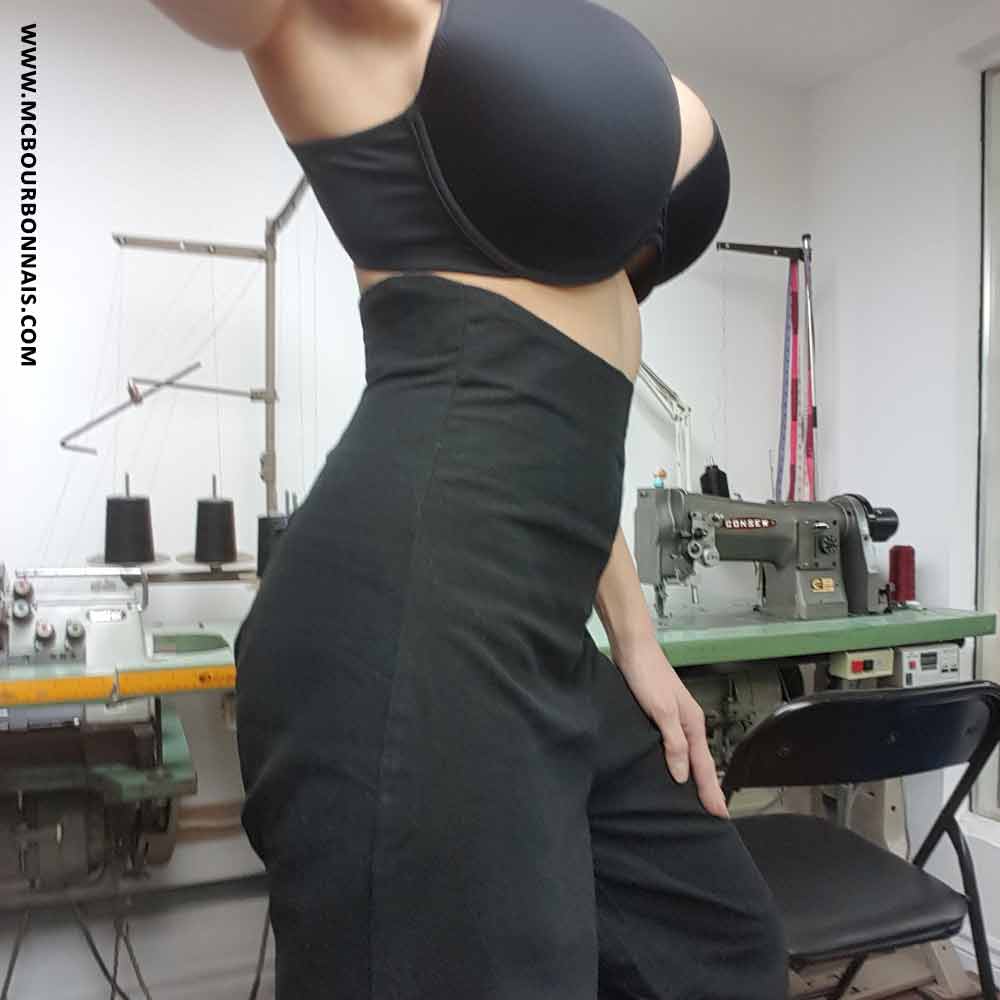
The easy part: The pants
Previous versions of Scorpion showed him wearing very tight pants that would have been, in real life, made out of a stretch fabric. This version of the costume, though, shows loose pants that are way closer to the traditional ninjutsu uniform (shinobi shozoku.) However, these traditional pants have many pleats at the waist, which we don’t see on Scorpion’s pants design. I decided to cheat and to make the pattern of very high rise pants, adjusted around the waist (worn under the sleeveless leather top) and loose around the thighs and calves. Tucking these loose pants into the boots gives the same look than on the reference pics. The pants open with an invisible zipper in the back. It was, obviously, the simpler part of the costume.
Scorpion’s yellow uniform, or where the fun begins
The most complicated and recognizable part of Scorpion’s costume is definitely the yellow garment. Since all the reference pics showed very clearly a detailed woven texture, I tried to find a fabric with very visible warp and weft yarns. I finally found what I was looking for in furniture fabrics.
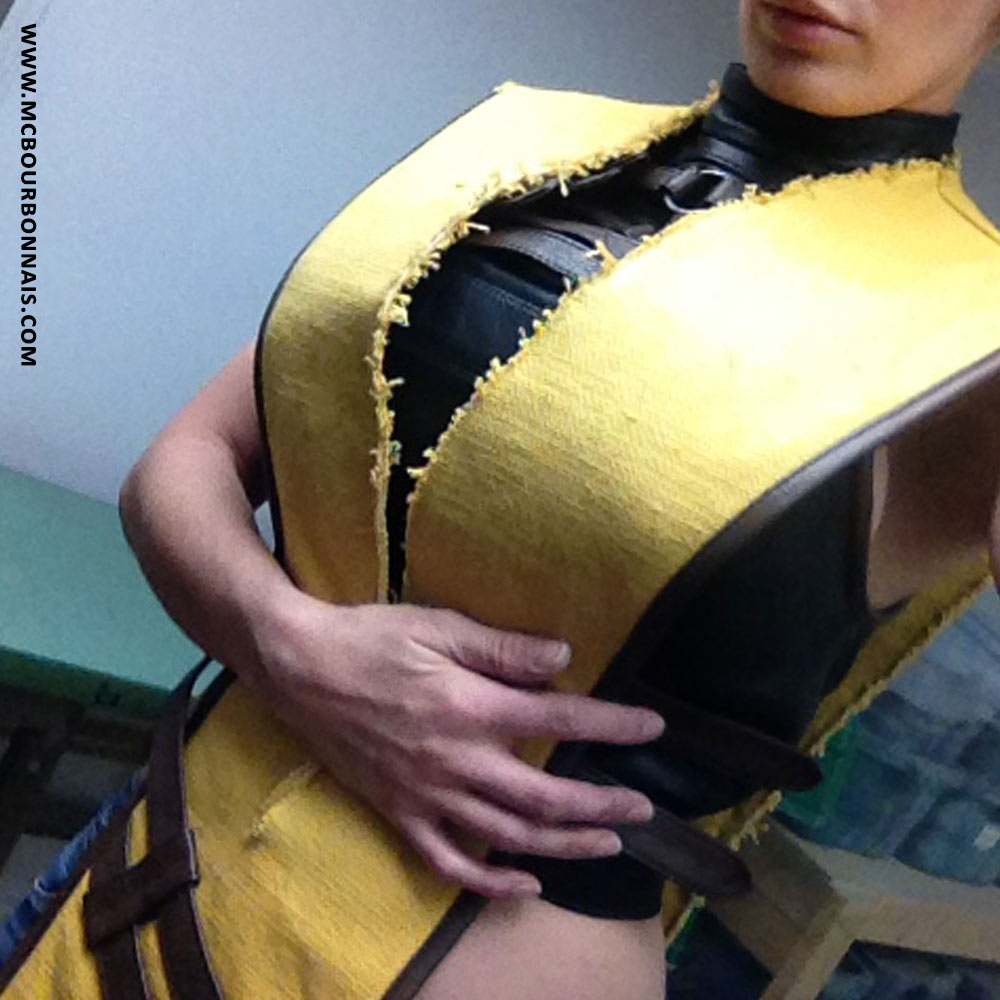
I used 2 layers of this yellow fabric with one layer of thermal batting (or insulated lining) in between to give the piece more thickness. Making a female version of a male character’s costume, I had to keep in mind that I wanted to reproduce the effect of a warrior costume, with structure and thickness. Male characters in MKX are particularly muscular. Scorpion, in real life, would have the figure of a bodybuilder. I not only had to adapt this costume’s proportions to my own figure, but also to use the materials to add bulkiness in order to create a more masculine and credible look. I made a mockup of this uniform and studied carefully the proportions of the black collar and shoulder yokes.
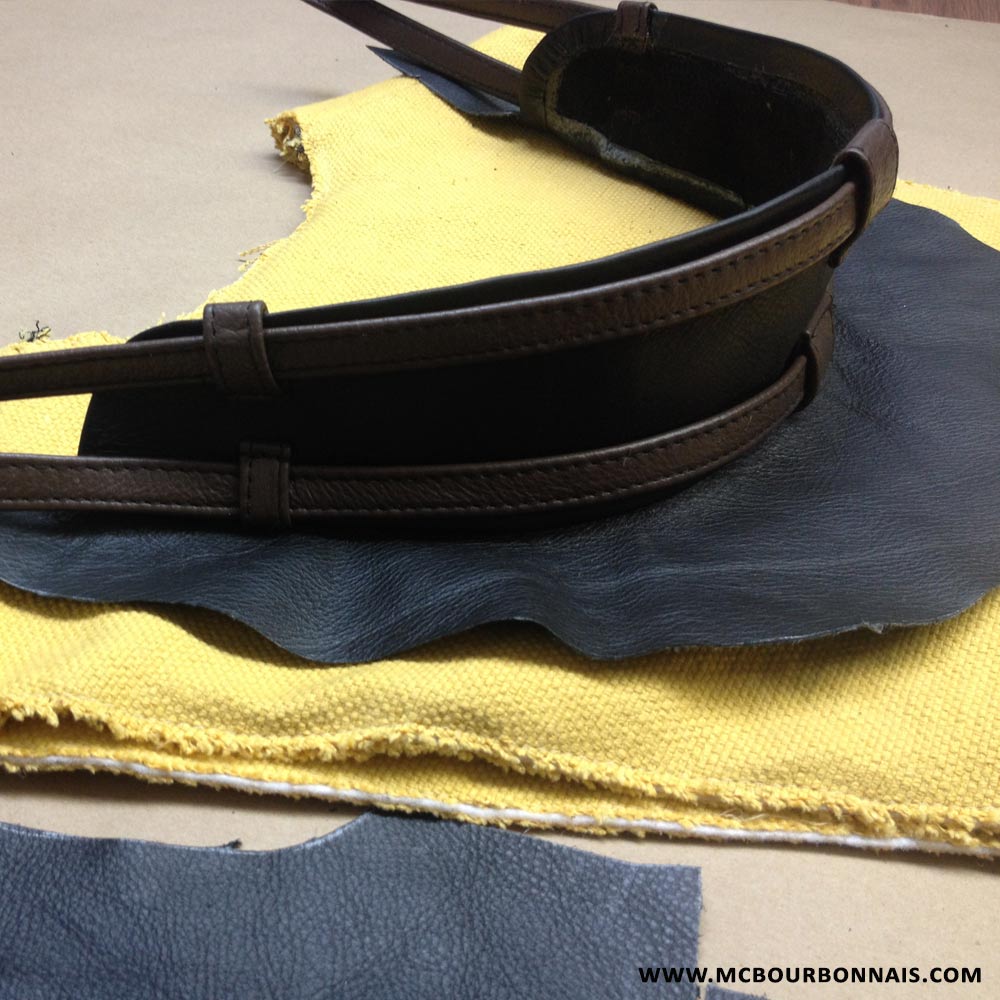
I made the collar very large around my neck to add bulkiness. I used brown leather bias to make the finish around the yellow garment, just like on the reference pics. (This brown bias, by the way, is made of leather straps that I cut in the hide and skived.)
Some details look insignificant, but are actually complicated. As an example, I had to ask a teacher who specializes in leather clothing to figure out how to sew the leather bias around the corners of the yellow garment in the bottom front and back. It was precision work and took some time. It’s a very good example of a design detail that shouldn’t be choosen for mass produced garments. Time consuming techniques that require many manipulations equal a higher cost.
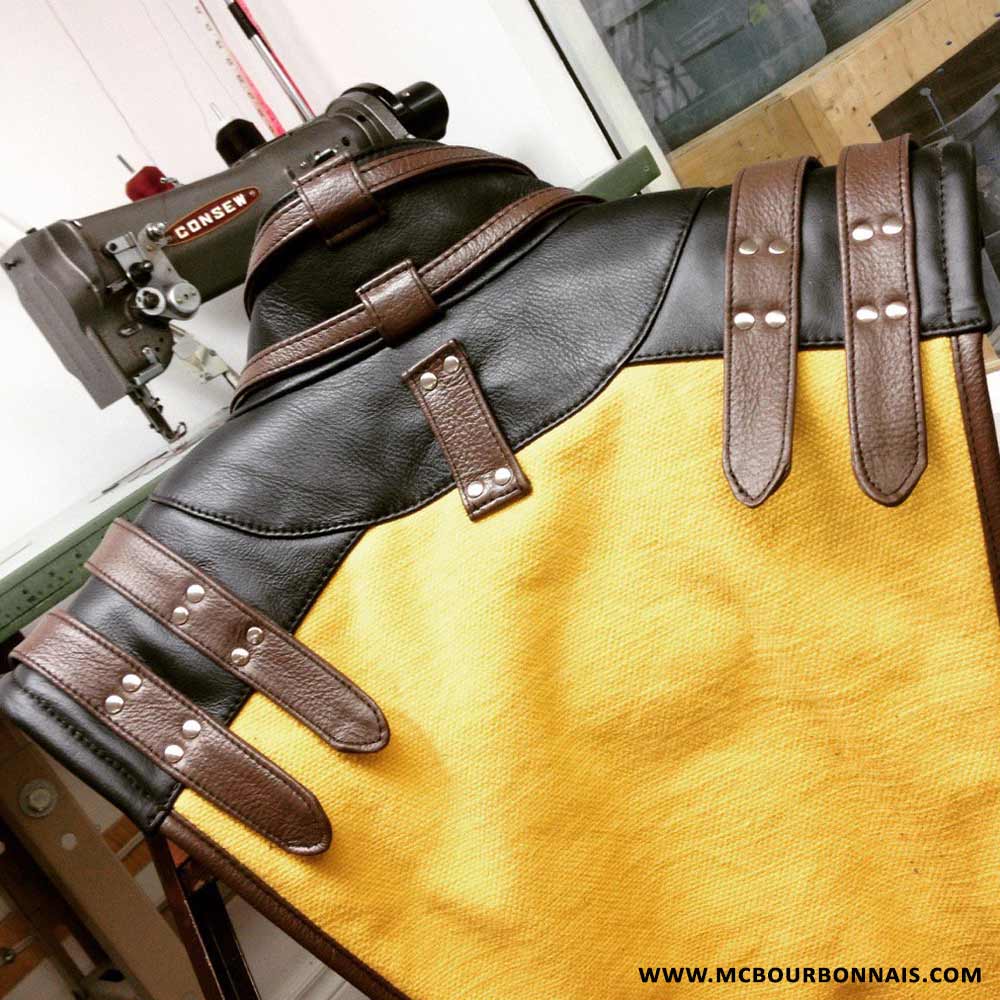
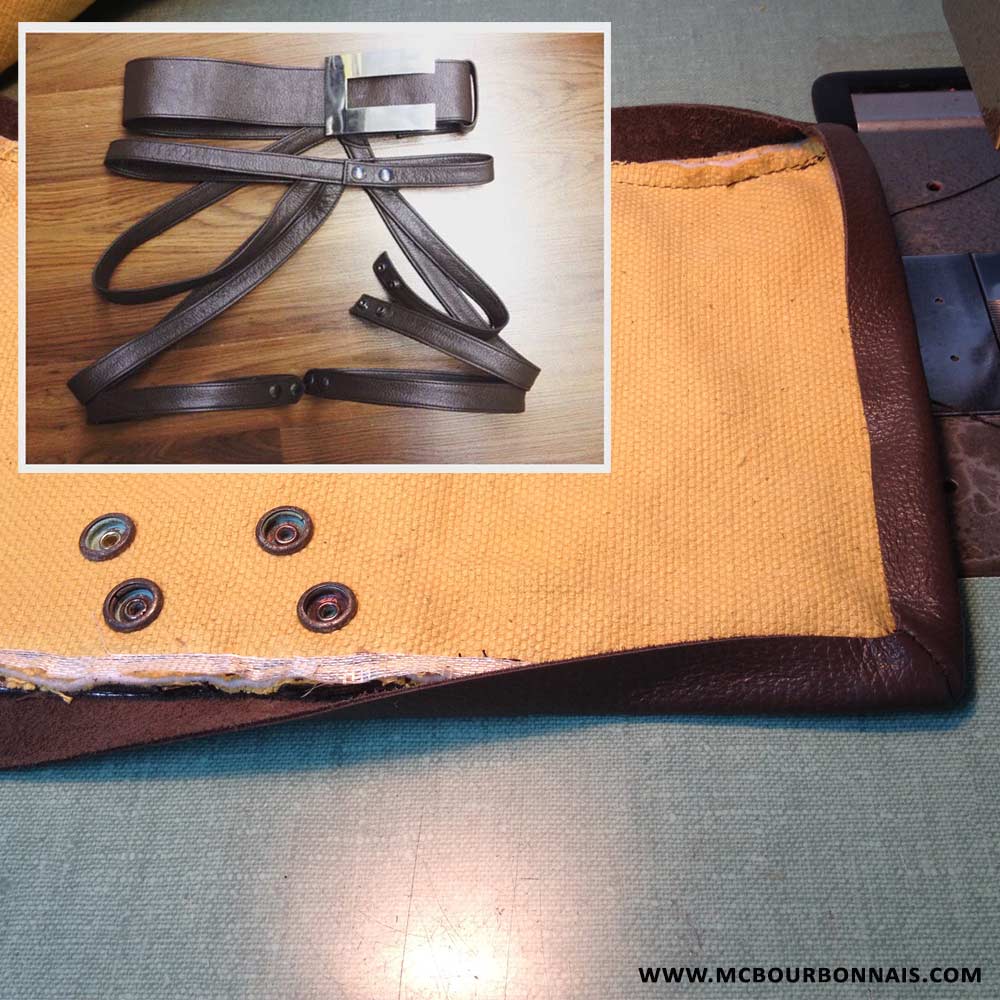
I also tested with my mockup all the straps that go over the pants and yellow garment in a very particular way. If you look carefully at Scorpion’s costume, you’ll see that some straps go over the yellow garment and are attached to the belt while other straps just disappear under the yellow piece of clothing. I had to observe my mockup and think a lot before I figured out a way to make that complex strap system work.

Which strap goes where? How does it all hold together? How does it logically open to make it easy to put on and take off? I didn’t want to have a whole bunch of leather straps and a belt all sewed together. Even though costumes do have design details that you’ll never find in regular clothes, it’s my work as a designer to make these costumes wearable in a credible way. Some of the leather straps are stitched to others while some are removable with snaps so in the end, it’s a leather accessory that makes sense by itself and looks like the reference pics.
I also made a mockup for the black hood since I thought that the yoke, in the center of the hood, was larger than what I would ideally have made it in a regular pattern. The yoke, on the reference pics, is actually so large that I was afraid it would make a ‘squarish’ hood once sewed in leather. Since I had less and less time before leaving for Romania, I decided to make a removable hood using snaps inside the collar. I would make a temporary version of the hood for the convention and could change it after if I wasn’t satisfied. But the leather hood turned out very work well, so I kept it as it was, and the fact that it is removable is just as convenient as it would be for any regular garment.
By the way, there are many ways to make leather straps and each technique will produce a different result. Some techniques take more time, but the straps will look good on both sides, while other techniques are faster, but the straps will look good only on one side. I could explain these techniques more in detail in another blog. The amount of time that I spent cutting, skiving and sewing leather straps for my Scorpion costume was considerable.
Don’t miss my next blog, Making of MKX Scorpion costume – PART 3!
Just amazing!
Wow.Outstanding.I will create my scorpion costume basead on you.