Celebrating my 10-year career! Souvenir from 2010: the 1st time I attended a convention! And not any convention: Dragon Con!
A long time ago, I started exchanging mails with a lovely girl who was dressing up as different characters. She was living in Atlanta. One day I was driving home, coming back from a photoshoot in Florida. (Yes, I traveled by drive a lot in my life and I explored the American East Coast more than once, driving from Quebec to Florida.) On my way back home, I was crossing Georgia and decided to contact that girl I had been talking to online. Maybe we could meet in person? Riki and her husband Chris accepted to meet me and we became friends instantly!
Riki and Chris invited me to stay at their place and to attend Dragon Con, which was apparently a huge convention. I had barely discovered cosplay the year before with the release of the Mortal Kombat Frost pics. I had never attended a convention or comiccon and I didn’t know anything about it, except that some people were dressing up as characters to attend those events.
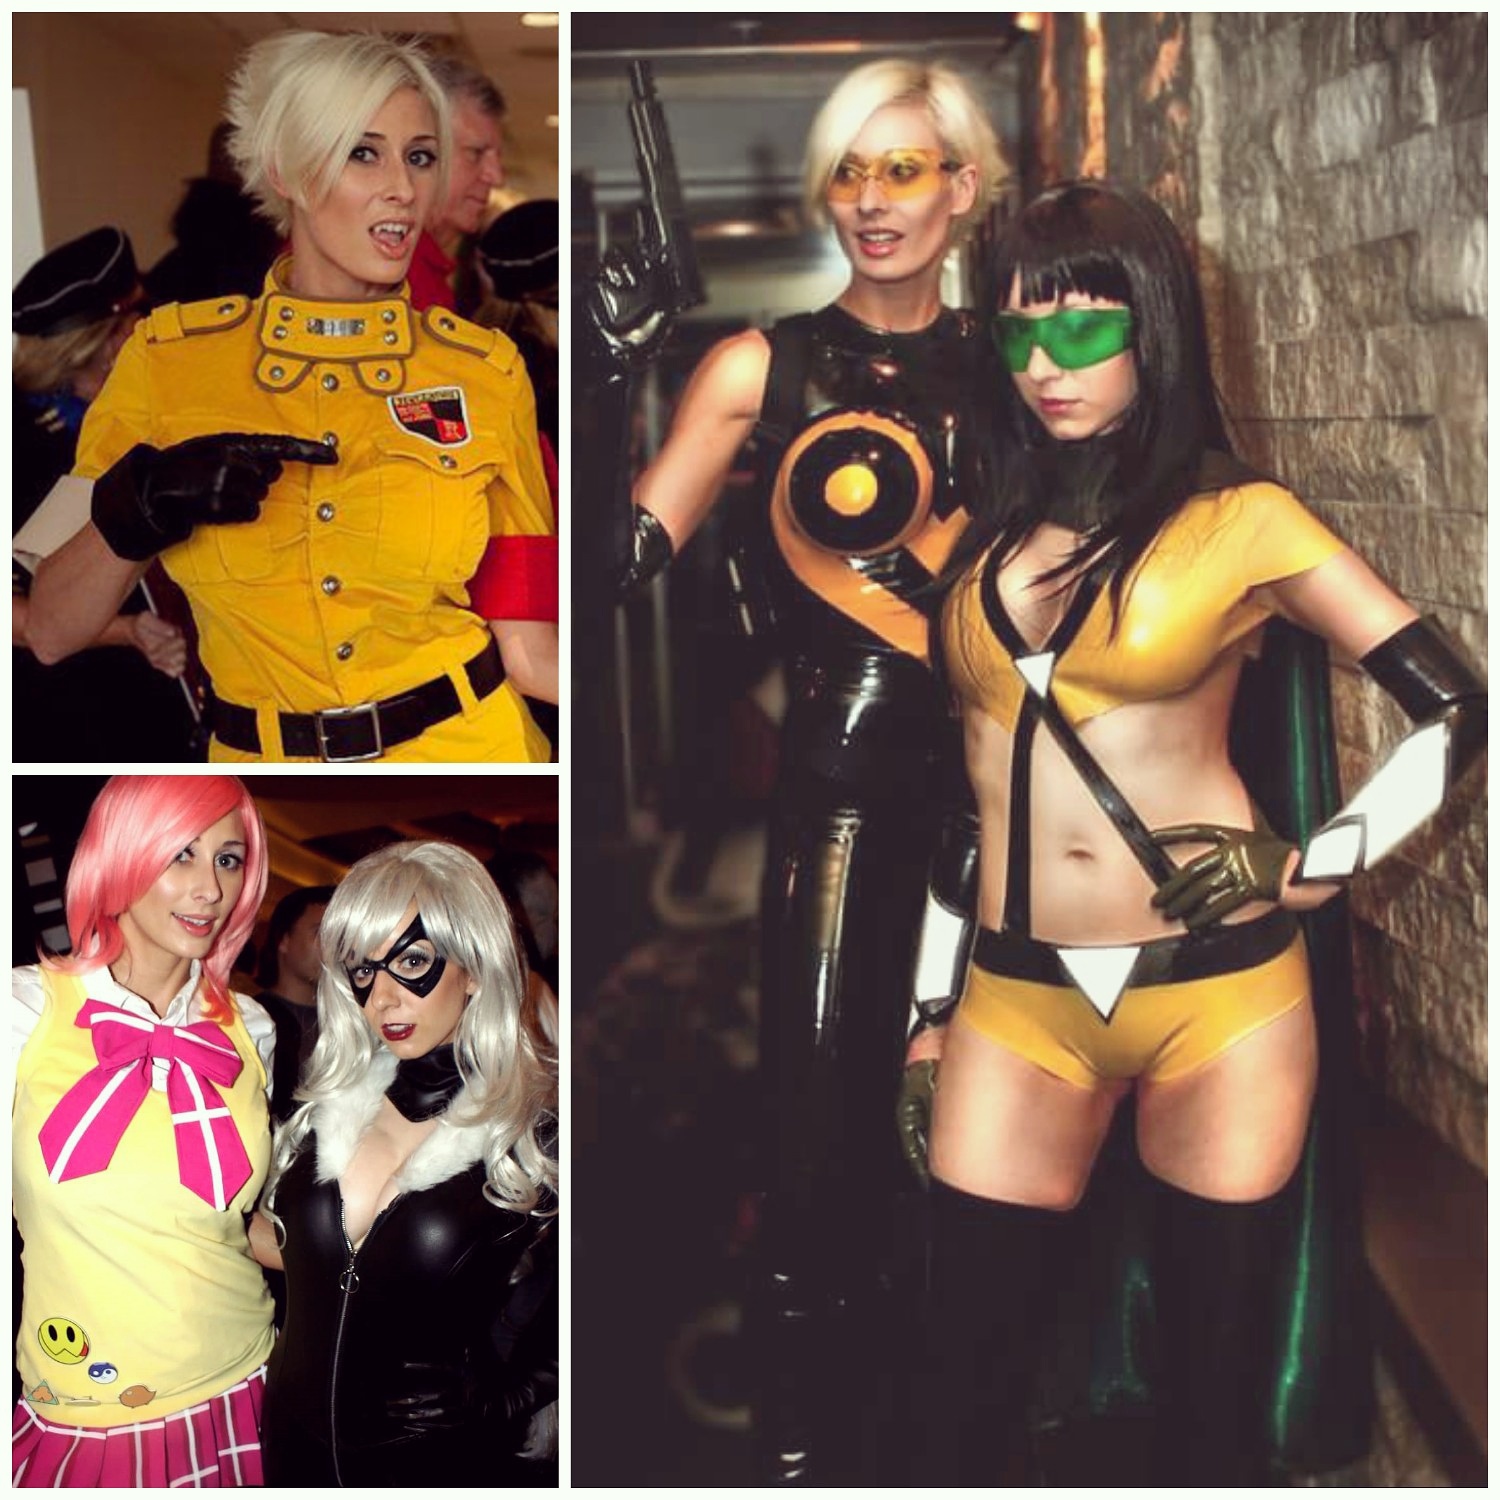
I made, especially for this convention, a first simple costume from an obscure Japanese anime. I don’t even remember the name of this character with the pink hair! lol I also made the more complicated costume of Seras Victoria from Hellsing, which I was watching at the time, and I thought it would be cool because she had short blond hair like me. (Have any of you ever noticed how the jacket sticks between my boobs like in the anime? This remains one of my great secret pattern drafting/sewing techniques.) And since I didn’t have more time to make other #costumes, I brought the first version of my latex Hornet costume from Heroes of the North. I had started playing as an actress in the live action webseries earlier that year.
And here I am with the incredible Riddle, attending my very first convention… and I loved it! Riki introduced me to other cosplayers, comic book artists, she explained me everything I had to know about cosplay and conventions. And it was the beginning of an adventure!
Celebrating my 10-year career! Souvenir from January 2010: I was published in the American Curves Magazine again! I didn’t know, but 2010 would be a busy and important year for me!
Photographer: Pirate Picture
Note: I sewed that red bikini! ;)
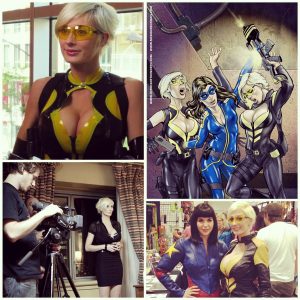
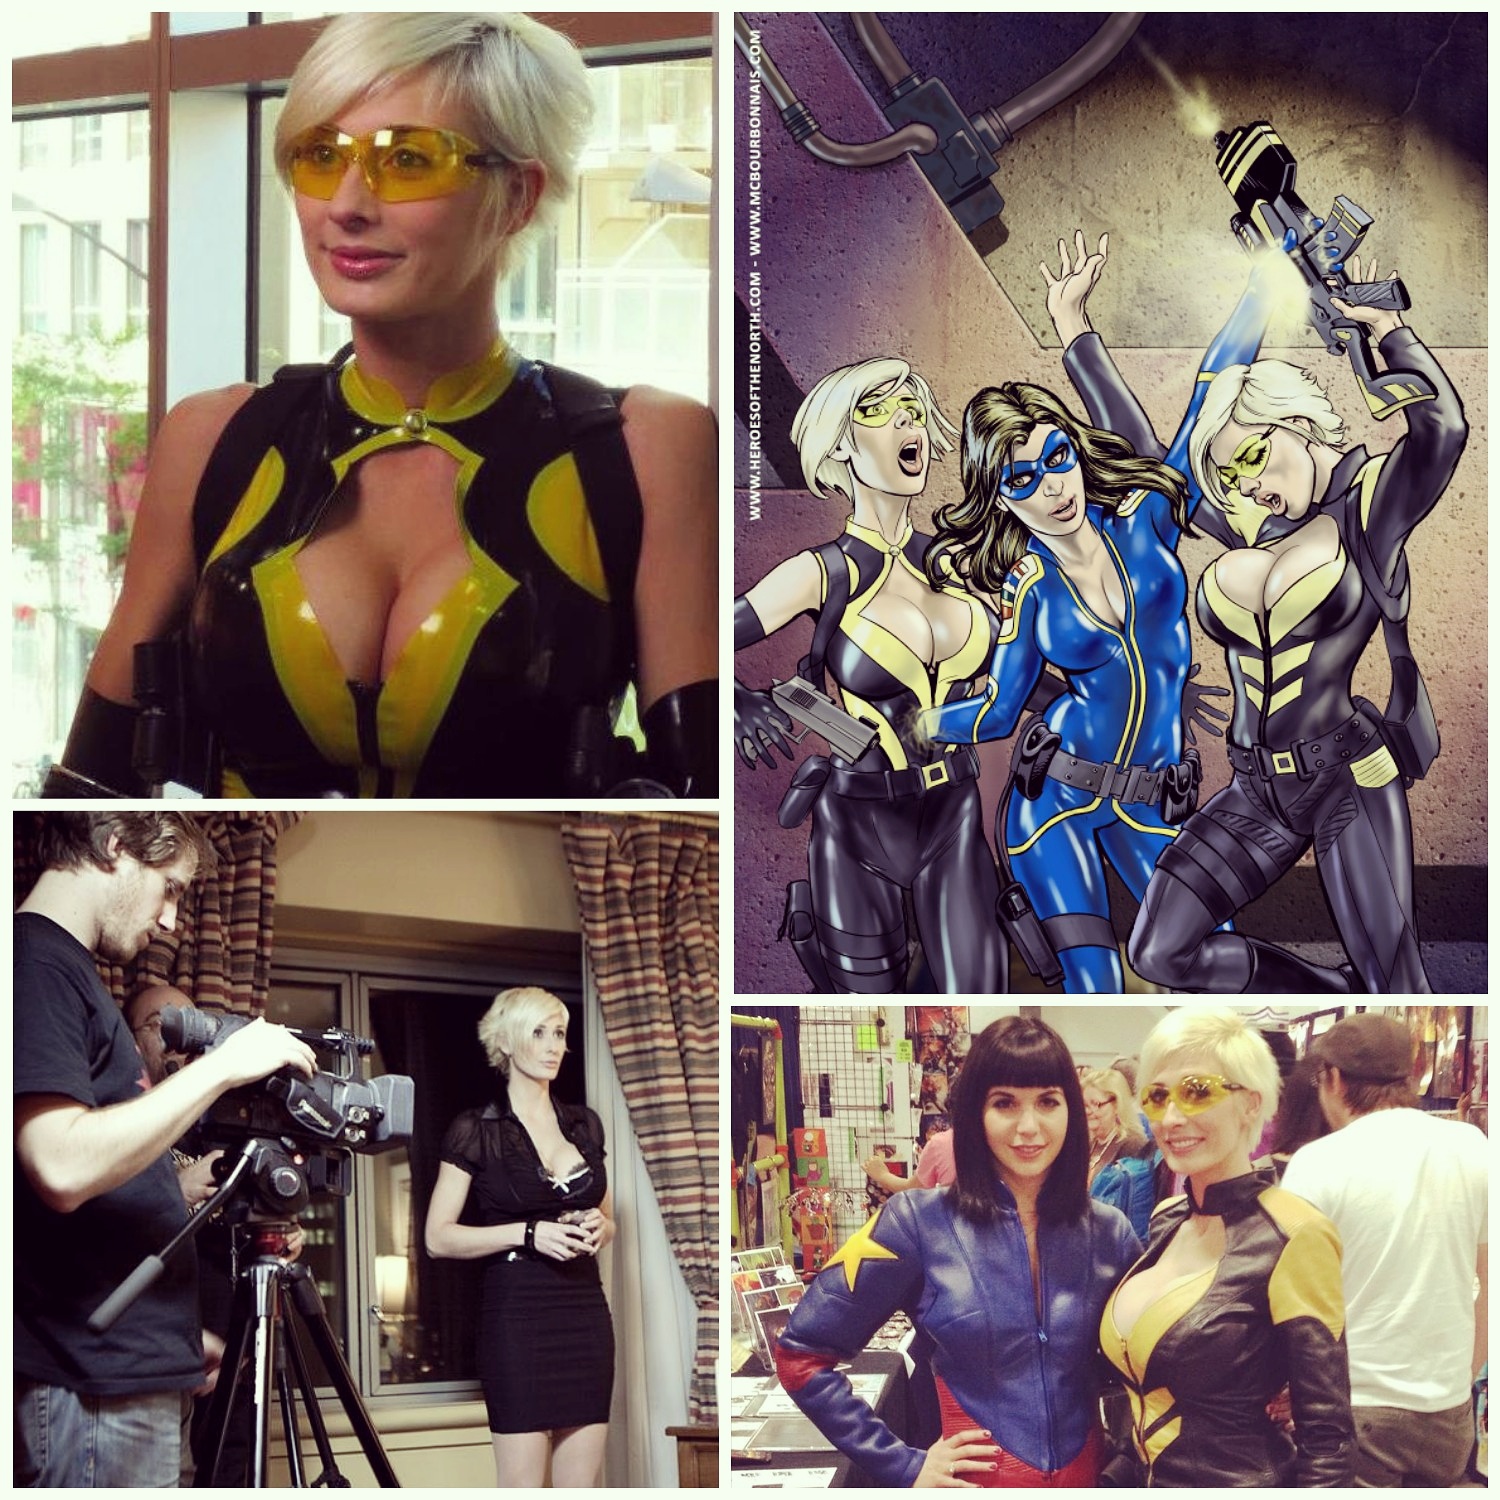
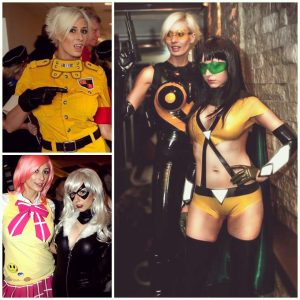
Back to August 2010: this is when I started collaborating with Heroes of the North, a live action webseries about Canadian superheroes. I was playing the role of Hornet, a supervillainess! I was not only one of the actresses of the show, but I was also hired as a costumer and I made new leather costumes for some of the actors. On the bottom right pic, the blue and red costume and the costume I’m wearing are 2 of the 7 leather costumes I sewed for Heroes Of the North – Season 2. The latex costume on the top left picture was made by Polymorphe, a Montréal based company where I later worked and learned the basic techniques to make latex clothes. The series had its own comic books, branded merchandise, action figures and other cool collectibles. I went to many conventions with the Heroes of the North team over the years, wearing both the latex and leather Horntet costumes. It gave me a great exposure in the English speaking part of Canada where the series was particulary popular. It was my first experience as an actress and my first leather costumes.
Artwork by Geof Isherwood
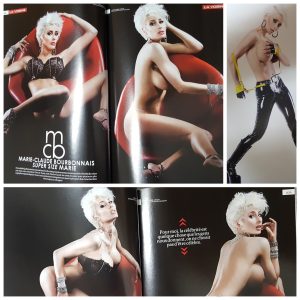
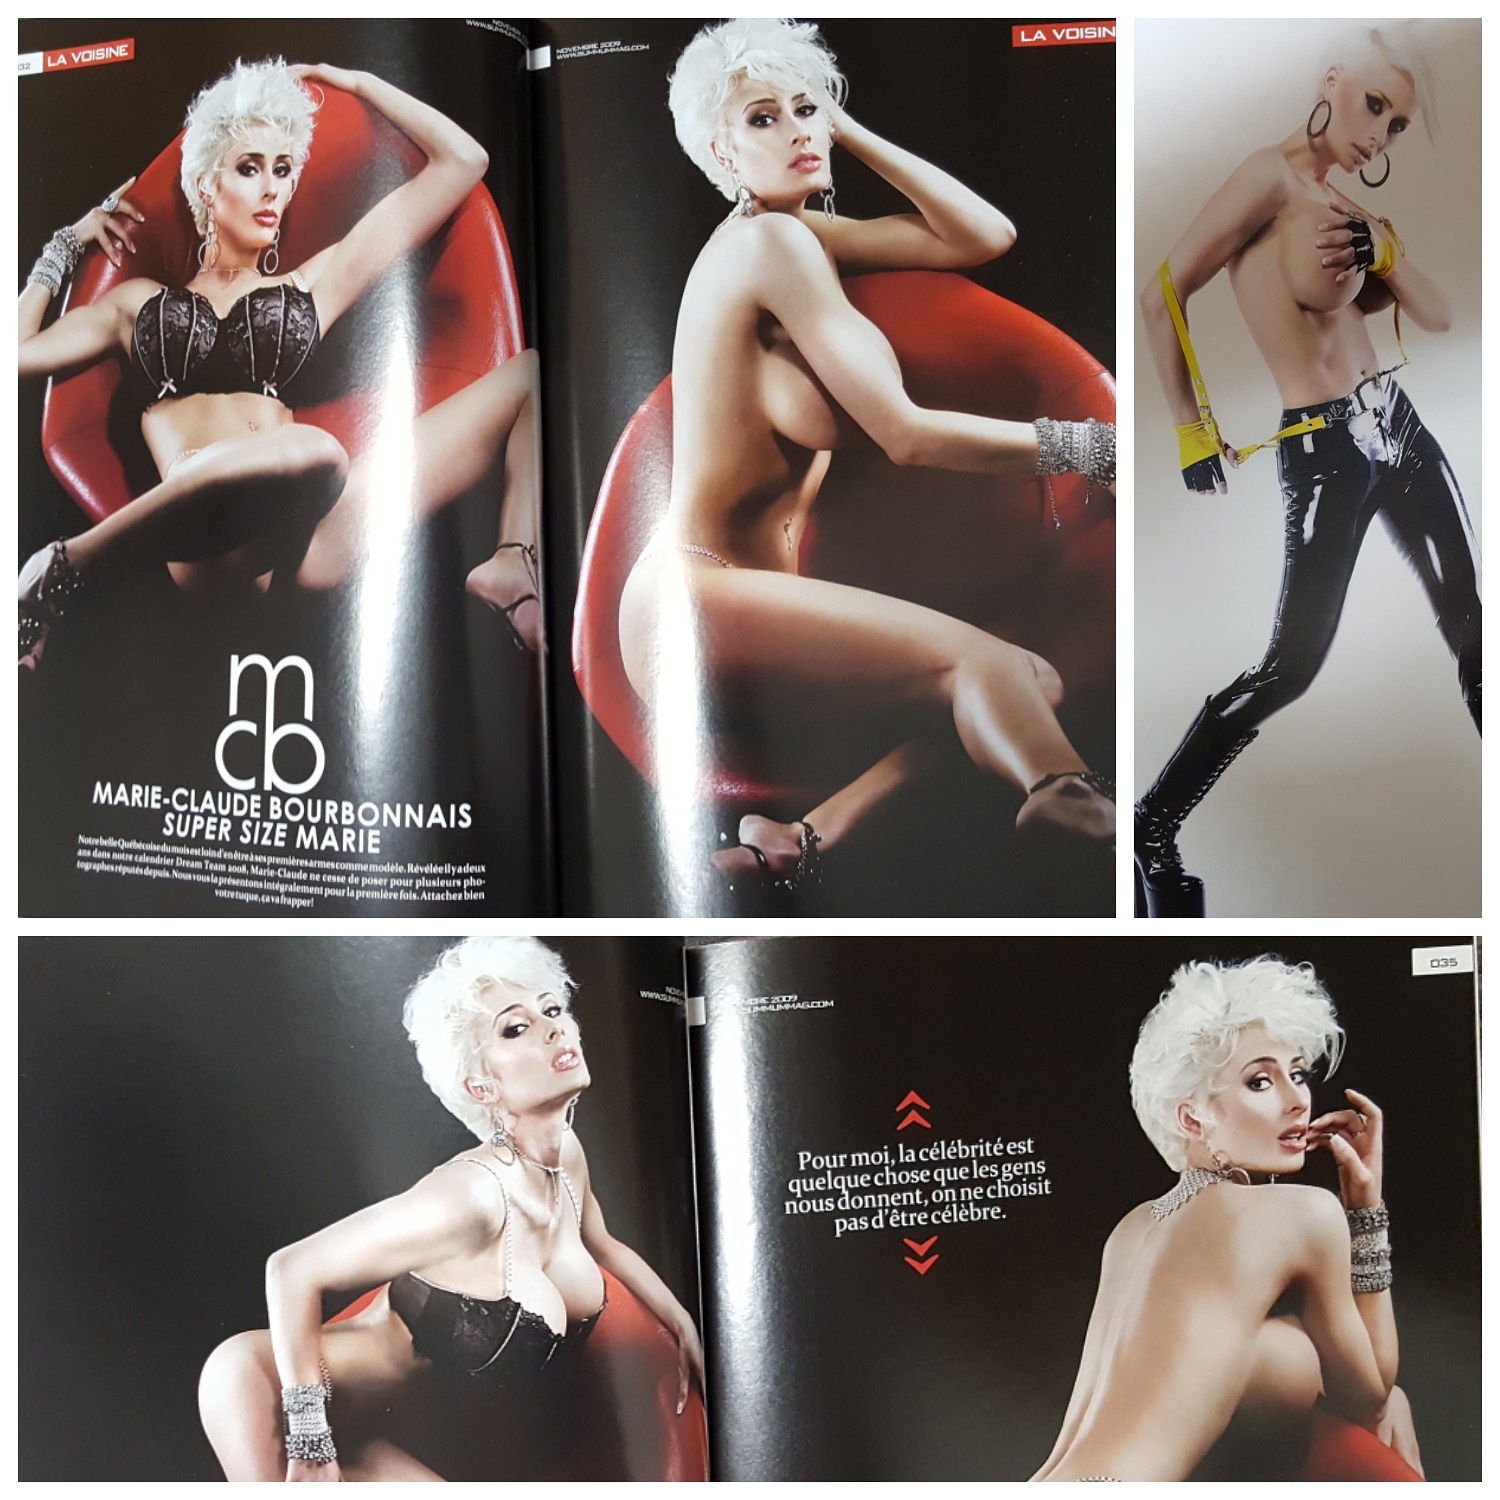
Celebrating my 10-year career! Back to November 2009: the second time I was published in a magazine, the French Canadian Summum Magazine! I remember I had found pretty funny the fact that they had put the photoshoot in a section of the magazine called ‘La voisine’ which could be translated by ‘the neighbor’ or ‘the girl next door.’ My type of figure isn’t very common here in Québec so I never really felt like ‘the girl next door’… but hey, who am I to judge? lol I wish I’d have a neighbor with huge breast implants too!
Photographer: Gil Perron – P&P Image Factory

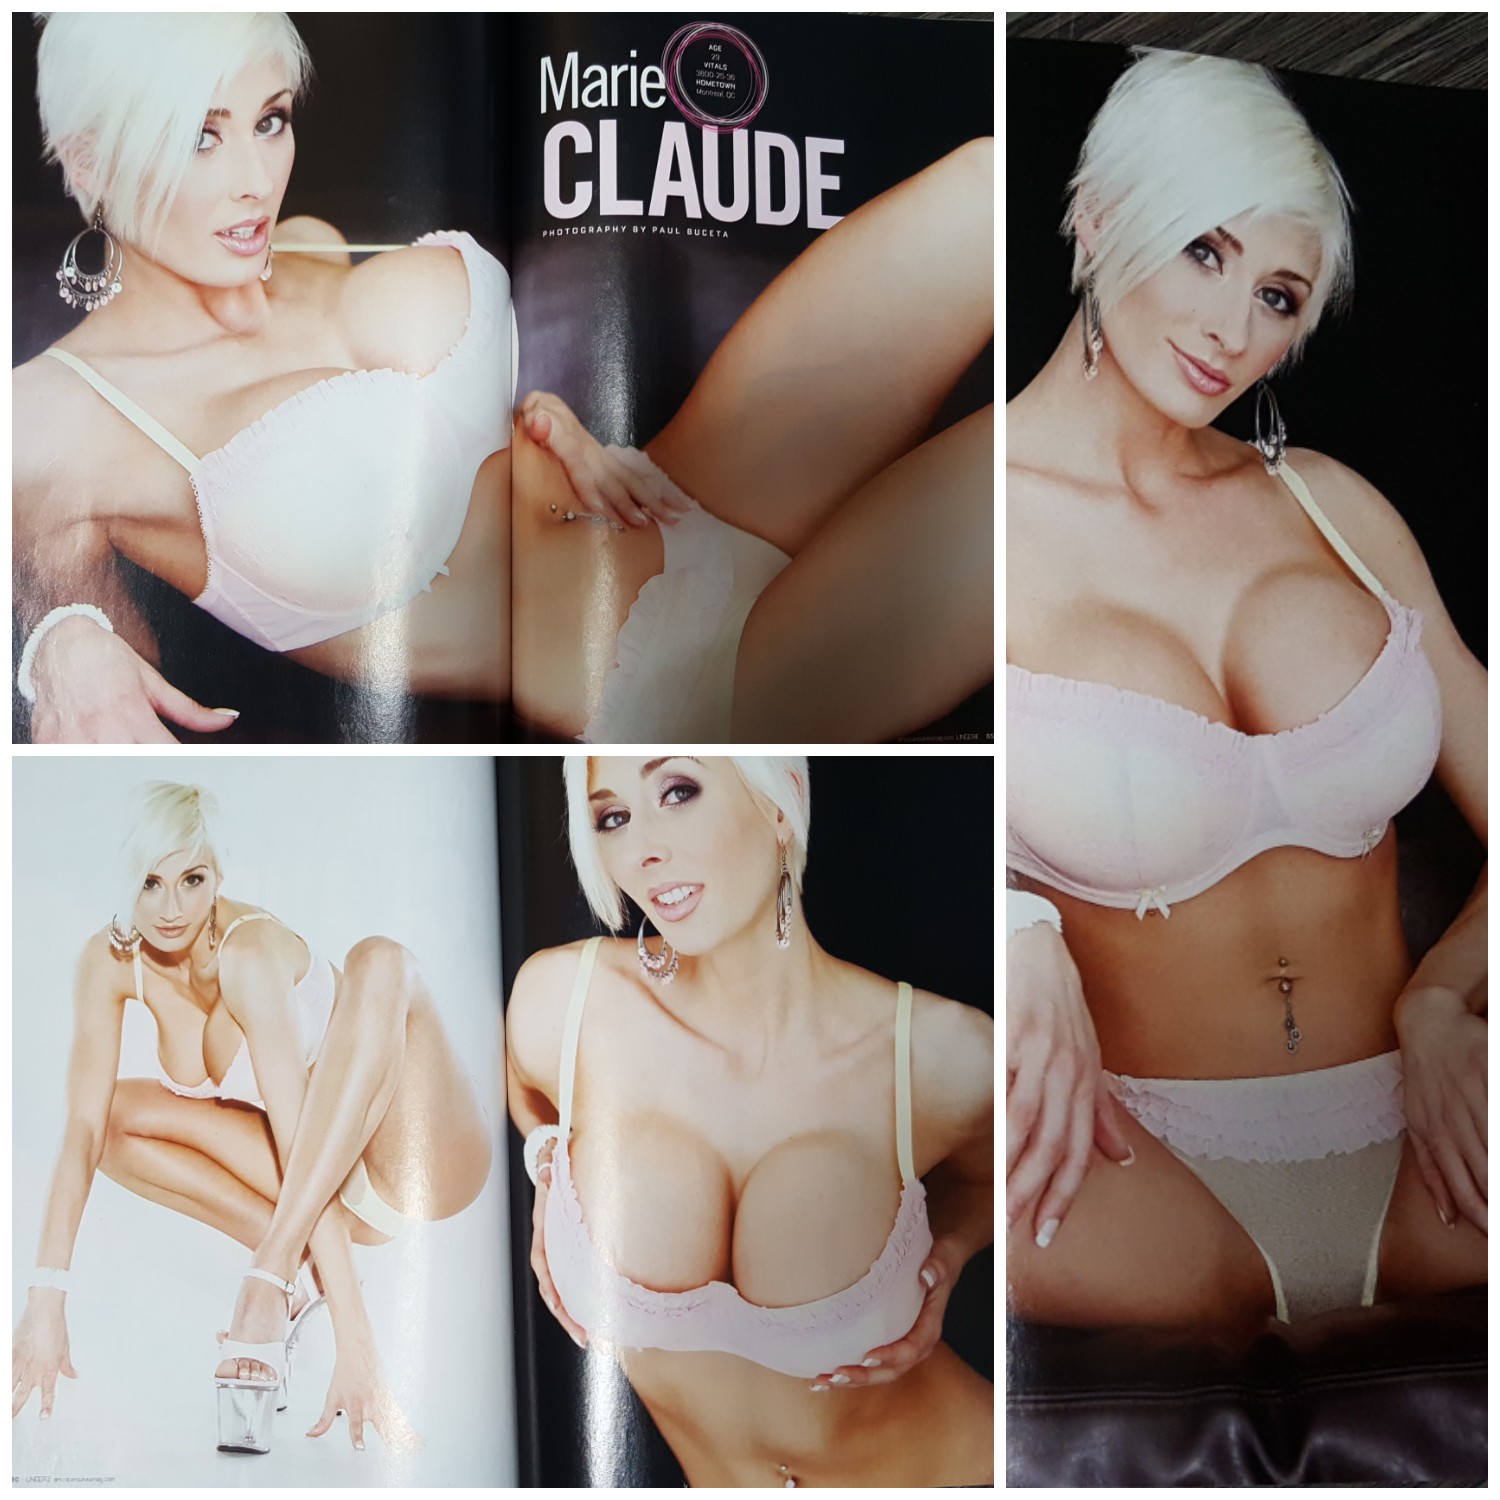
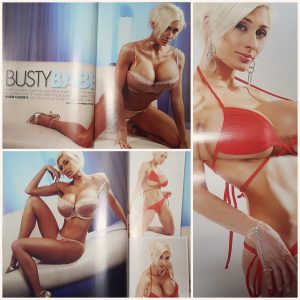
Celebrating my 10-year career! Back to 2009: the very first time I was published in a magazine! I met photographer Paul Buceta in the Toronto area and he thought that the editor of the American Curves Magazine would like my style. He shot me for the magazine, submitted the pics and the photoshoot was accepted! I was in the American Curves Magazine Summer 2009 Lingerie Special.
Photographer: Paul Buceta

Celebrating my 10-year career!
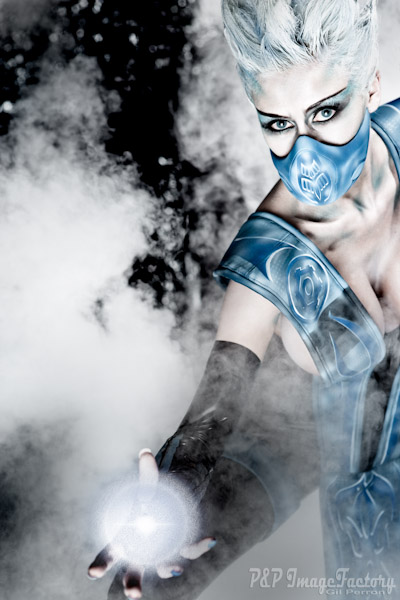
Great memories from 2009: the Mortal Kombat Frost photoshoot. Believe it or not, I didn’t know what cosplay was when I organized that photoshoot. I was starting as a model, I had always been a fan of Mortal Kombat and I had been sewing all my life for other people. I wanted to shoot something different than lingerie and bikinis and I wanted to finally sew something for myself. I had chosen Frost even if she wasn’t really a popular character because she had short white hair. And these pics happened. Released in February 2009, the Frost pics were so popular online that I had to search to understand why. And this is how I found out that dressing up as a character had a name, that it was called ‘cosplay’ and that it was apparently a worldwide phenomenon. Cosplay wasn’t very well known in the province of Quebec back in 2009. I thought to myself: ‘I have the figure of a character from an American comic book, a Japanese anime or a video game. I’ve studied in Fashion Design. I know how to sew. I should give cosplay a try.’ The rest is history.
Photographer: Gil Perron – P&P Image Factory
Latex leggings, gloves and waist corset made and lent by Polymorphe
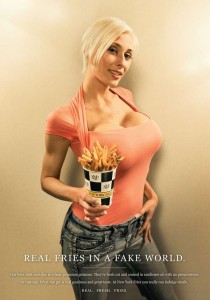
Celebrating my 10-year career! Souvenir from 2008: the ‘Real Fries in a Fake World’ advertisement campaign for New York Fries. It was published in a lot of different magazines all accross Canada and the USA.
 Did you know it’s been 10 years since I started as a glamour model?
Check out my 10-year Career Special Sale on my website store! Offering a selection of outfits I used for various events during the past 10 years!
www.store.mcbourbonnais.com
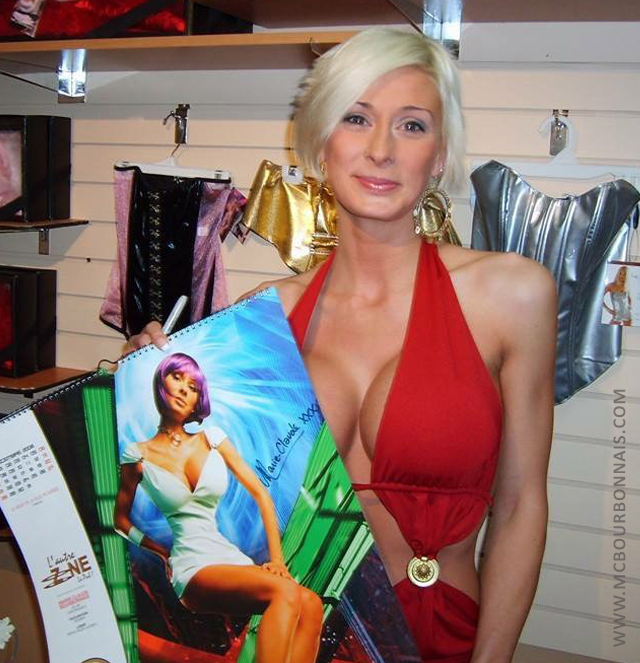
For those who are wondering how I was first brought to the public eye, here’s my little story. :) I had studied in fashion design, but I was working in an office, sewing and making costumes for hip hop dance schools and prom dresses as a side job. I already had my breast implants. (No, I didn’t get my implants because of my modeling work. This is something I made for myself. I had no idea at this moment that I would be a model one day. I was just always a fan of big breasts and never regretted my choice.) In October 2007, I entered a contest to be part of a calendar organized by a radio station in Quebec City. One of the radio hosts, Marto Napoli, chose me to be part of the calendar. We became friends and he featured me in his radio show. I was talking on the radio almost every week. My first fans were Marto’s listeners.
In 2008, Quebec City was celebrating its 400 years, so this calendar’s theme was about Quebec City’s 400 years celebrations. Each month of the calendar had a related theme and December was about a futuristic looking Quebec City, how it may look in 400 more years. They of course had chosen me for this theme. (Funny fact: the stylist’s clothes and wig choices were loosely inspired by Six from Tripping the Rift and I was traumatized because they had made my waist so tiny in Photoshop. But I had no idea what cosplay was at that time. I found out about cosplay only in 2009.) So here I am, holding the 2008 calendar, wearing a red top that I had sewn by myself. This is at this moment, in November 2007, that I thought that doing a photoshoot for a calendar had been funny and that with my figure, maybe I could become a glamour model! lol I was very naive and didn’t know anything about this industry. But this is how it started and how I started traveling to collaborate with photographers. The rest is history. :)
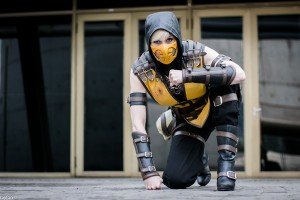
Le LvlOp resto-bar e-sports à Québec célèbre son 1er anniversaire samedi le 28 octobre! Si vous ne connaissez pas le LvlOp, vous manquez quelque chose! Bar au premier étage et jeux vidéos au deuxième! Je serai là dès 20h00 et histoire de faire concept, je serai en costume de Scorpion. ;)
Pour plus d’info: http://www.lvlop.com/
Good news! My friends from the province of Québec already saw me in the documentary by UBIQUE Film ‘Culture Cosplay’ on Canal D, a French Canadian TV channel. However, there is a version with English subtitles! It’s available for sale now on Vimeo! You’ll see me many times and you’ll see my workshop before it was remodeled! lol Enjoy!