Making of Ninja Division’s Lug for Gen Con 2015 – Part 1
Celebrating my 10-year career, I couldn’t review everything I made through the past years without mentioning the giant fiberglass statue I built in 2015! It’ s been a long time since I’ve been wanting to write a Making Of blog about this project. Better late than never. :)
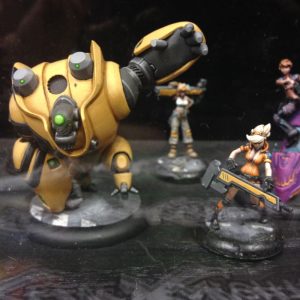
For those who don’t know what I’m talking about, Betty and Lug the robot are 2 characters from Ninja Division – Soda Pop Miniatures’ tabletop game Relic Knights. 2 miniatures that a friend of mine and I decided to bring to life.
In 2015, we undertook what would be the most demanding and complicated project we had ever made: building a giant fiberglass statue. It took 7 months to the 2 of us to build this thing from scratch, using styrene, covering the whole thing with polyester resin and fiberglass mat, welding a metallic structure inside with the help of my friend’s brother and using automotive paint with the help of my friend’s uncle. Lug isn’t a very well known character and I was too busy building it to advertise and promote its making of properly. Most of people don’t realize all the work hidden behind that giant when they see it in picture, the hundreds of hours of sanding required to make the robot as slick as glass. I got less recognition building this thing than the average teenager cosplayer gets making bikini cosplay costumes. It was a very humbling experience that taught me one thing: in life, you have to make your own projects for yourself. Never make something hoping that people will like what you did or will love you. Life isn’t a popularity contest. It’s an opportunity to accomplish great, nice, beautiful things YOU will be proud of.
And I’m proud of Lug, even if it wasn’t perfect. I’m about to share with you what was the biggest technical challenge of my life as a prop maker. I did many mistakes, I learned a lot of things. Here’s how my friend and I built that fiberglass statue from scratch in 100 making of pics.
When my friend and I started making searches to know how big fiberglass statues were made, we discovered that professionals were working from styrene sculptures, either sculpted by hand or by a CNC cutter following a 3D model. Big styrene blocks are expensive, just as CNC cutting services. The only styrene we had financially access to was the styrene sheets they still sell in our hardware stores in Quebec. These white sheets used to be used for houses insulation. Now we use a different type of styrene sheets to do that, but these old sheets are still available and pretty unexpensive.
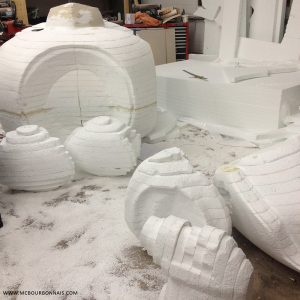
We asked Ninja Division to provide us a 3D model of Lug and my friend found online a free software called 123D Make. This software allows you to slice up a 3D model. In order to be able to use the styrene sheets rather than styrene blocks, we sliced Lug’s 3D model, printed the slices on paper, glued each slice on the styrene sheets, cut them with a jigsaw and stacked the styrene slices on top of each other to form the robot’s body parts. We were so naive. A ridiculous, cheap, ambitious way to build a giant statue.
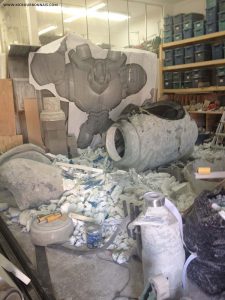
As you can see on the pic, putting each slice of styrene on top of each other and working with 2 inches thick sheets didn’t gave us perfect shapes. There was those little ‘steps’ or corners we had to sand down using a plaster rasp. Easy, almost funny step to do. But it created tons of styrene pellets. Pellets everywhere, turning my workshop into a life size snow ball. I found styrene pellets in every corner of my workshop months after the robot was finished.
But that was the easy part. We knew that polyester resin would make our styrene shapes melt if we would apply it directly on the styrene. But how could we possibly protect the styrene? At the time, we run many tests, tried a large variety of products before we eventually found out that professionals who use polyester resin for such a project simply cover the styrene with aluminium foil. If you knew everything we tried… :(
So we had all the pieces of our robot. Separate styrene pieces. We started to cover each styrene shape with fiberglass mat pieces soaked in polyester resin, using a brush. Very long process. We later saw online fiberglass airguns, a system like a paint gun, but it throws shreded fiberglass mat and resin at the same time instead of paint, allowing to cover big surfaces very quickly. That’s what they use to make fiberglass bathtubs and boats. Such a system isn’t cheap, though, and just like the big styrene blocks, it didn’t match the budget that Ninja Division had given us. I didn’t plan to become a company specialized in the making of giant fiberglass statues. My goal wasn’t to invest into such a device. So we did everything with our little hands, using an infinite amount of brushes. And we started covering our robot’s body parts with fiberglass mat and polyester resin.
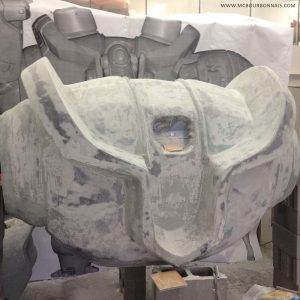
On the first picture, you see the robot’s thighs, crotch and styrene, not yet covered abdomen. On the second picture, you can see the biggest part of all, the robot’s torso. Notice the life size print of the robot’s 3D model on the wall. We would always refer to it while working to see if our shapes were looking good.
Fiberglass projects are unique in the fact that they look like shit until the very end, when you think your shape is good enough to apply a first coat of primer and see how it looks. Until then, it was just bumps, body filler, shades of blue (my body filler hardener was blue) and a lot of despair. This project was my introduction to the world of automotive products like body filler, paint and other (boring) stuff the seamstress in me would have never been interested in otherway. That whole project really took me out of my comfort zone. I really had no idea of what I was doing. And I learned.
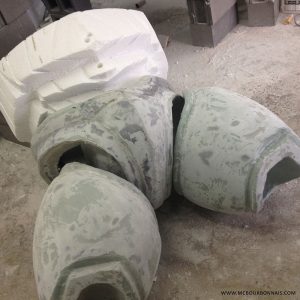
I quickly learned that fiberglass and polyester resin were heavy. The robot’s torso soon became too heavy to be easily manipulated. Plus, we realized that this giant statue would need a metallic internal structure to hold. This design, with its big torso and arms, but small legs, wasn’t meant to be built in real. How would it hold? And how would we put a structure into our shapes filled up with styrene? It became obvious that we would have to take off the styrene from our fiberglass shells. More styrene pellets. More and more.
We built the robot in a strange way, in separate pieces that we later assembled together to insert a metallic structure inside instead of building the pieces around a structure. It’s like if we had made things in the wrong order. But we didn’t know… We improvised a lot.
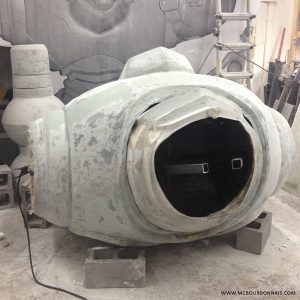
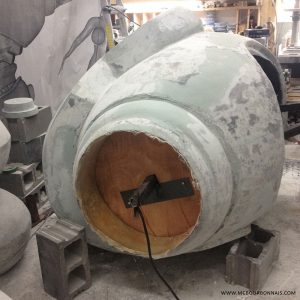
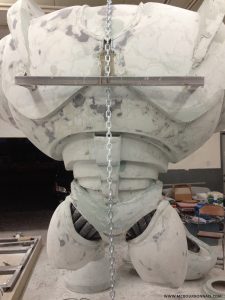
On the next pictures, you can see the first metallic structure that we inserted into the empty torso. There were many challenges with the robot’s shape. The legs were small and needed to support the weight and balance of a bigger upper body. The forearms were very big too and they were connected to the torso by tiny arms. We inserted a triangle made of 2’’ X 2’’ square tubing. One part of the triangle would come out from the robot’s waist and the other part would cross the torso through plywood pieces glued in the robot’s armholes with fiberglass. We added pieces of fiberglass mat to hold in place both the metal and the plywood so everything would be very strong and couldn’t break. This metallic triangle would be used to weld the rest of our robot’s skeleton.
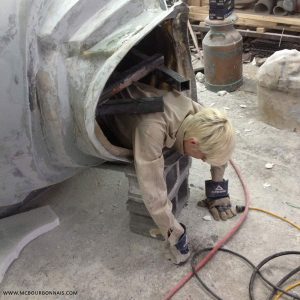
The metallic structure coming out from the robot’s waist actually split the opening in half. One last weld needed to be done inside the torso and my friend, who had done all the welding so far, couldn’t make his way into the torso anymore. Yeah, he’s too fat! lol My friend’s brother could have entered and do it for us, but he wouldn’t be available before the evening. We couldn’t wait for him for all these hours and we needed that step to be done to be able to move on. We had no other choice. I had to practice welding until I was able to do a small weld and I went into the torso to do the welding. Here I am coming out from the torso.
This is when I realized that all that fiberglass dust produced while sanding was very easy to set on fire. Welding and fiberglass dust don’t go well together. :S After I extinguished a small flame made by welding sparkles in fiberglass dust using my leather glove, I was very happy to get out from that fiberglass torso/jail. From now on, we would remove as much as possible of the fiberglass dust before welding and we kept some water and the fire extinguisher close each time we would weld inside our fiberglass friend.
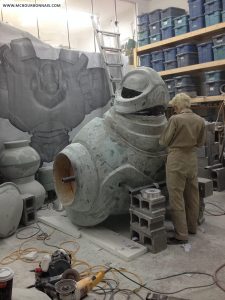
Assembling more and more pieces together. Here I am in my sexy clothes trying to fit the abdomen of the robot with its crotch.
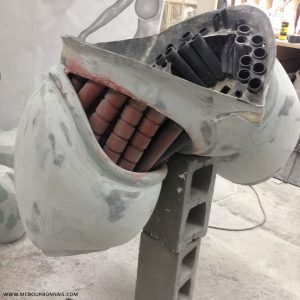
We finally thought that it might be easier to fit the robot’s crotch with its thighs first. To reproduce the original design, we used a mix of ABS pipes and other types of flexible pipes of various sizes. We pierced holes in fiberglass to insert some of the pipes. At the end, all the pipes were glued in the fiberglass structure using more fiberglass mat. Nothing could break and the final look, with the gap between the robot’s crotch and thighs filled up with pipes, was exactly like in the 3D model that was provided to us. I was pretty satisfied with how it looked.
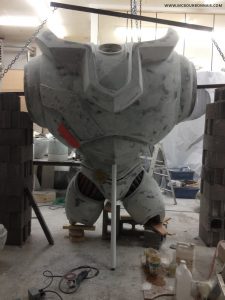
Now, a big challenge. How would we place the robot’s legs under its torso? The torso was way too big and too heavy, especially now that it had the metallic structure inside, to be lifted and manipulated, even by many people. With the help of my friend’s brother, we lifted up the robot’s torso on some interlocking blocks, using the tubing that was coming out from the robot’s armholes. It was honestly not the safest move we did.
Here’s my friend’s brother doing more welding.
While the torso was holding like this, we were able to attach the crotch and thighs with the torso. But how would we add the calves and feet? We had to find a way to lift up the torso even higher.
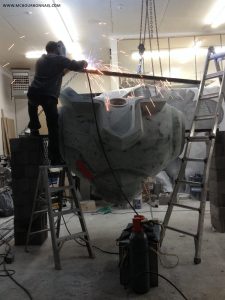
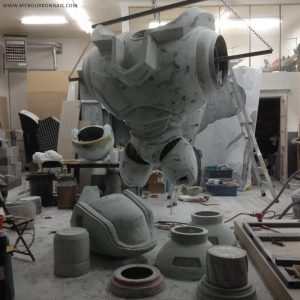
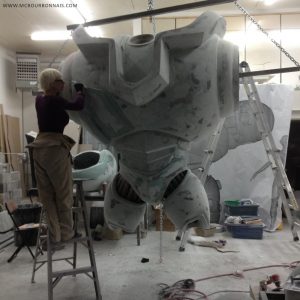
My workshop is in an industrial park. I asked to the owner of the building the permission to pierce a hole in the ceiling. We installed in the roof a metallic tubing that would cross the roof’s trusses. To this, we attached a chain and a chain block like the ones mechanics use to lift up a car’s engine. And this way, we were able to lift our giant robot in the air.
Our first plan was to build the robot in a way so it could be disassembled and transported in pieces. Then we realized that each piece was so heavy that they couldn’t be manipulated by anybody the day of the convention. We finally decided to build the robot in one big piece.
When we built the robot, we didn’t really considered how tall it would be vs how it would be transported from one place to another. We just chose a scale and the robot turned out to be more than 10 feet tall. However, the maximum height to go under the average overpass on a highway in North America is 13’ and a few inches… Which means that if Lug was to be transported standing, it would have to be on a low trailer.
That metallic structure in the back of the torso was part of a first idea we had developed to be able to flip the robot on its back to carry it around more easily. But the deadline was coming up soon and we were missing time. We later abandoned that idea. The robot would be transported standing, as it is, lifting it by its base with a forklift.
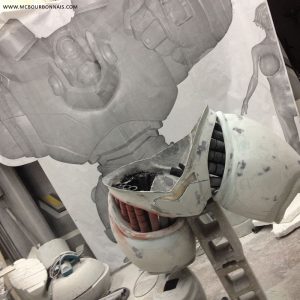
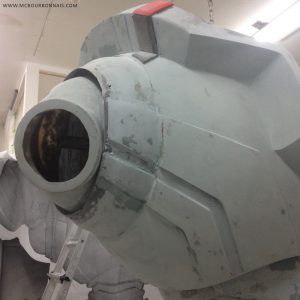
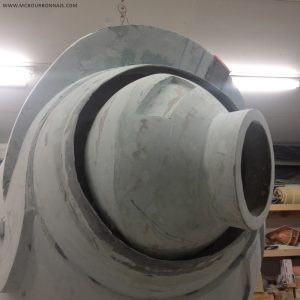
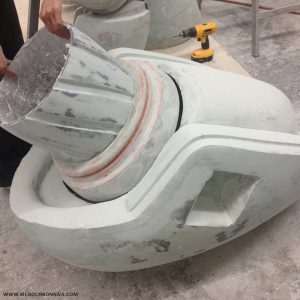
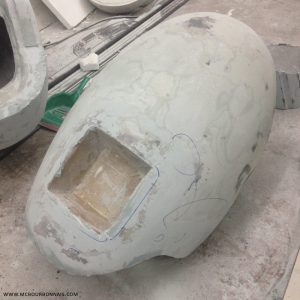
Here are many closeups of different pieces of the robot as we would sand each piece and assemble them together.
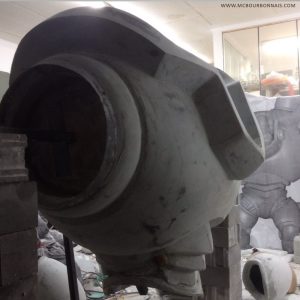
On the next picture, you can see one of Lug’s big forearms. That line that goes around the forearm was actually very hard to make. Before we realized that professionals would use aluminium foil to cover and protect styrene from polyester resin, we tried a whole bunch of different products. When we did the forearms, we covered the styrene with a product that seemed to resist to polyester resin and we later saw that the resin’s fumes had made the styrene melt under the coat of product we had applied. The line around the forearm was all uneven and full of bumps. I had to correct and build the shape using a lot of body filler, applying a big quantity of it with my spatula. Then just before it would set, when it would still be soft, I would cut the shape and perfect angles with an X-ACTO blade. I called it body filler sculpting. Not the ideal way to go, but I had no other choice.
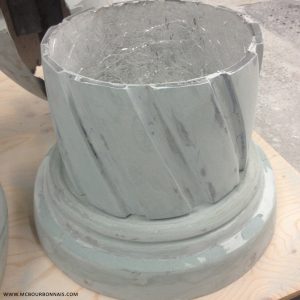
These are Lug’s fingers that we roughly sculpted in styrene before covering everything with fiberglass mat and polyester resin.
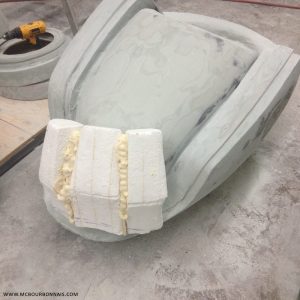
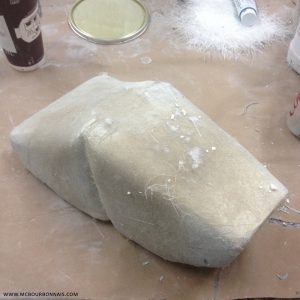
And this is one of Lug’s huge thumbs.
That’s is for Part 1 of Lug’s Making of! Part 2 is coming up in a few days!



Amazing blog post, Marie-Claude! It was so big and full of details it took me a couple of days to really read through it. Great work!
What a tremendous project. I remember following all your Lug updates, and just being blown away at the scale of work the both you undertook. I can’t recall if you’ve mentioned this before, but what prompted you to accept such a big project? Was it for the challenge? Pretty amazing that you’d take this one because it was way above just cosplay.
Looking forward to part 2!
Hi Jon! It was actually my friend’s idea, probably a dream as a little boy he had to build a big robot! It was after Gen Con one year and my friend suggested to Ninja Division’s guys to bring to life one of their robots from the Cerci team in their game Relic Knights. After a little while, they considered the possibility and they thought it was a good idea. They provided a budget and I suddenly realized that I was part of my friend’s plans. ‘Who’s gonna build this?’ I asked him. ‘You and I!’ he answered. ‘Are you crazy? I’ve never done anything like that!’ And he said: ‘We’ll figure something out.’ And that’s how I found myself building a fiberglass robot! lol
Ahahaha! ‘Surprise, we’re building a robot!’ I wish I could’ve seen the expression on your face when he brought it up hehe. Still, it’s a pretty awesome opportunity to get. Kudos to you both for taking up the challenge! :)
Hello Marie-Claude! Thank you SO VERY MUCH FOR SHARING!!! O___O!!!
This is amazing and terrifying at the same time!!! I’m glad it worked out, but that’s thousands of hours into making Lug. I always respected you a LOT, but I now have a HUGE new respect for you
Well dam MC. I thought I was impressed with Lug before. Just reading part 1 and I’m in awe of the ingenuity and determination you guys had to tackle this massive undertaking!! Can’t wait for part 2!
Wow this piece still stuns me. What amazing work and passion.
Keep it up!