
Ninja Division Way of the Fighter Severina Cosplay Making Of – Part 2
Finally, after all the hood prototypes, I could start working on the final one. :) Here are the fabrics I used. One layer of iridescent, see through burgundy organza, one layer of purple poplin that I used as a lining and one layer of polyester padding fabric. The padding fabric will be enough to give the hood some structure without having the exaggerated effect of the stuffed version I had made. (See Prototype 3 in Part 1 of this blog.)
I wanted the hood to be lined, of course, with the same fabrics. Note that the lining doesn’t have the same shape than the outside of the hood. If the hood itself is very long, the lining is just a regular hood. Less fabric was required to do that. The hood’s lining isn’t padded, just the outside. See how each piece of organza was first stitched on top of the purple poplin before the assembling process.
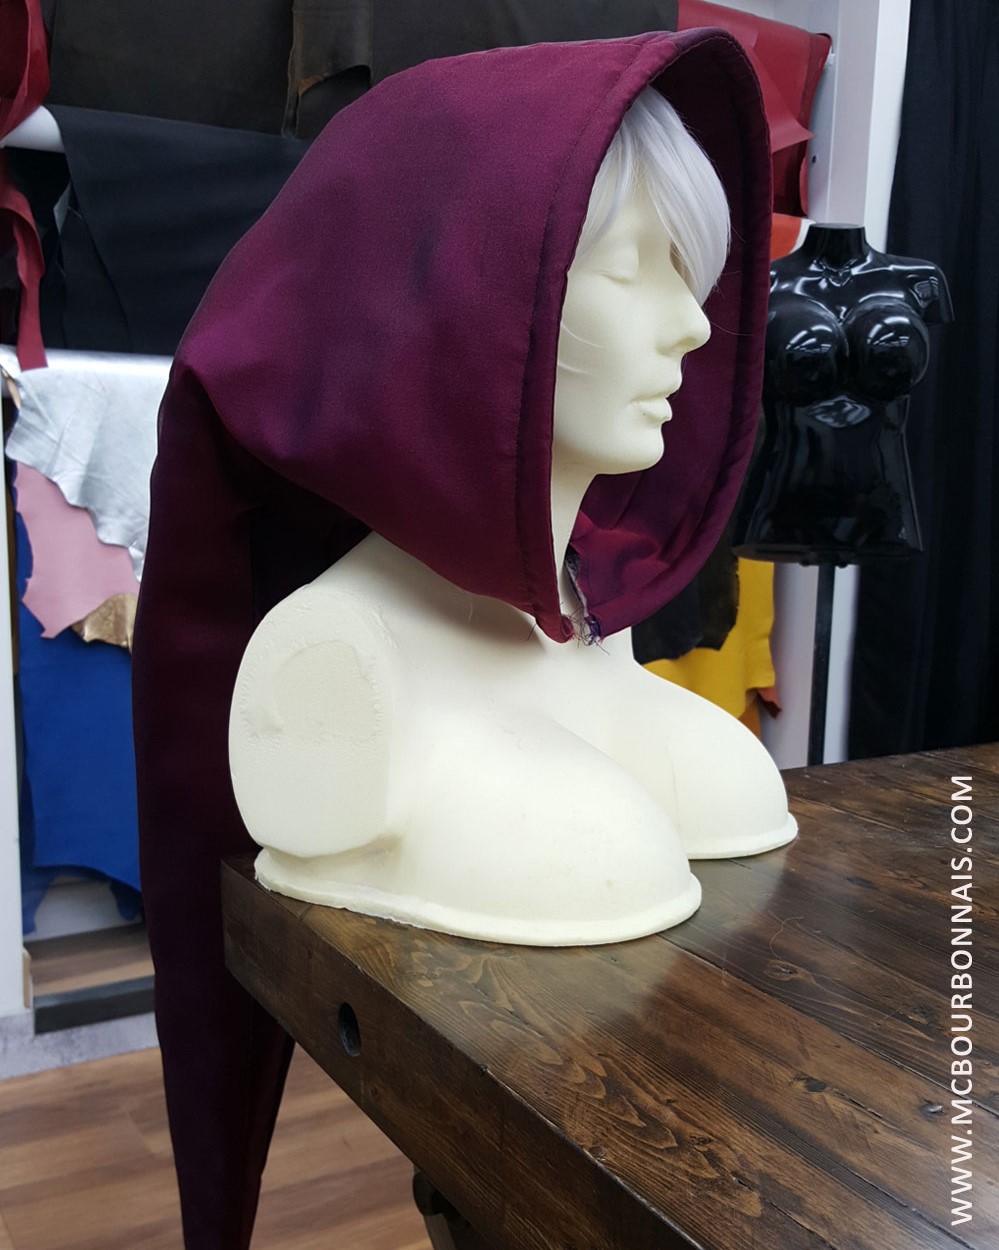
Here I have sewed together the outside of the hood and the lining (the inside of the hood). Notice how the inside hood is smaller, just like a ‘regular’ hood your would see on any basic hoodie.
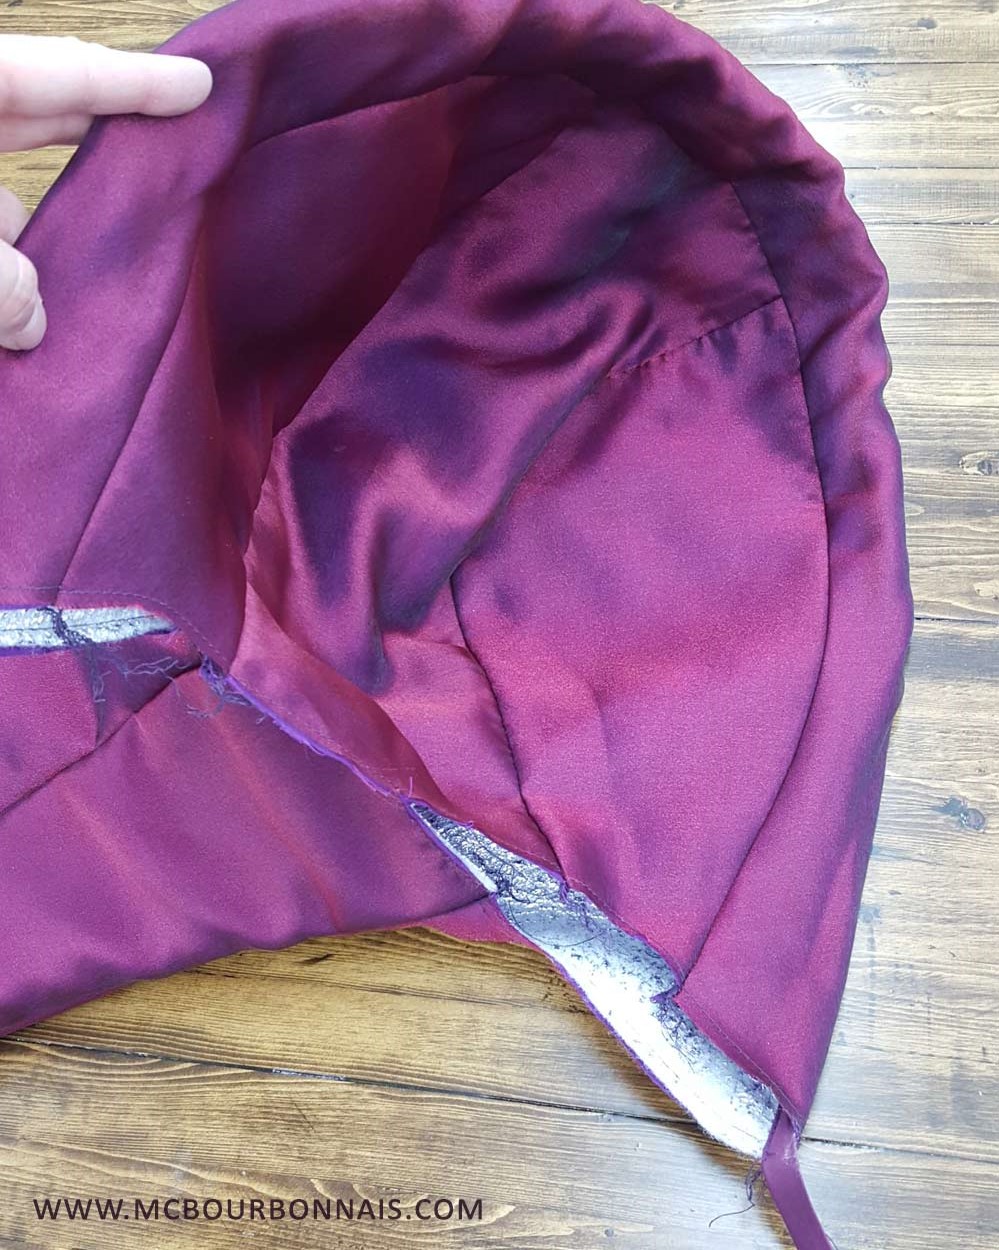
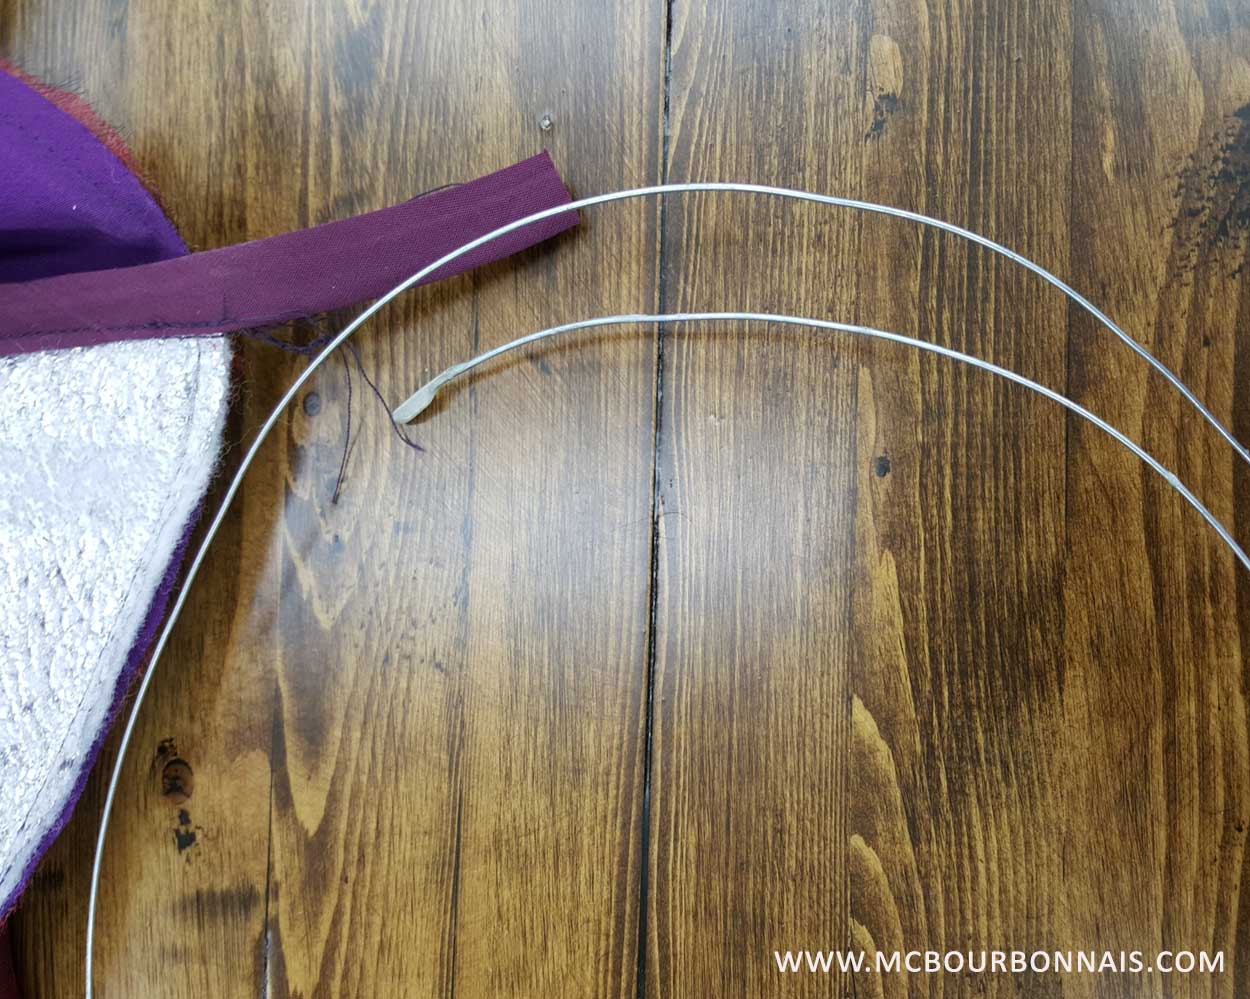
Notice the purple bias tape coming out from the bottom of the hood. I will use it to insert a metallic wire. To prevent the wire from piercing of tearing the fabric, I bended the ends of the wire and dipped them in a type of plastic I use for casting. They do this for bra wires too.
Last step was to make a topstitch around the hood. It will keep both layers in place and will emphasize the defined shape due to the metallic wire.
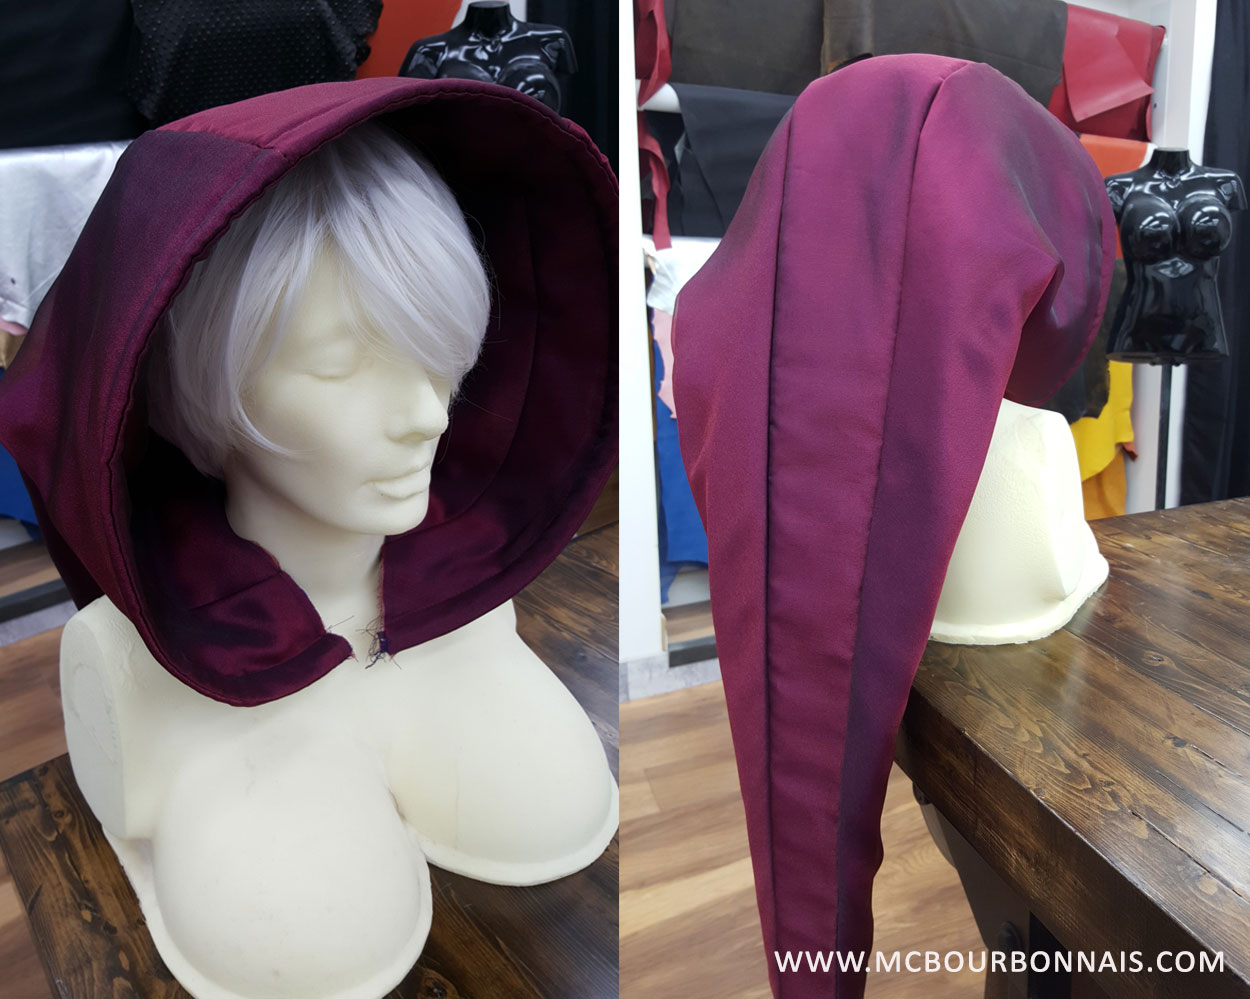
Now all that will be missing is the base of the hood, a type of collar that will be sewed to the hood and to the bra straps. Part of the bra will be casted in resin, but it will be supported by a fabric top attached to the collar and hood. For those who’d be wondering, yes, it’s a cast of my bust. :) I had my bust molded many years ago and was able to mold the original cast. I can now make my own casts in various materials. This one is a foam cast. It’s very useful to style wigs because you can pin the wig in.
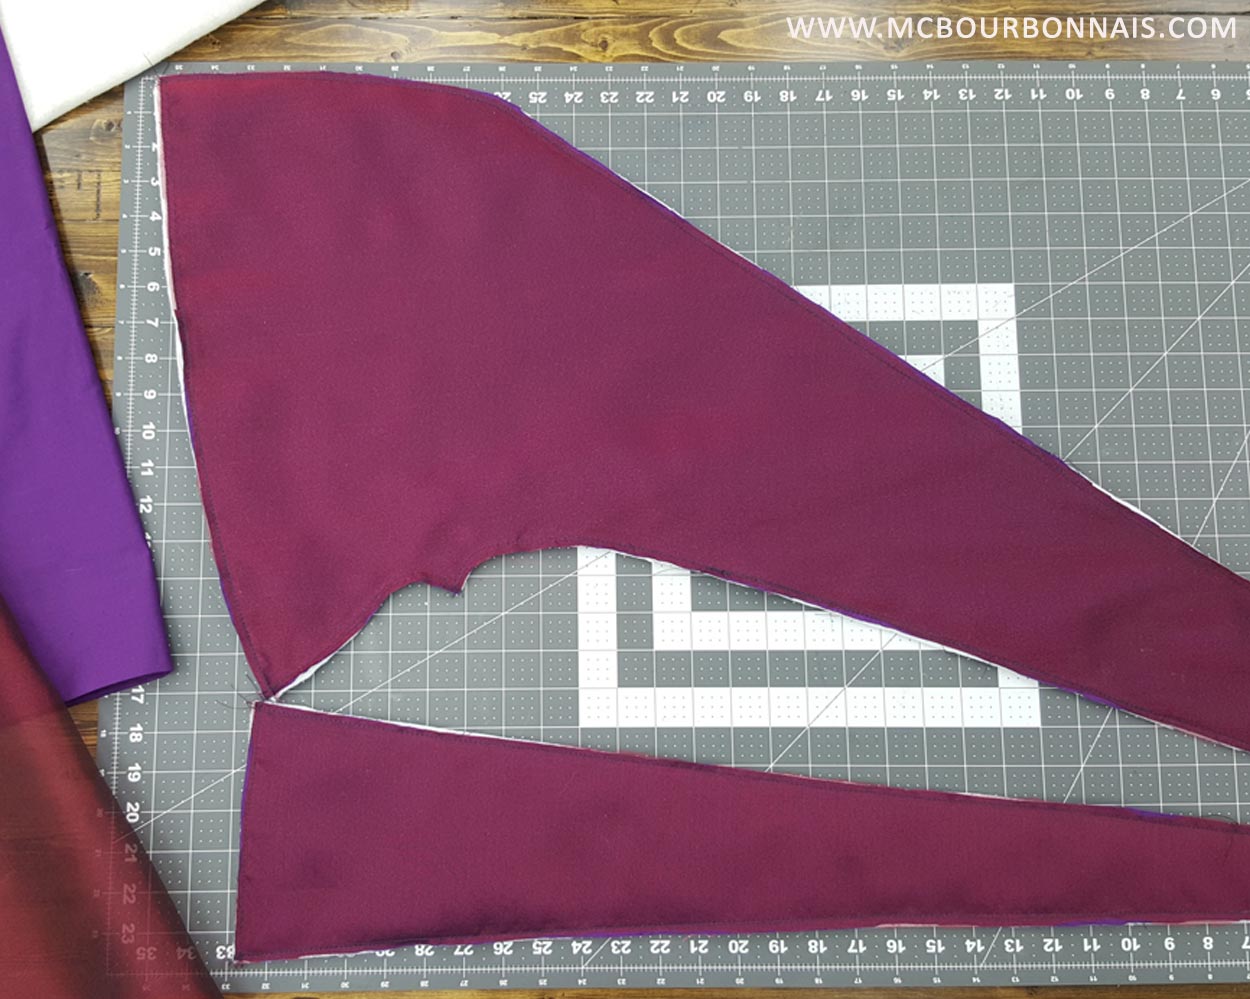
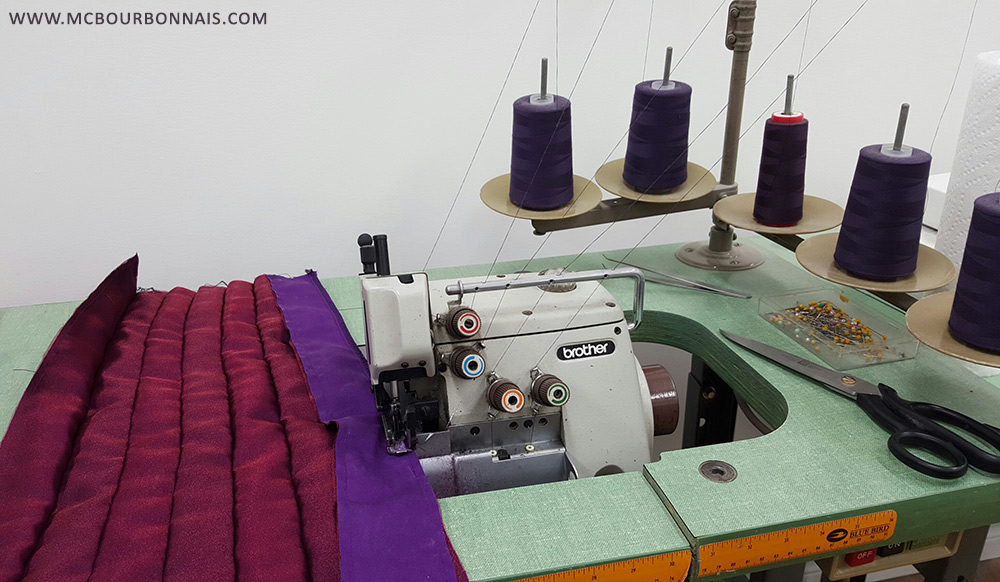
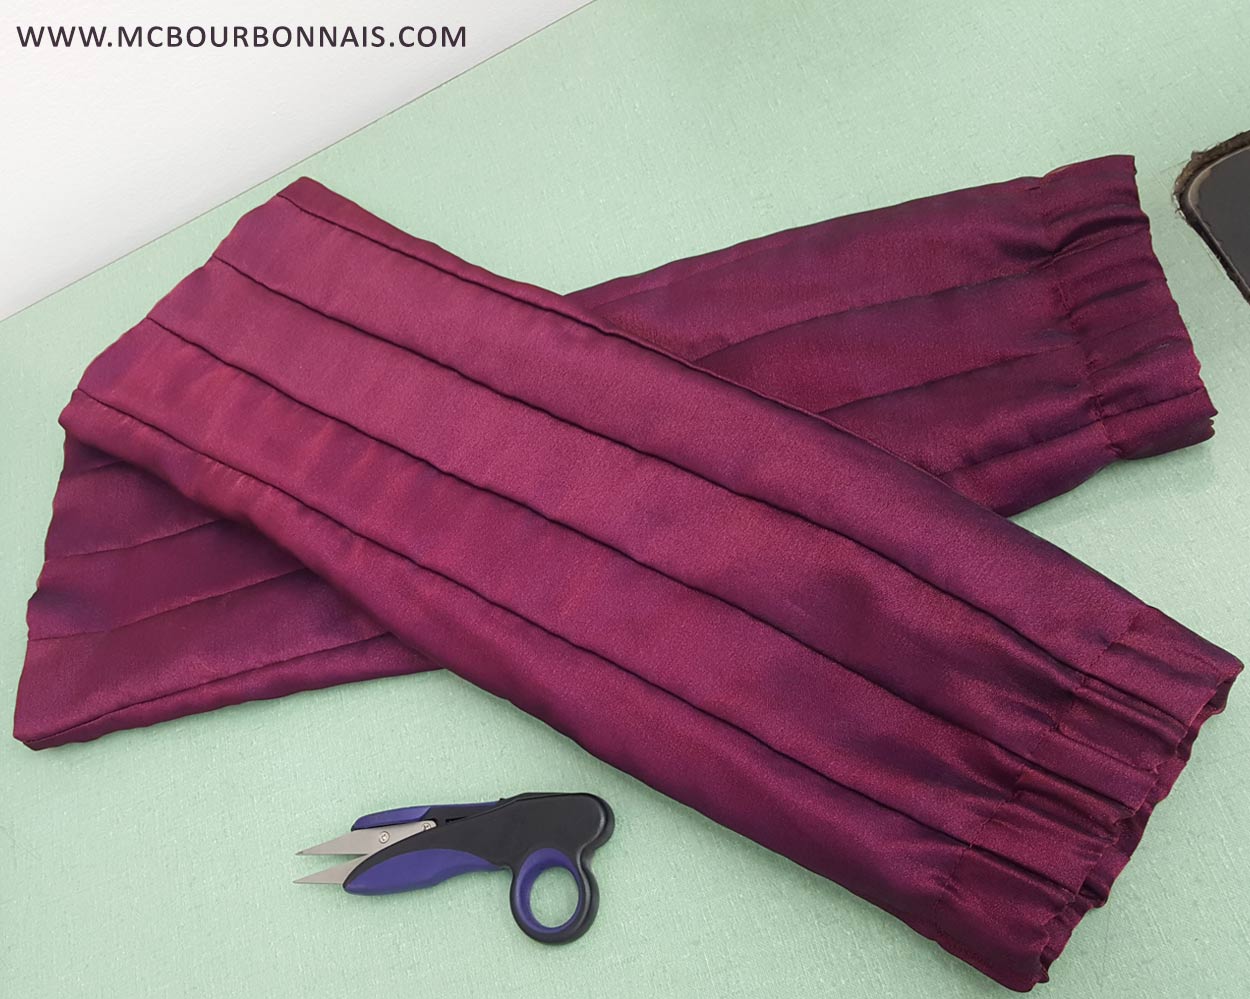
Now let’s move on to Severina’s sleeves! I started by sewing together stripes of iridescent burgundy organza over a layer of purple polyester poplin. Organza moves a lot when you cut it, so I choose to cut larger pieces that I separately stitched on each purple stripe.
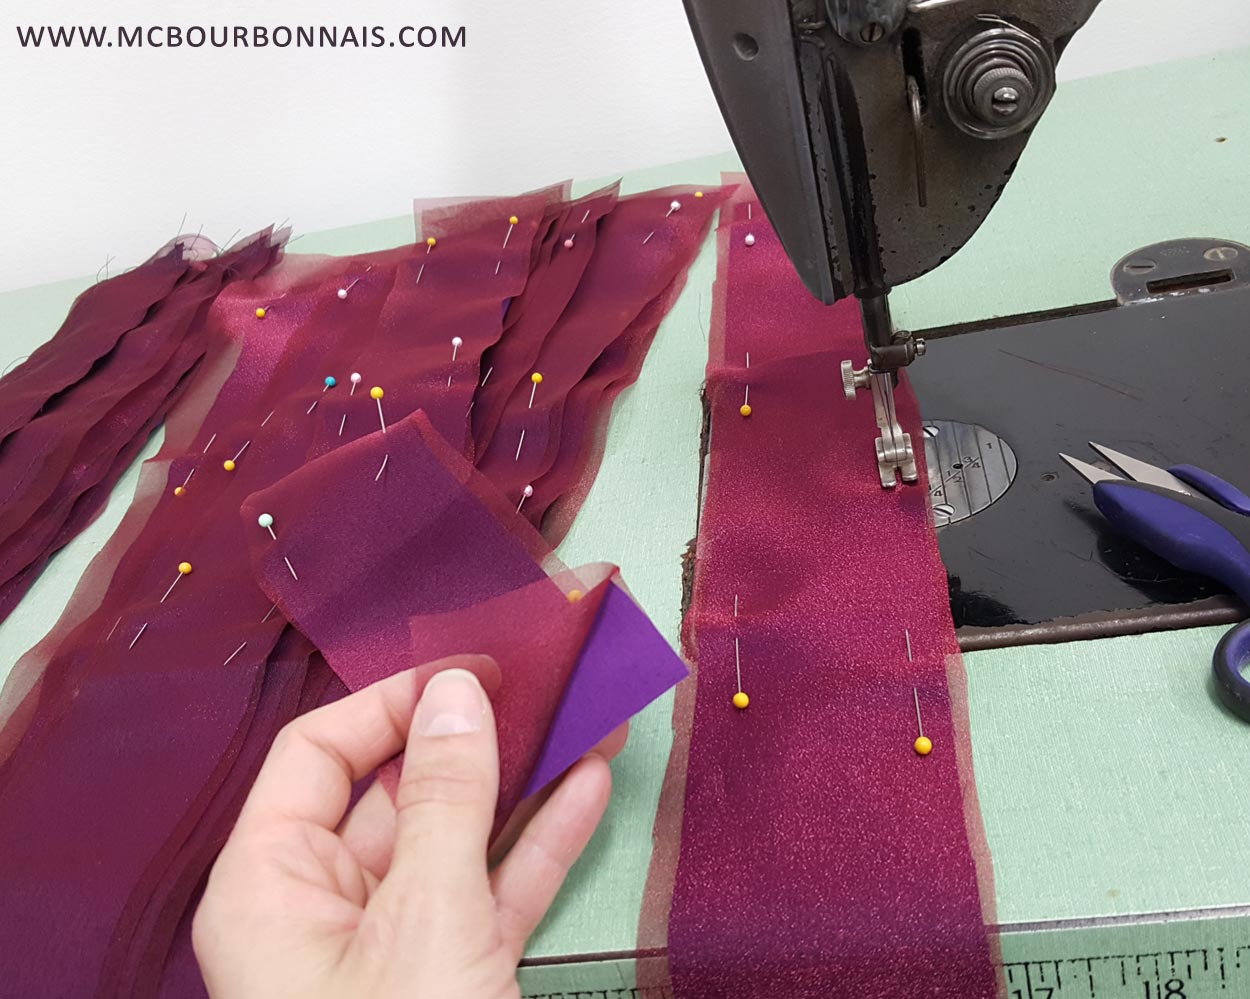
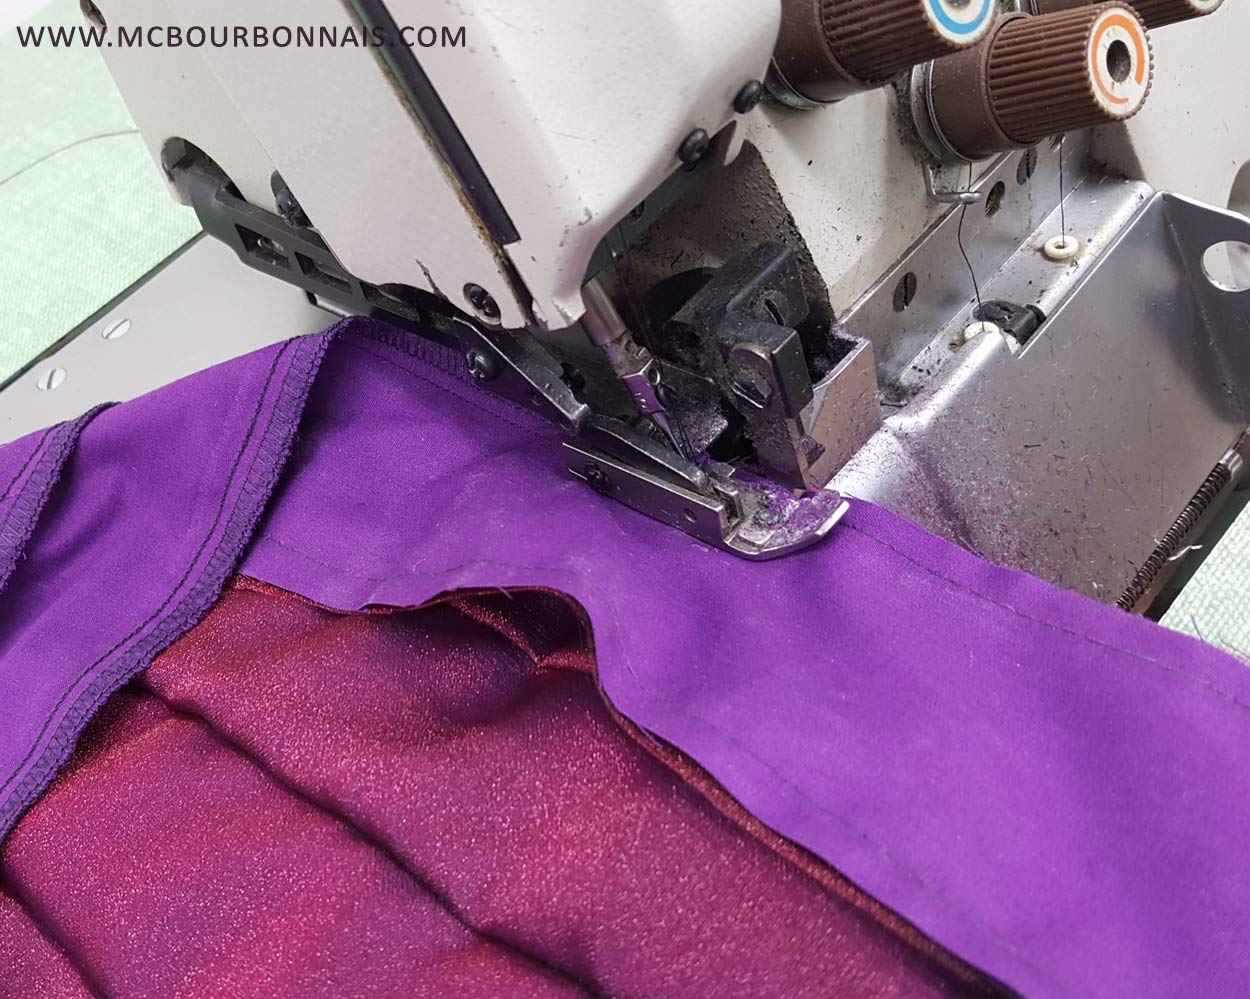
Next step was to trim the excess organza around each stripe before sewing all the stripes together.
That 5 threads industrial sewing machine is a type of serger for non stretch or very slightly stretch fabrics. If you’re wearing jeans right now, look at the seams inside. Your jeans were assembled with that type of serger.
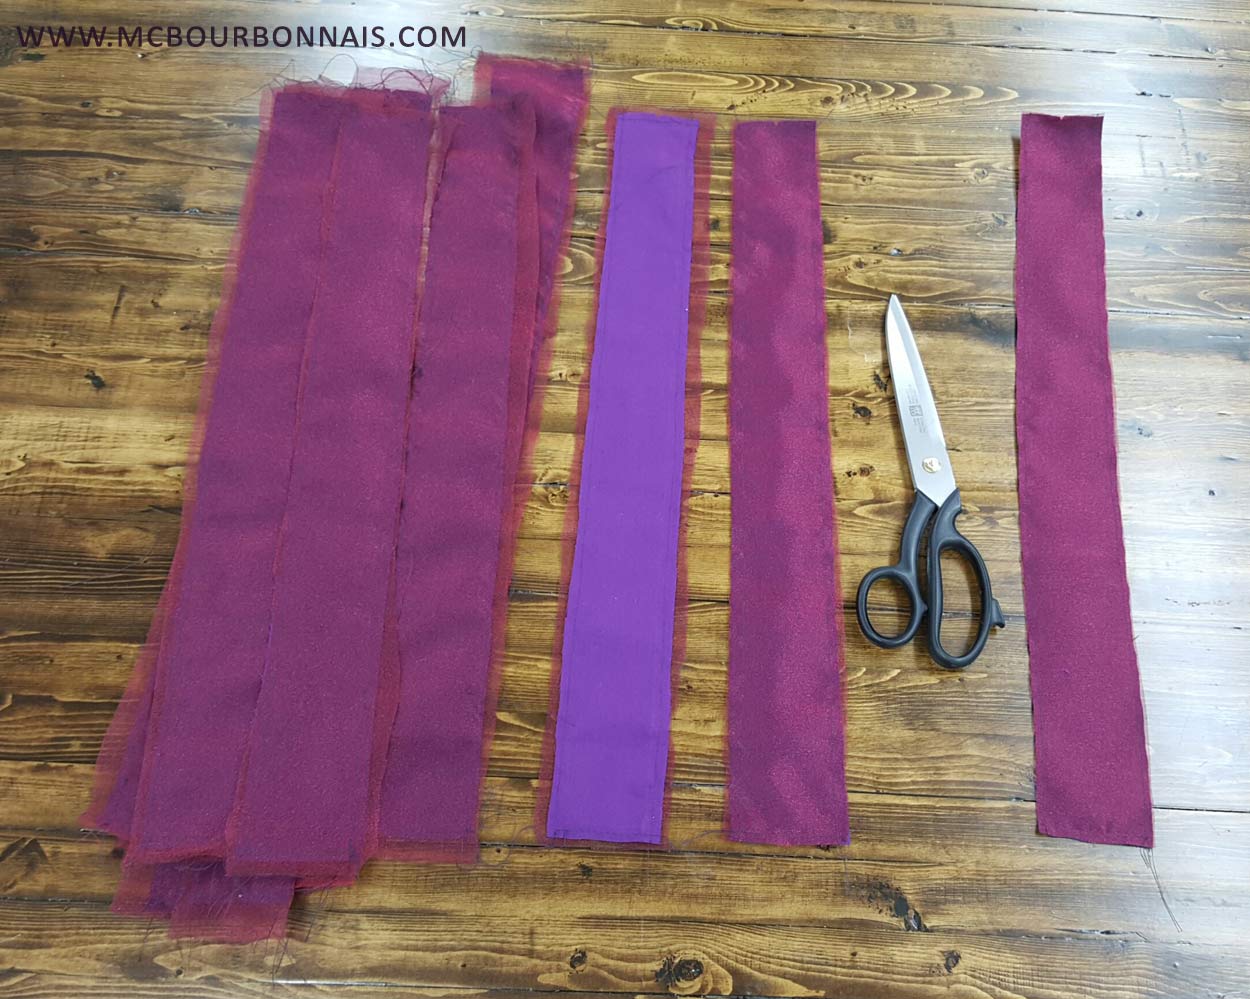
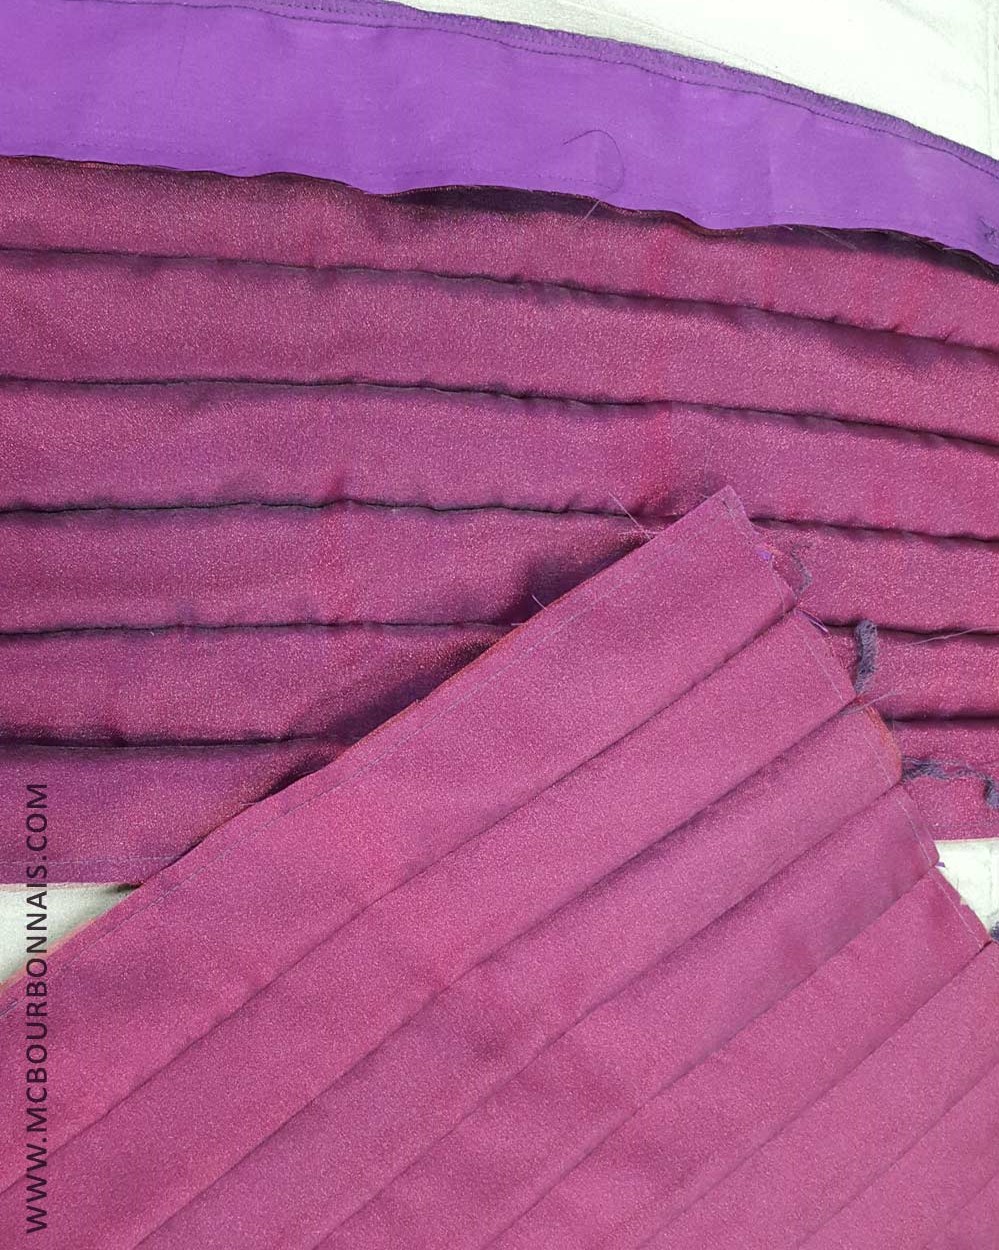
All the stripes sewed together, before and after ironing.
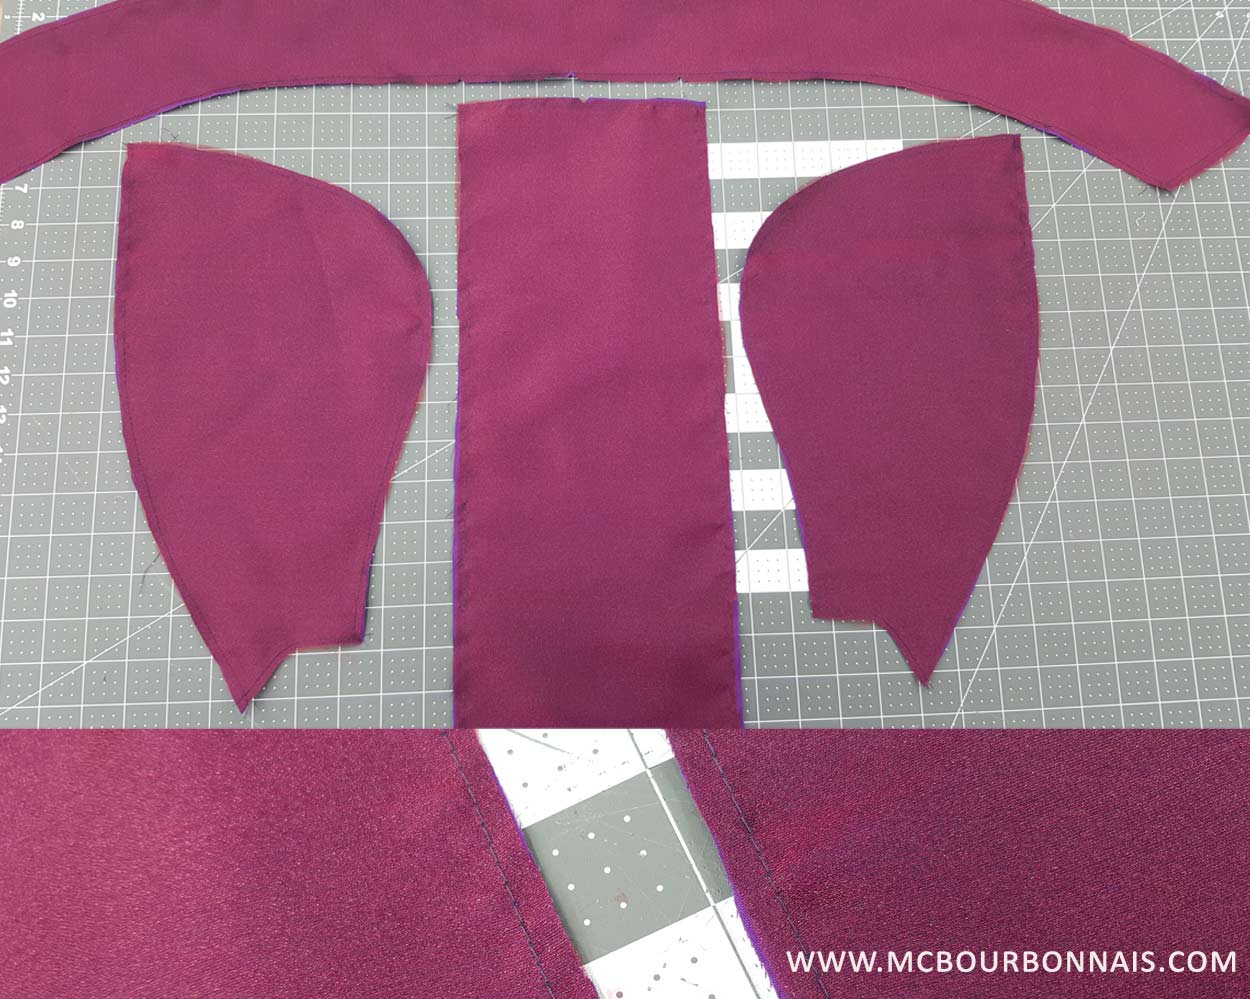
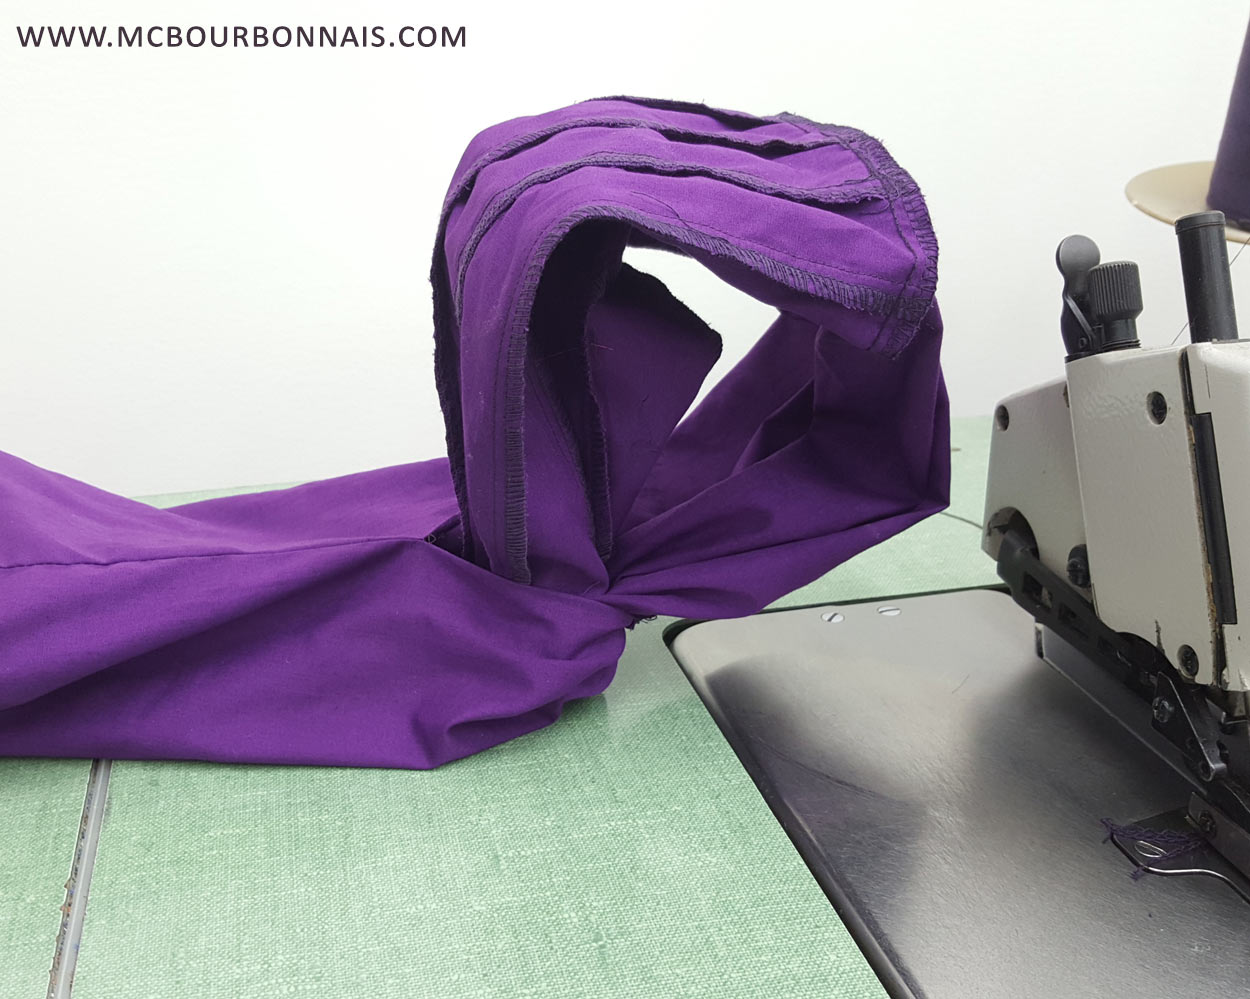
For a nicer look, I wanted the sleeves to be lined. When you sew a lined piece of clothing like a jacket or a coat for example, you have to sew the lining and ‘shell’ facing each other. But you always need to keep an opening in the lining to be able to turn everything inside out at the end. In a jacket, this opening will usually be a seam not entirely stitched inside the lining’s sleeve. This opening has to be in a hidden place.
Here are the sleeves inside out. I sewed the bottom of the sleeves together already and kept an opening in the lining to access the other end from the inside. You can see the second end of the sleeve coming out from the opening of the lining. If you’re just starting into sewing, I have to admit it’s not an easy step to understand and to make. Many things can go wrong there.

Next step is to sew together the other end of the sleeves using the same 5 thread serger. Some companies use only a plain sewing machine to assemble linings. But organza frays very easily, so I’d rather use the serger and avoid that. The serger keeps the fabrics from fraying.

The sleeve, still inside out, with the other end sewed. I know, it looks like nothing.
Pulled out the top end of the sleeve from the lining and made a topstitch to insert an elastic so the sleeves will hold on my arms. Again, I’m using the same opening I left in the middle of the lining’s seam to access inside the sleeve and insert the elastic.
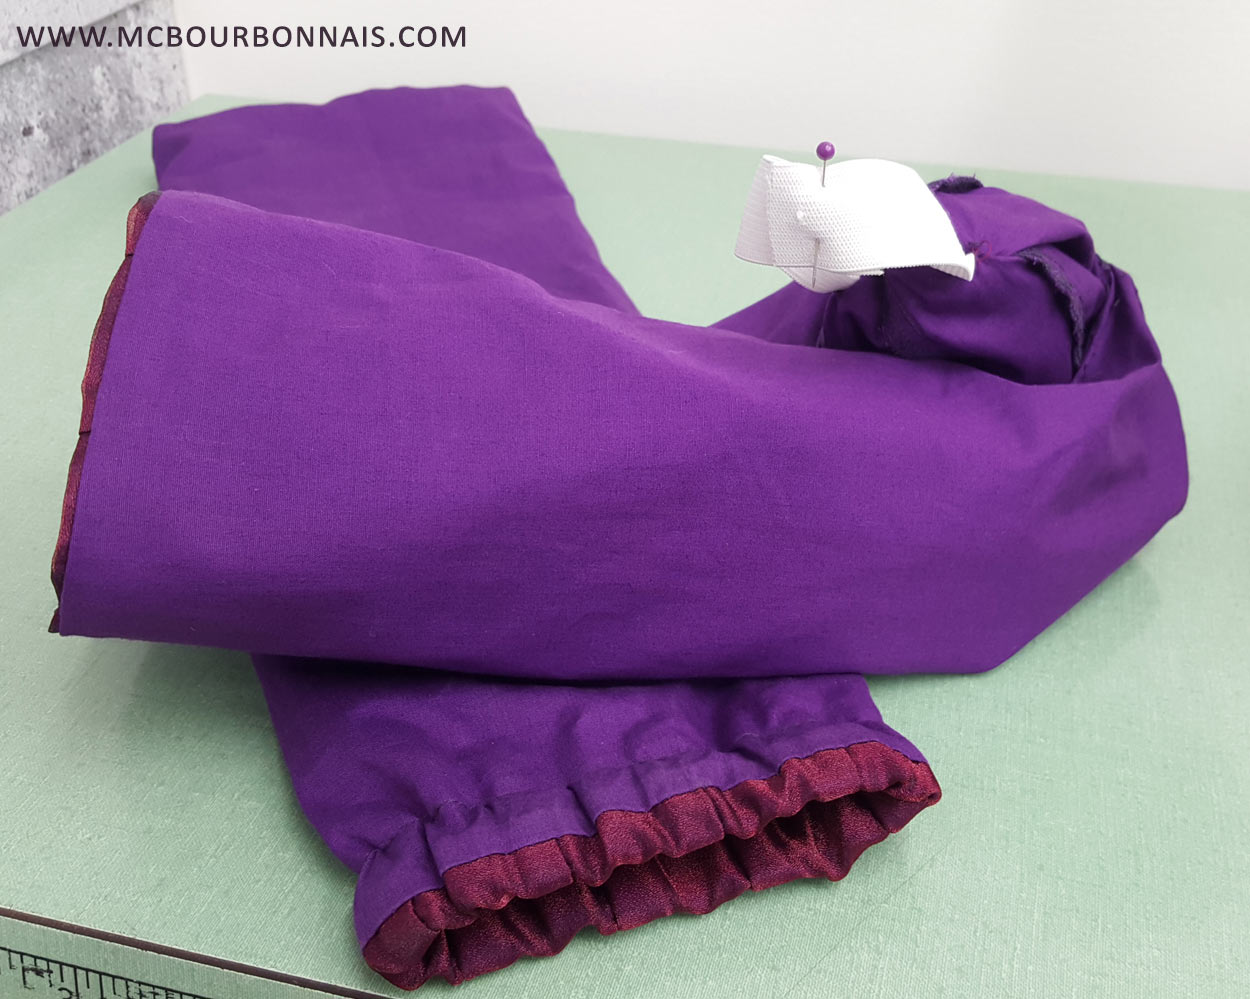
Finally, I closed the opening in the lining with a topstitch. As simple as that. If you have a lined jacket, look inside the sleeves, you should find the place where they ‘closed’ the lining at the very end.
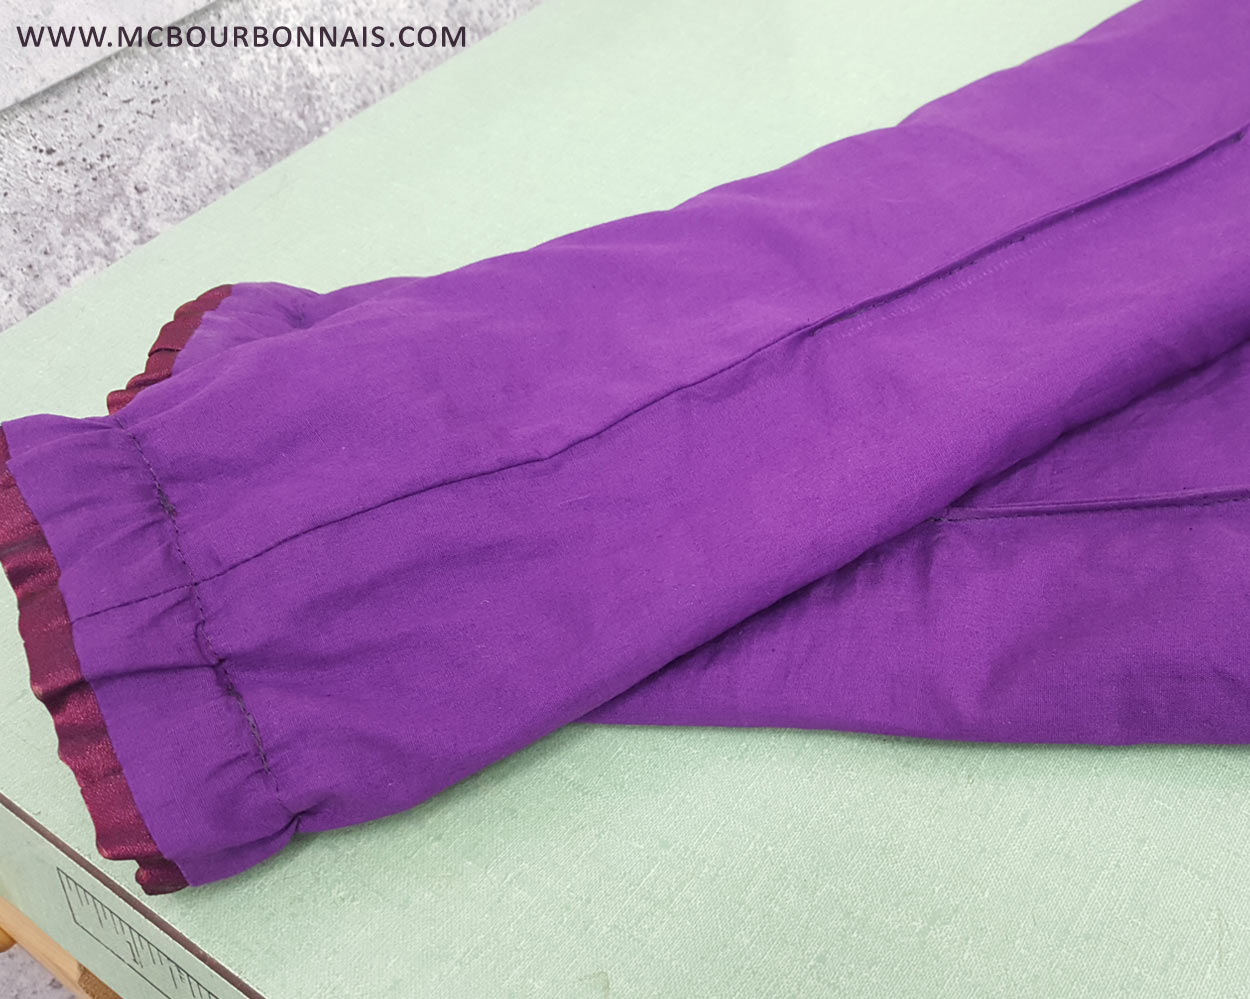
Turn the sleeves inside out… Done! Cute little Severina sleeves are finished!
Coming up next in my Severina making of blog: the 3D printed dragon head staff!
Man, that’s very cool seeing how it all comes together. I was never good at sewing, so I’m always amazed at seeing how pieces of cloth being put together to make it into stylish clothing. I really like Severina’s colours too!
Speaking of Ninja Division, I just saw the new artwork and preview images of the statue they are making of your Relic Knight character. It looks amazing! I’m very tempted to get it when it comes out. Have they shown it to you yet? That would be one hell of a costume to make!
Thanks for the blog post!